


I thought I would share my Homemade Pie Crust recipe with you. I find that when I’m talking to people about making pies, they all say they would rather buy the store-bought pie crust than make it themselves. Now, there are some perfectly good, ready-made pie crusts out there, but there is nothing better than making your own.
The combination of using both butter and shortening makes for a flakier and flavorful crust.
Listen, it’s not hard to make your own pie crust, and the best thing is, you can do it in advance. You can freeze them too!


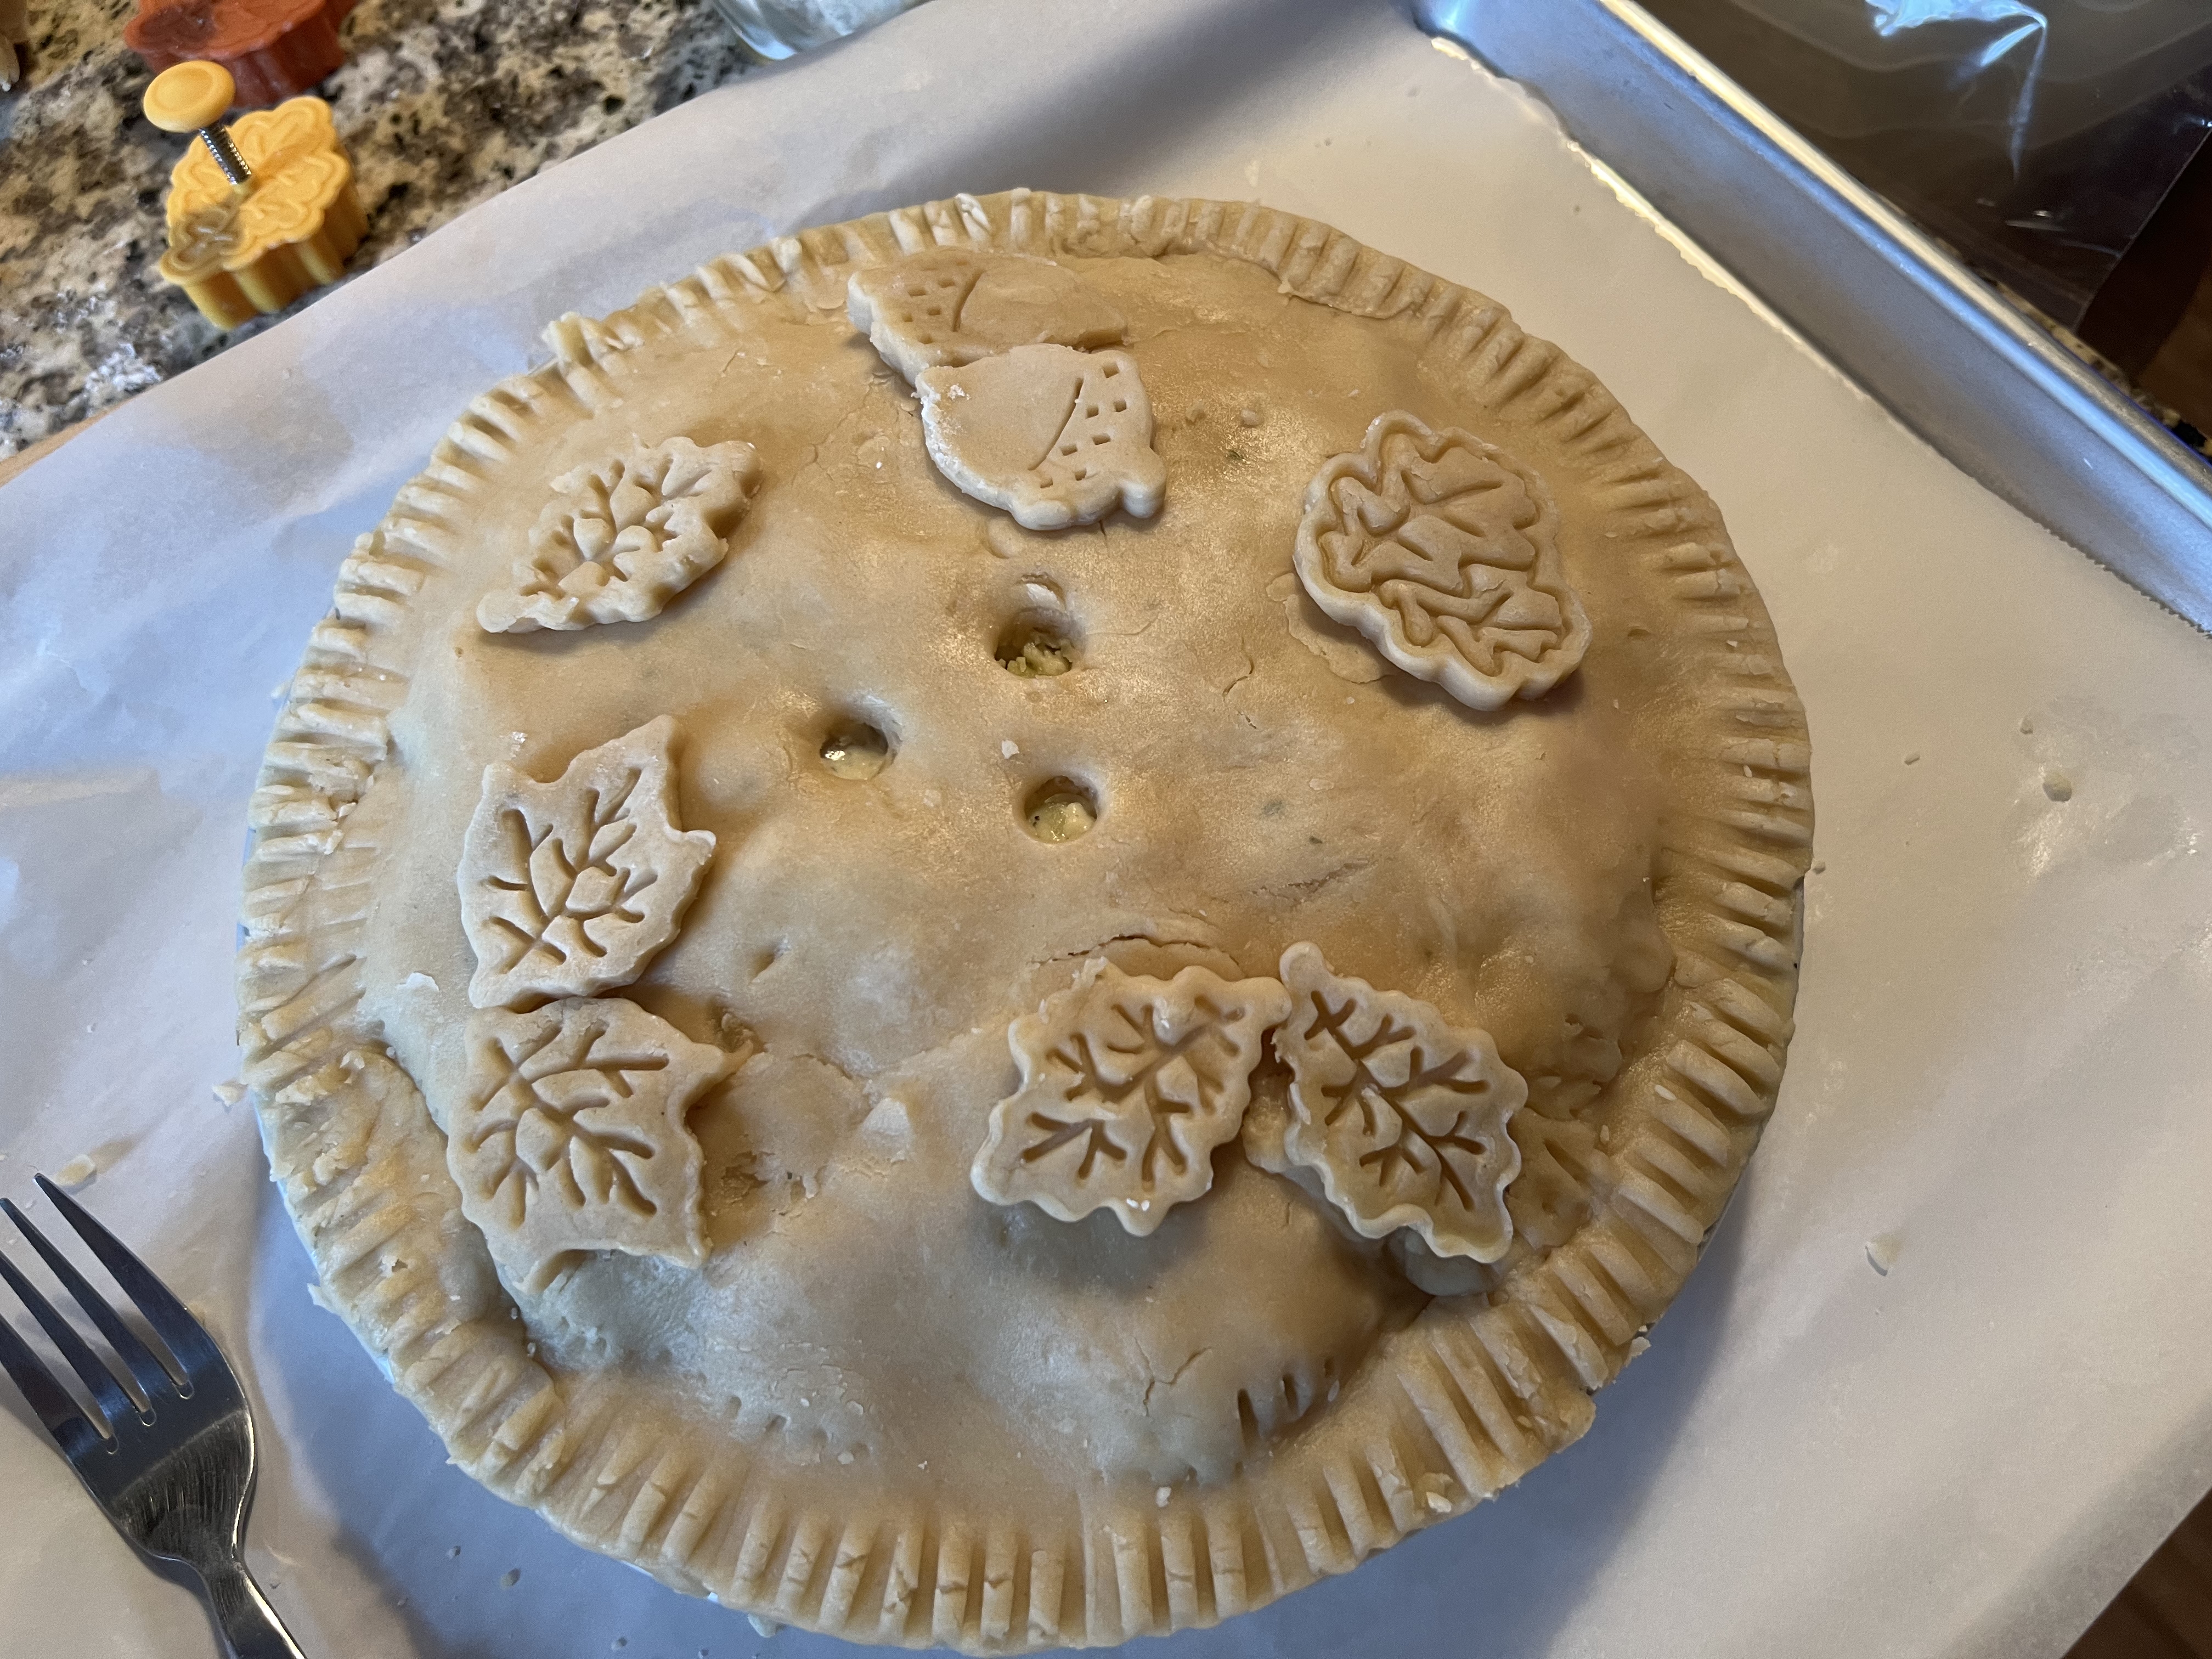
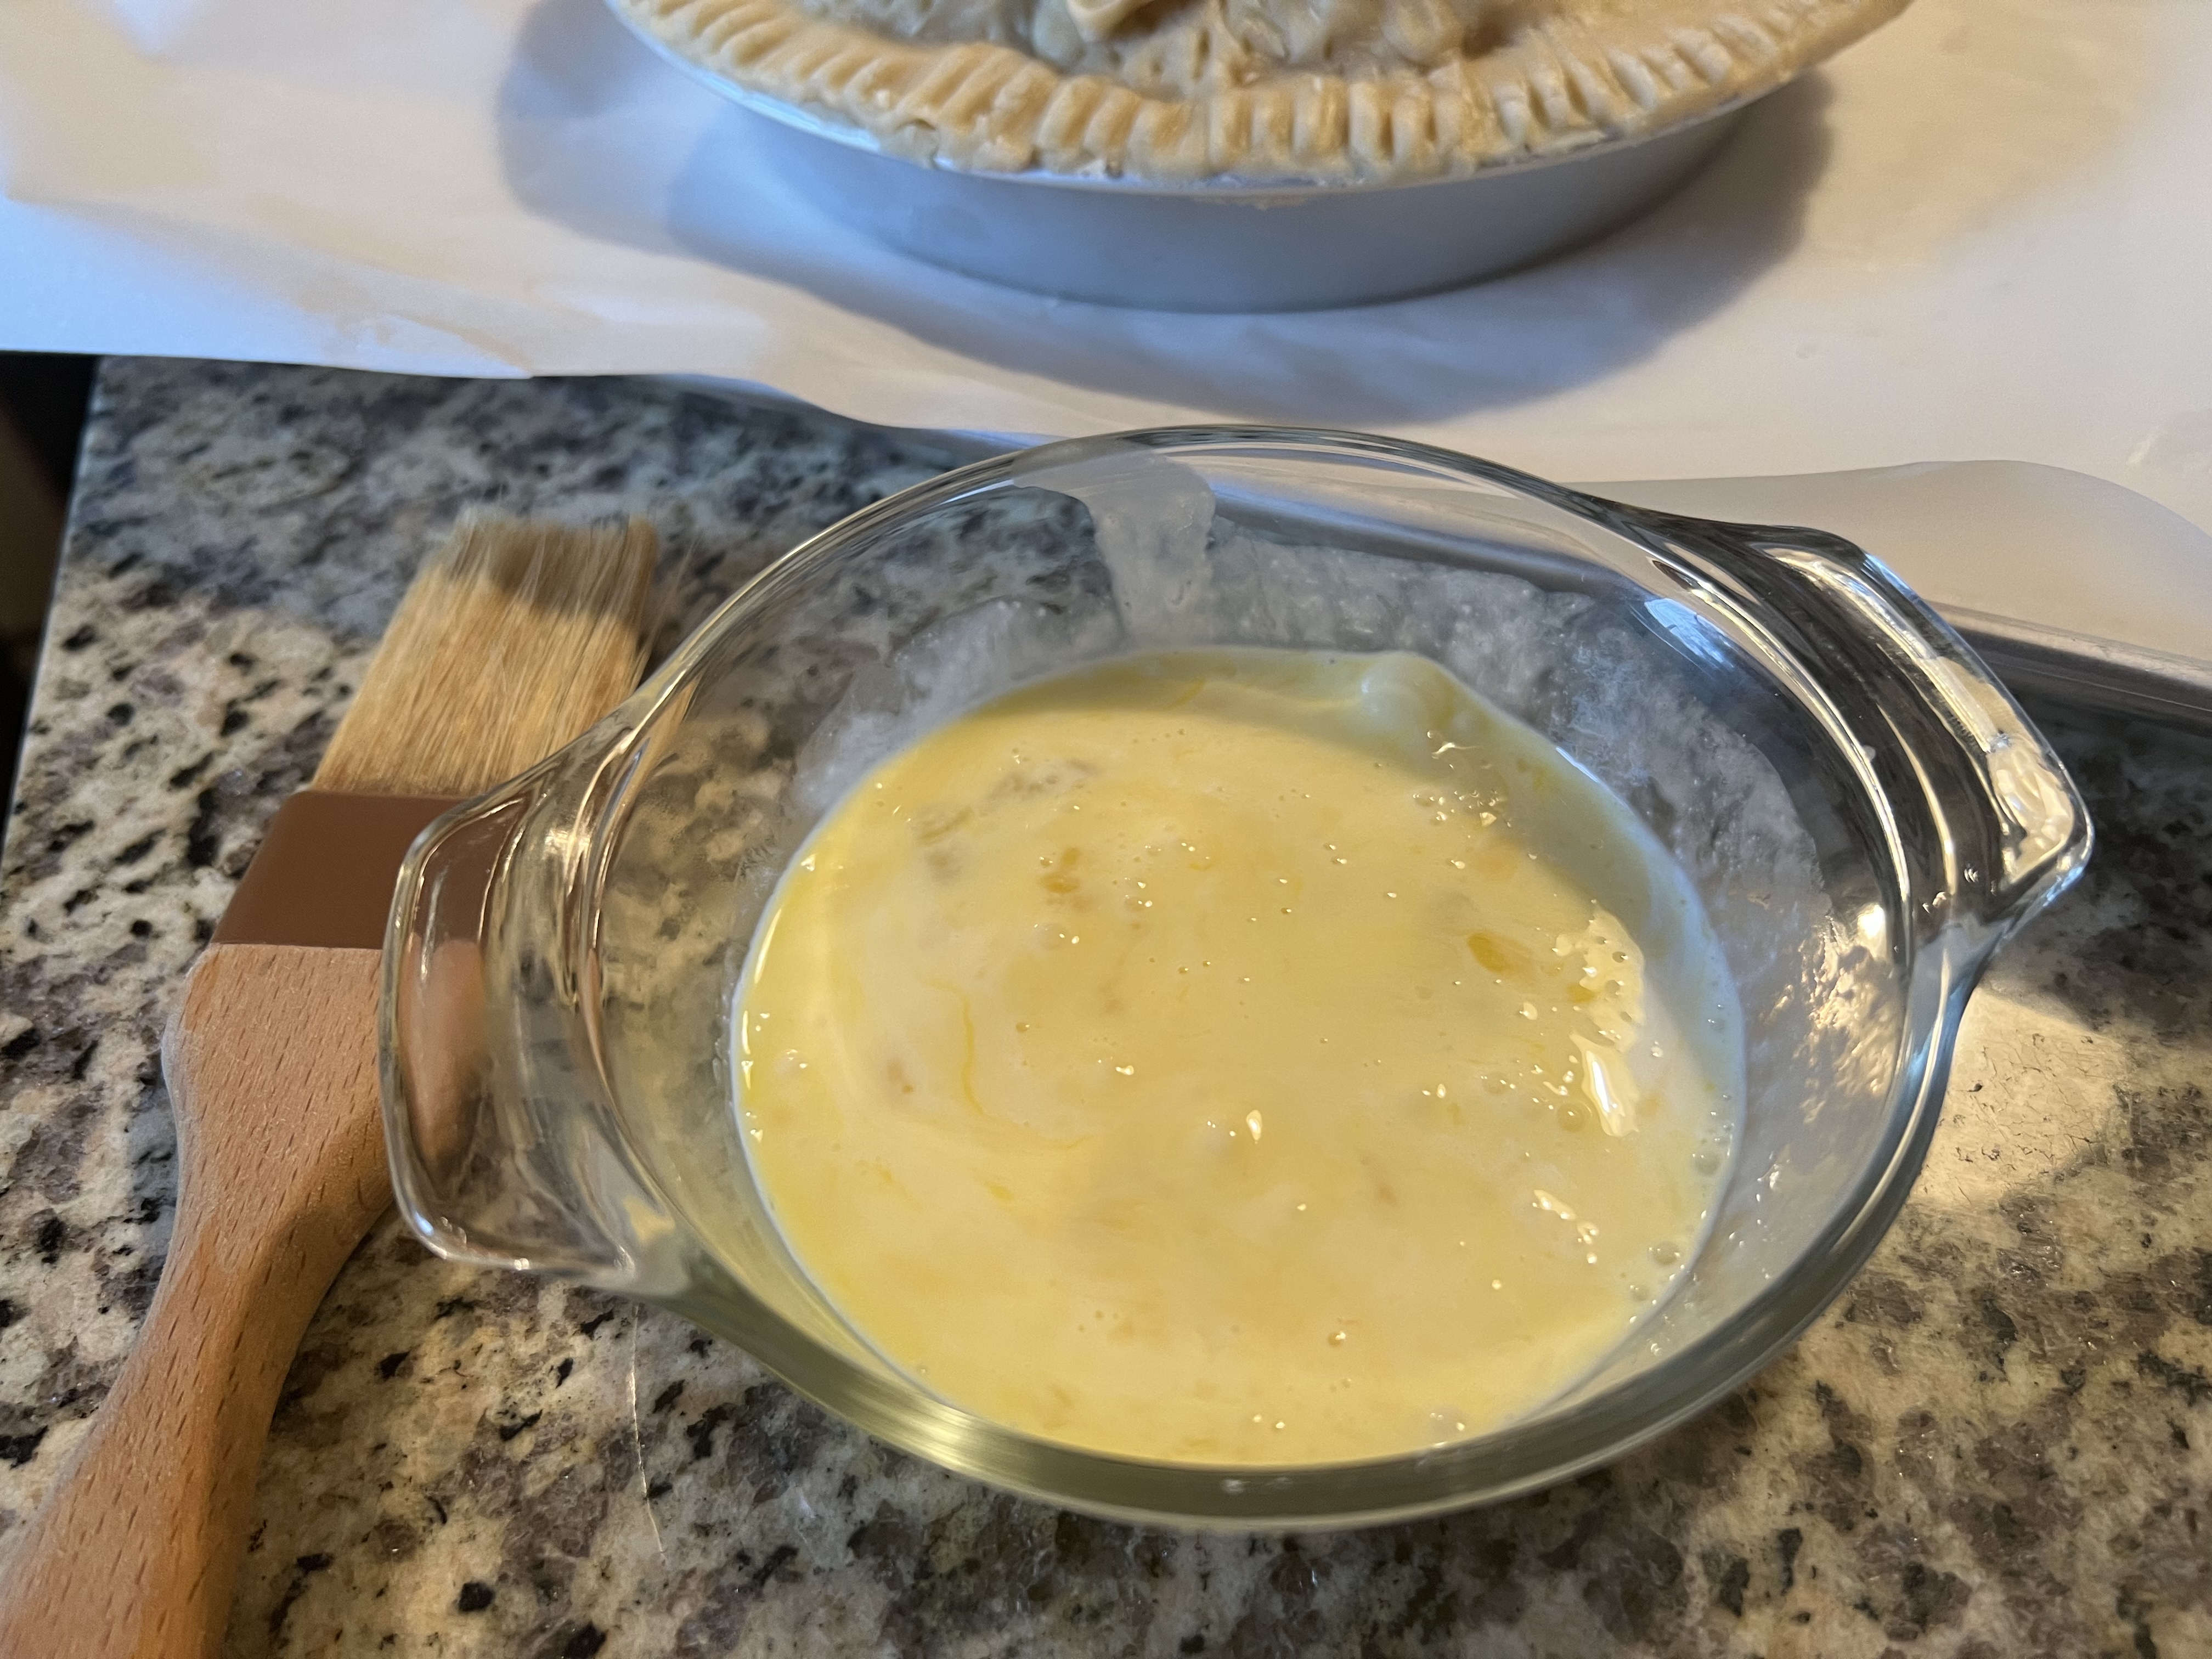
Below, I’m showing the process if you’re using a top and bottom crust for a pie.


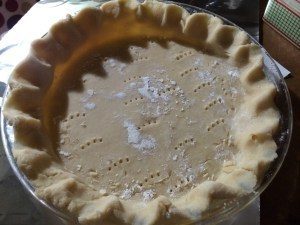
Below is a picture of a pie crust using only a bottom crust.

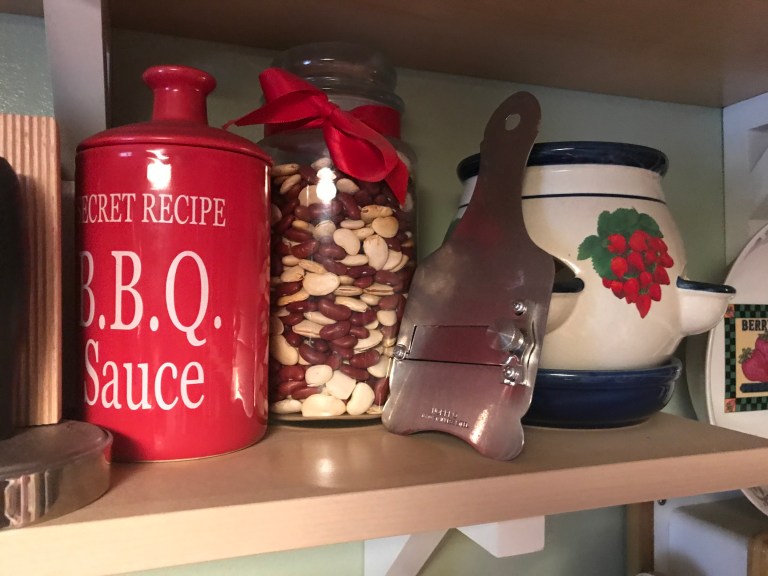
Above are the pie weights I use for *Blind Baking a pie crust. I store my pie weights (dried beans) in a jar. I can use them over and over again. Be sure to allow them to cool completely before placing them back into the jar for the next time.
The first step is to *dock the crust with a fork.

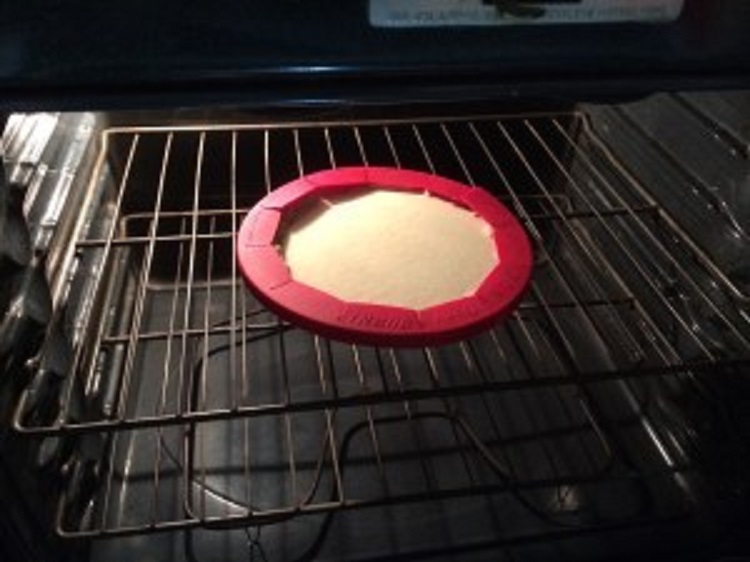
Below, I’m using a silicone crust protector for my Farmer Cheese Pie.
Prep Time: 15 minutes
Inactive Prep Time: 2 hours
Total Time: 2 hours 15 minutes
Yields: 2 dough rounds, 6 slices per pie (can be used for either 2 bottom crusts or 1 bottom crust and 1 top crust)
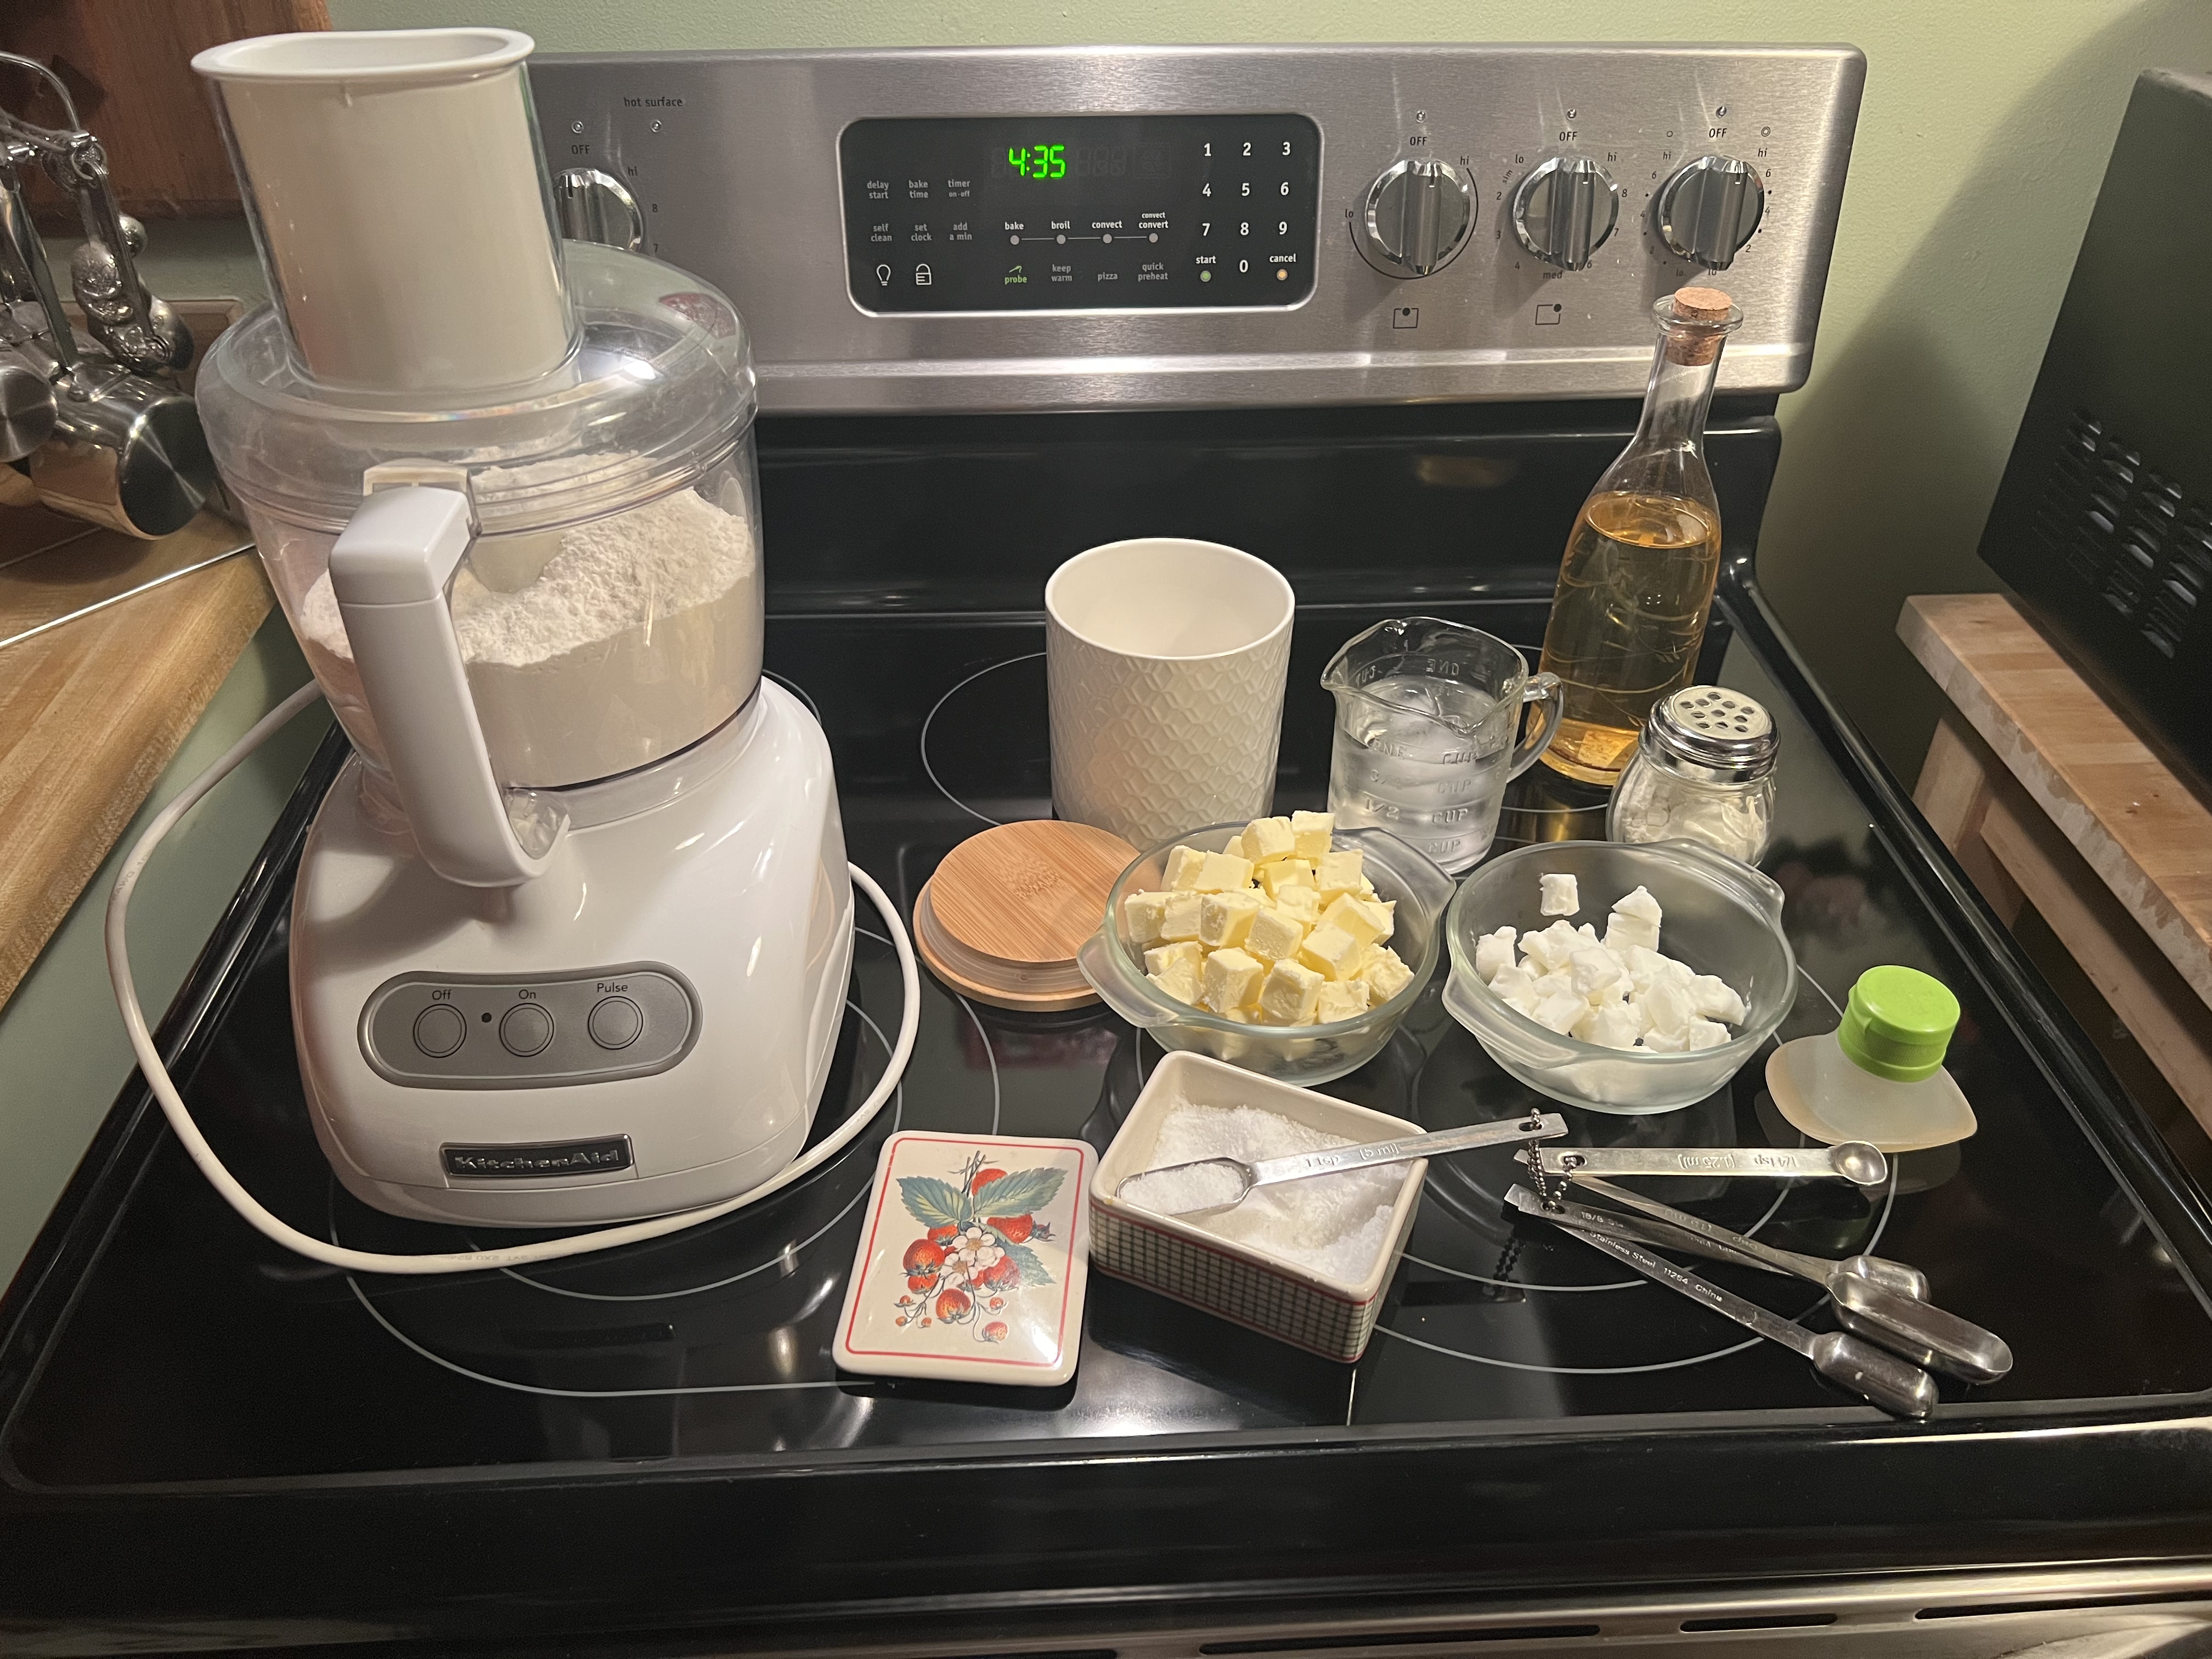
Equipment: 1 (10-cup) food processor, 1 or 2 (9-inch) glass pie pans, rolling pin, plastic wrap
Ingredients:
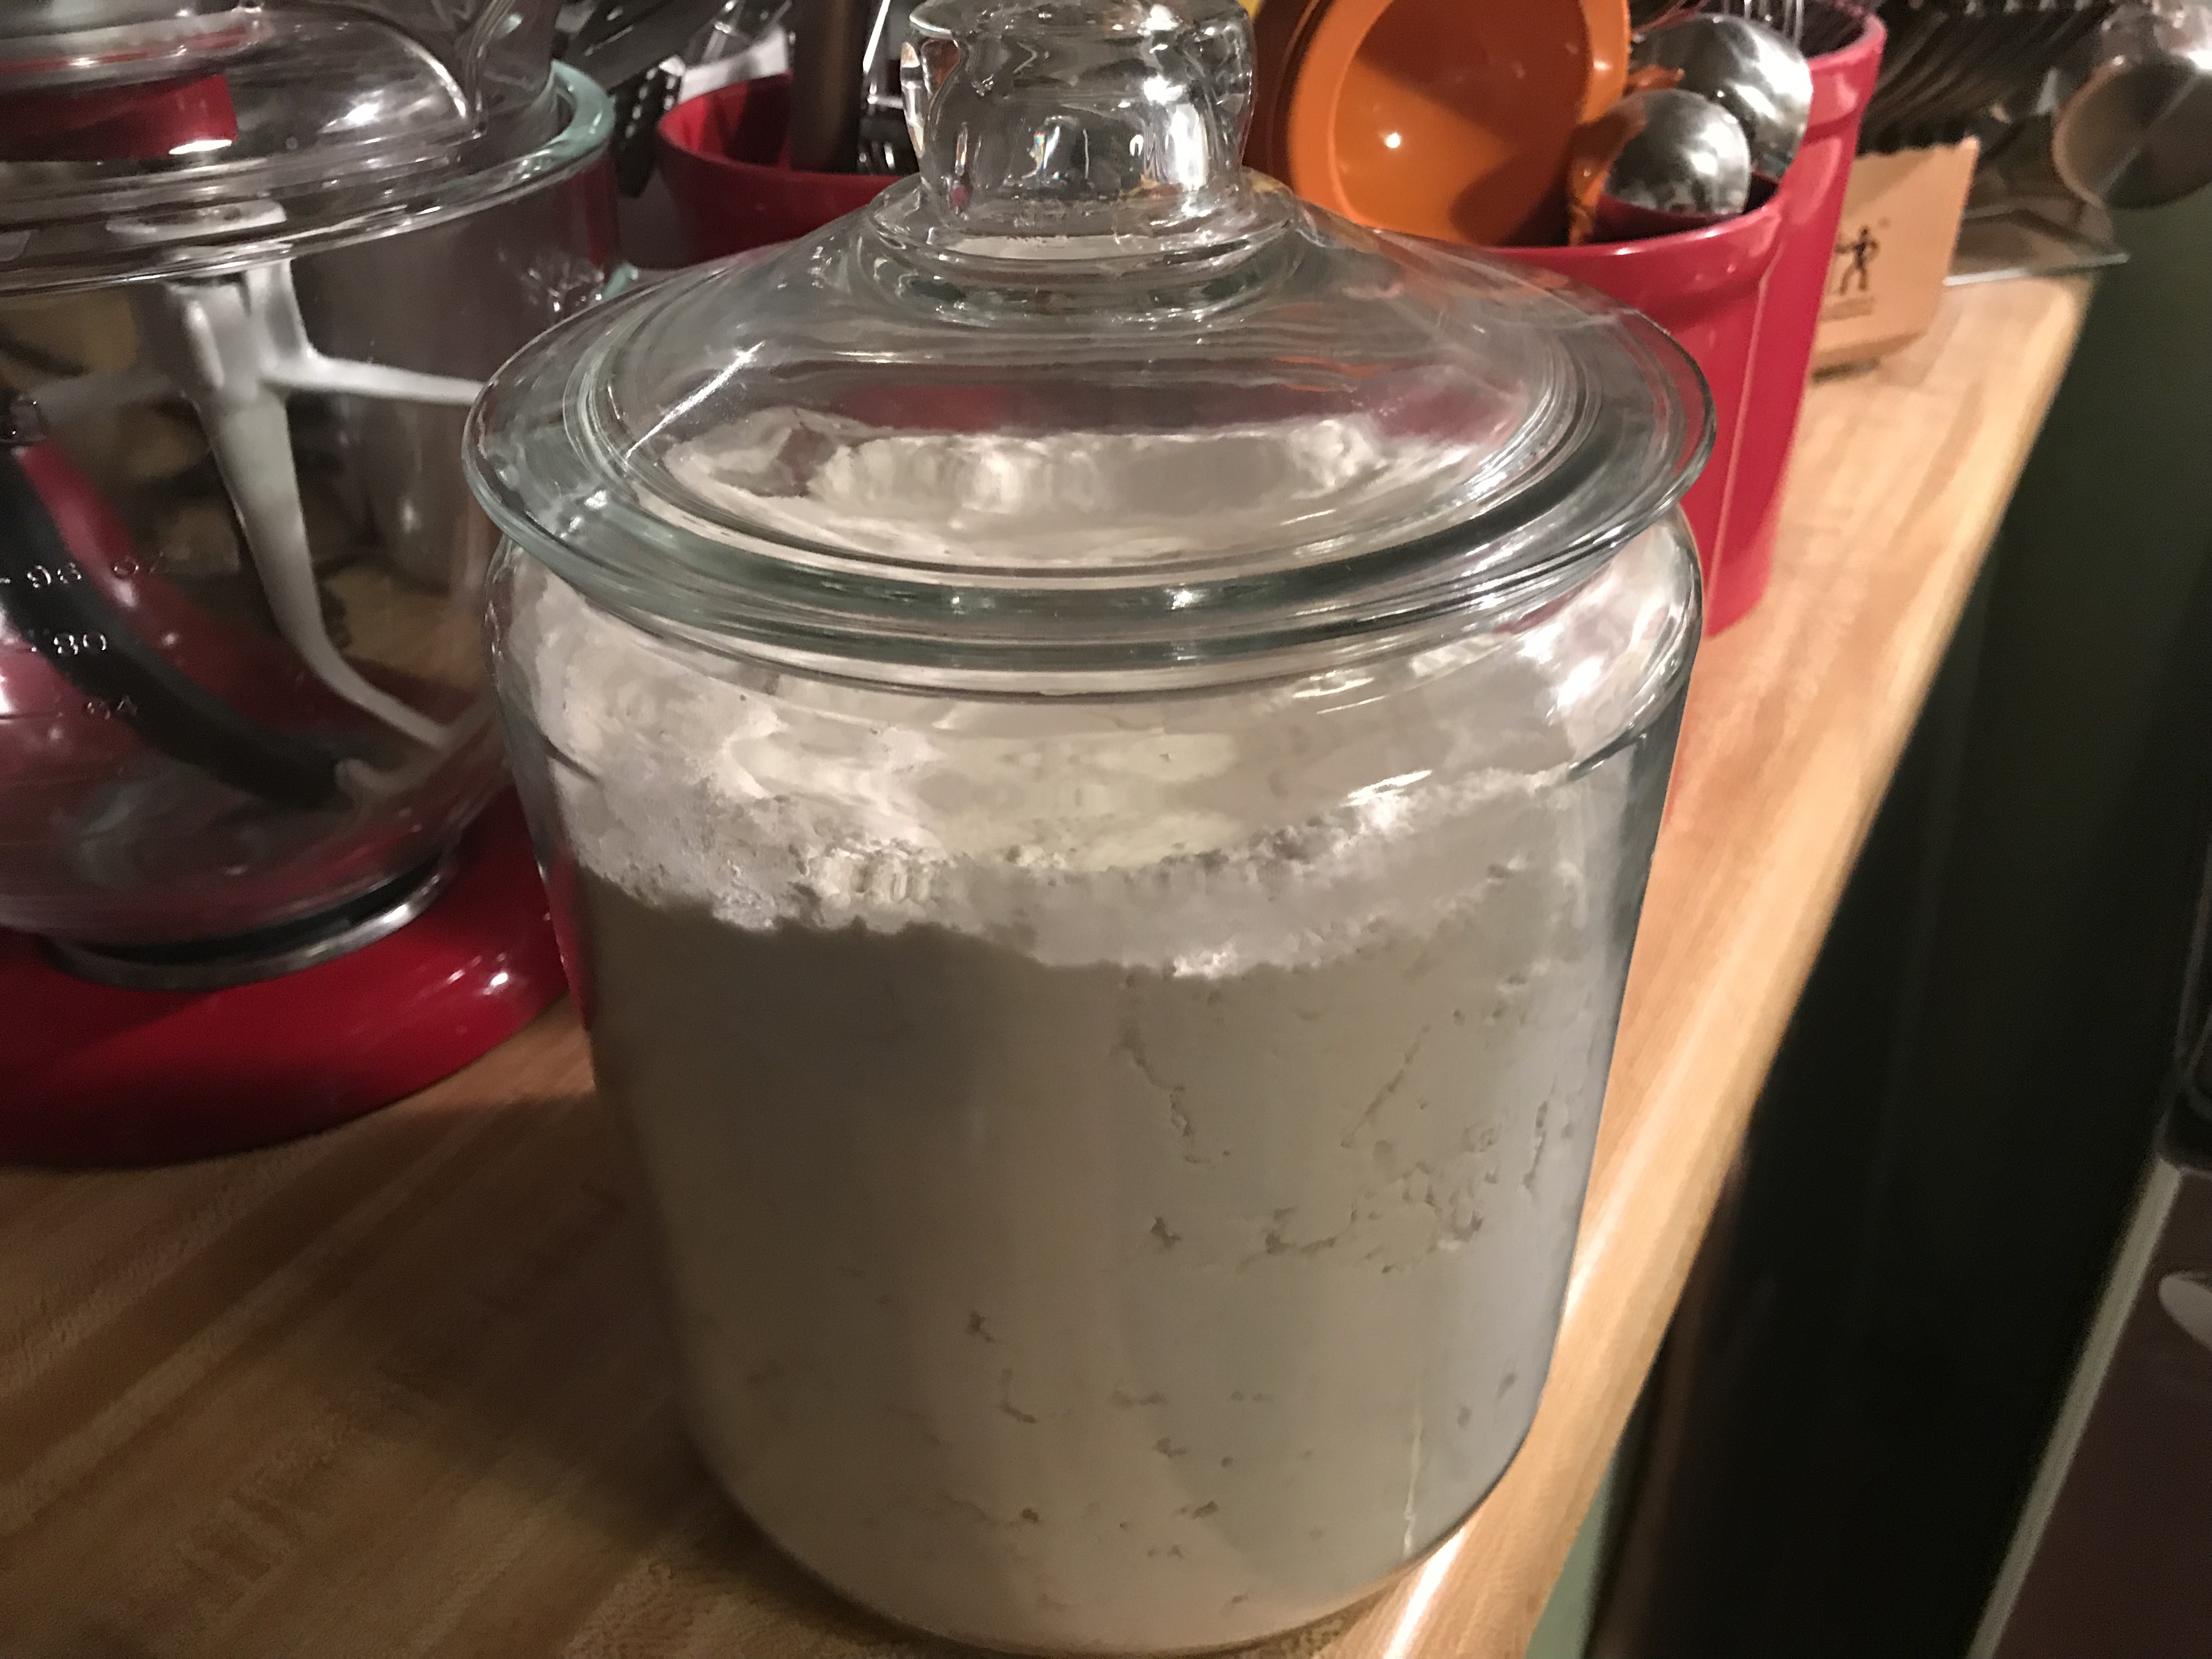
3 cups of unbleached all-purpose flour
1 1/2 sticks (12 tablespoons) of unsalted cold butter, cubed
1/3 of a cup of vegetable shortening, cold and cubed
1/2 cup of granulated sugar, omit for savory recipes
1 teaspoon of Kosher salt.
2 teaspoons of apple cider vinegar, chilled, substitute white distilled vinegar
4 to 6 tablespoons of ice water
Instructions:
Into the food processor, add the flour, salt, and sugar (omit the sugar for a savory pie), and pulse until all the ingredients are well mixed; a couple of pulses will suffice.
Next, add in the diced cold shortening and cold butter. You want to pulse this until the flour resembles bits of pea-size butter and shortening pieces are evenly distributed throughout the flour. Pulse about 8 to 10 times.
After the flour looks like the picture above, place the lid back on, and with the machine running, through the feed tube at the top, add the apple cider vinegar first, then pour the ice water in slowly. You’re only going to add enough water just until the dough comes together. Sometimes it will take anywhere between 4 and 6 tablespoons of ice water.
Dump the dough out onto your floured board. Be careful to remove the blade first.
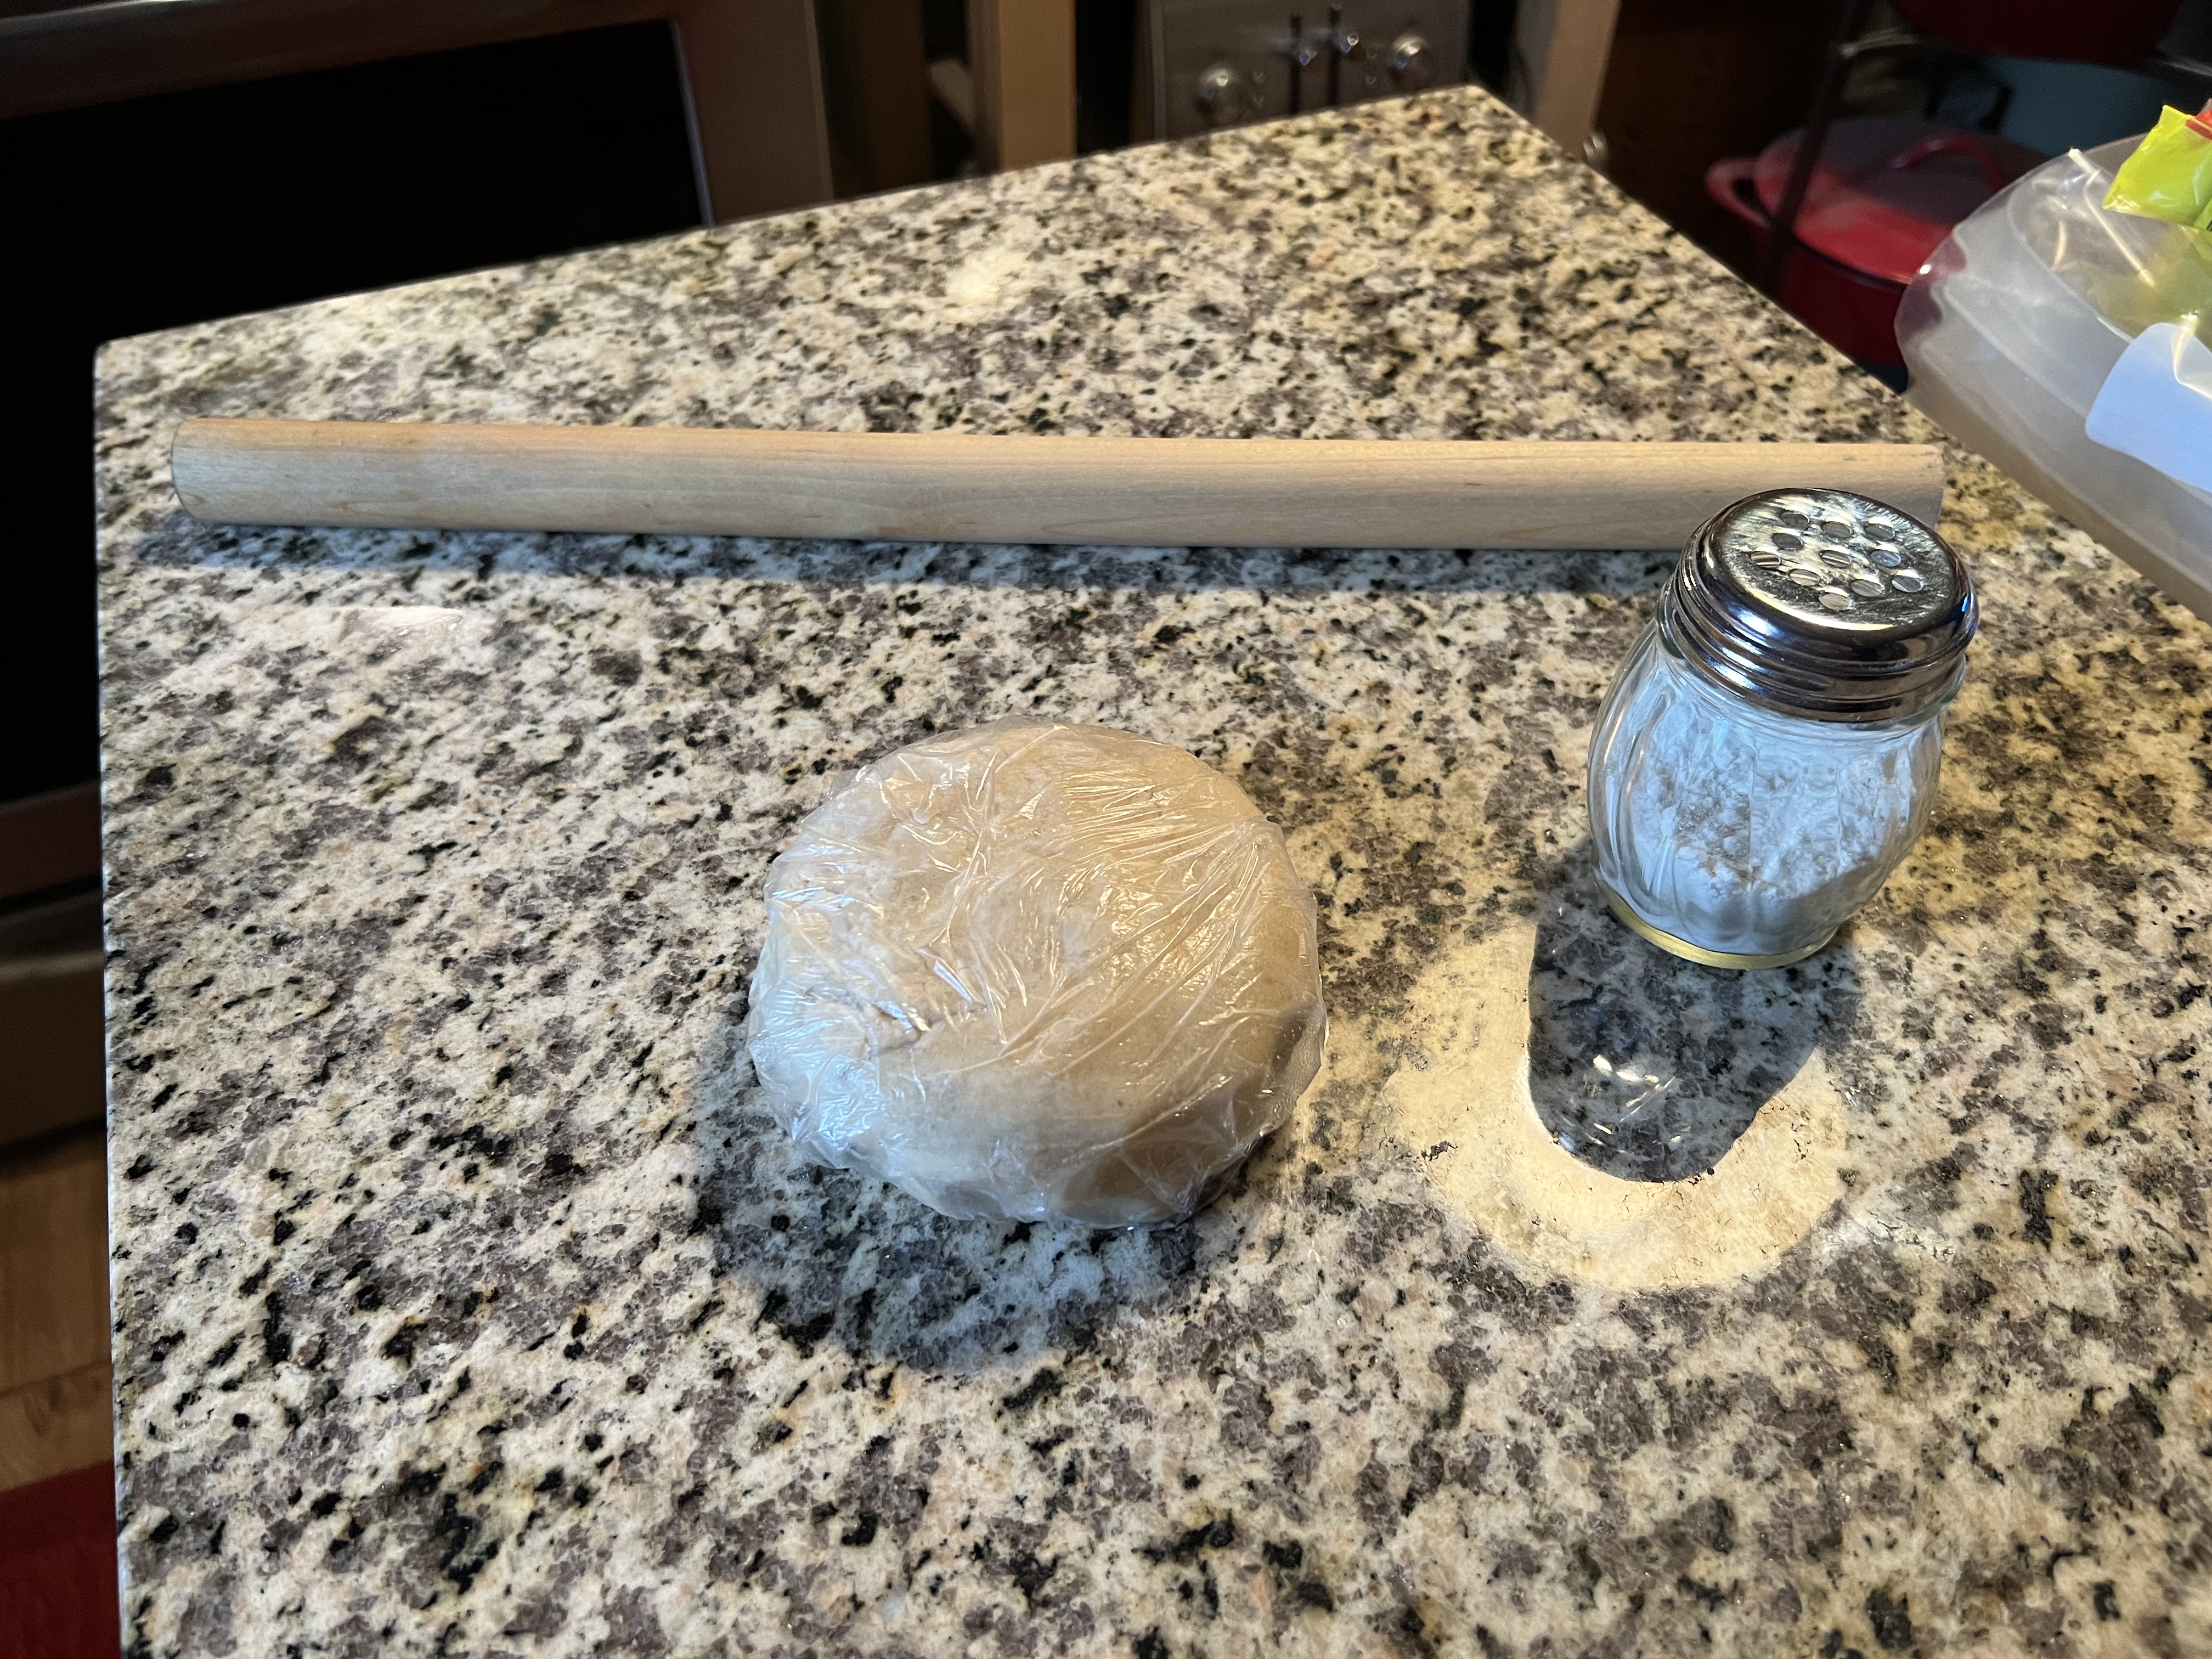
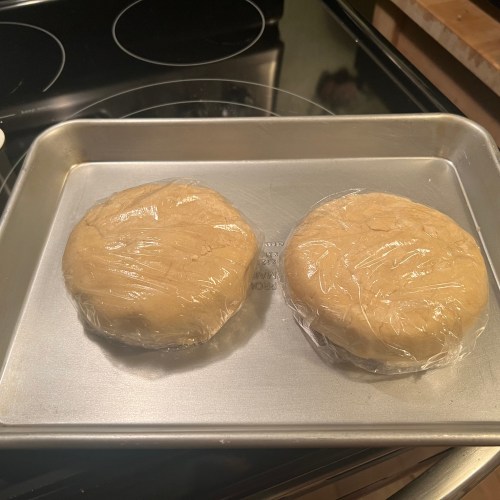
Working fairly quickly, use your hands to form the dough into a ball, then flatten it into a rough disk-like shape. Using a bench scraper, divide the dough in half. Place one of the disks onto a piece of plastic wrap. Use the excess plastic to remove any cracks you might see in the outer edges of the disk of dough. You can do this by using the plastic wrap so as not to touch the dough, moving your hands in a circular motion around the edge of the dough, forming 2 (5-inch) fissure-free (smooth with no cracks) disks. Wrap each 5-inch disk of dough in plastic wrap and place them in the fridge for at least 2 hours before rolling.
Once you’ve done this one time, you’ll see how easy making your pie crust is and how good it tastes.
After you’ve made your dough, you want to wrap it well in plastic wrap. Allow the dough to rest in the fridge for at least 2 hours before placing the dough into a resealable bag. Make sure you let all the air out for a longer shelf life.
Important: allow the dough to sit out on the counter for 10 minutes before rolling. This will prevent the dough from cracking when you start to roll.
On a well-floured surface, begin rolling out the dough. Using a rolling pin, apply even pressure and gently roll it from the center out, turning the dough about a quarter turn after a few rolls. Remember to flour your surface and the top of the dough as needed to prevent the dough from sticking.
You’ll want to roll your dough out into a “round” (circle) measuring 12 inches in diameter and approx.1/8-inch in thickness. Use a ruler to make sure. Roll the dough up around the rolling pin, then carefully transfer to the pie plate and unroll. This is the perfect size for a 9-inch pie plate, allowing for a little overhang and enough dough to flute the edges. Cut off the excess, leaving about a 1-inch overhang. Then fold the overhang under so that there is enough to flute the edges.
Baked Pie Crust:
Preheat oven to 375°F.
Snugly cover the edges of the dough using a silicone cover or aluminum foil. Line the bottom with parchment paper and fill the pie with pie weights or dried beans. Make sure the pie weights are evenly distributed. Bake with pie weights for 20 minutes, or until a crimped edge is set but not browned. Remove from the oven. Lift off the parchment paper with dried beans, keeping the cover on around the crimped edges.
*Dock with a fork around the bottom of the pie crust to prevent bubbling and return to the oven. To complete the blind baking process (partially baked pie crust), return the pie crust to the oven and bake for an additional 5 minutes, or until the bottom of the crust appears dry.
For a fully blind-baked pie crust, return to the oven and allow to bake for 15 to 20 minutes longer, or until the bottom crust is golden brown and cooked through.
*Dock: Pricking holes in the rolled-out pie dough allows the steam to escape while it’s baking. Without this, the steam would puff up in bubbles and pockets throughout the crust.
*Blind Baking: Sometimes called pre-baking, this is the process of baking a pie crust or other pastry without the filling. *Blind baking a pie crust is necessary when it will be filled with an unbaked filling (such as pudding or cream pies), in which case the crust must be fully baked.
There you have it, my Homemade Pie Crust.
Notes:
1) Refrigerate the dough, wrapped in plastic wrap, for at least 2 hours or up to 2 days in the refrigerator. You want to let the refrigerated dough sit on the counter for about 10 minutes to soften before rolling it slightly.
2) Whenever you’re using shortening and butter to make your pie crust, you must keep the surface well floured and both sides of the disk of dough before rolling.
3) For best results, store the frozen pie dough or frozen pie crusts for up to 1 month. Keep tightly covered with plastic wrap, then wrap again in foil. I like to date any dough I’ve frozen, so if I have more than one, I know they’ll be rotated. When you are ready to use your dough, transfer it to the fridge the night before so it will be ready for you to use.
4) You can also refrigerate unbaked pie dough or unbaked pie crust for up to 3 days. Keep tightly covered with plastic wrap.
5) If your pie dough breaks or crumbles when you try to roll it out, it’s probably too dry. Just sprinkle some cold water over the dough with your fingers and work it in gently.
6) Make sure to chill the pie shell for at least 30 minutes before baking. This ensures the edges of the pie crust won’t shrink.
Whether you’re fully baking or partially baking the pie crust, it comes down to the length of oven time. That’s the difference between a partially blind-baked pie crust and a fully blind-baked pie crust.
7) The sweet dough for this recipe, also known as “pasta frolla,” alternatively, if you choose to make the dough for a savory dish, omit the sugar.
8) If you want to make this recipe without using shortening and make it an all-butter crust (Pate Brisee Dough) and omit the shortening, add 5 tablespoons plus 1 teaspoon more butter to the amount above. You may have to adjust the amount of ice water.
9) I like to add my flour, sugar, and salt into the bowl of the food processor that’s fitted with the blade attachment, and my refrigerated cubed butter and cubed shortening into the freezer for 10-15 minutes, ensuring they are all very cold.
Homemade Pie Crust
Equipment
- 1 food processor 10-cup
- 1 or 2 pie pans/plates 9-inch
- 1 Rolling Pin
- plastic wrap
Ingredients
- 3 cups all-purpose flour Unbleached
- 12 tbsps butter Unsalted cold butter and cubed
- 1/3 cup vegetable shortening Cold and cubed
- 1/2 cup granulated sugar Omit for savory recipes
- 1 tsp kosher salt
- 2 tsps apple cider vinegar Chilled, substitute white distilled vinegar
- 4-6 tbsps ice water
Instructions
- Into the food processor, add the flour, salt, and sugar, and pulse until all the ingredients are well mixed; a couple of pulses will suffice.Next, add in the diced shortening and butter. You want to pulse this until the flour resembles bits of pea-size butter and shortening pieces are evenly distributed throughout the flour. Pulse about 8 to 10 times.After the flour looks like the picture above, place the lid back on, and with the machine running, through the feed tube at the top, add the apple cider vinegar first, then pour the ice water in slowly. You're only going to add enough water just until the dough comes together. Sometimes it will take anywhere between 4 and 6 tablespoons of ice water.Dump the dough out onto your floured board. Be careful to remove the blade first.Working fairly quickly, use your hands to form the dough into a ball, then flatten it into a rough disk-like shape. Using a bench scraper, divide the dough in half. Place one of the disks onto a piece of plastic wrap. Use the excess plastic to remove any cracks you might see in the outer edges of the disk of dough. You can do this by using the plastic wrap so as not to touch the dough, moving your hands in a circular motion around the edge of the dough, forming 2 (5-inch) fissure-free (smooth with no cracks) disks. Wrap each 5-inch disk of dough in plastic wrap and place them in the fridge for at least 2 hours before rolling.Once you've done this one time, you'll see how easy making your pie crust is and how good it tastes.After you've made your dough, you want to wrap it well in plastic wrap. Allow the dough to rest in the fridge for at least 2 hours before placing the dough into a resealable bag. Make sure you let all the air out for a longer shelf life.Important: allow the dough to sit out on the counter for 10 minutes before rolling. This will prevent the dough from cracking when you start to roll.On a well-floured surface, begin rolling out the dough. Using a rolling pin, apply even pressure and gently roll it from the center out, turning the dough about a quarter turn after a few rolls. Remember to flour your surface and the top of the dough as needed to prevent the dough from sticking.You'll want to roll your dough out into a "round" (circle) measuring 12 inches in diameter and approx.1/8-inch in thickness. Use a ruler to make sure. Roll the dough up around the rolling pin, then carefully transfer to the pie plate, and unroll. This is the perfect size for a 9-inch pie plate, allowing for a little overhang and enough dough to flute the edges. Cut off the excess, leaving about a 1-inch overhang. Then fold the overhang under so that there is enough to flute the edges.Baked Pie Crust:Preheat oven to 375° F.Snugly cover the edges of the dough using a silicone cover or aluminum foil. Line the bottom with parchment paper and fill the pie with pie weights or dried beans. Make sure the pie weights are evenly distributed. Bake with pie weights for 20 minutes, or until a crimped edge is set but not browned. Remove from the oven. Lift off the parchment paper with dried beans, keeping the cover on around the crimped edges.*Dock with a fork around the bottom of the pie crust to prevent bubbling and return to the oven. To complete the blind baking process (partially baked pie crust), return the pie crust to the oven and bake for an additional 5 minutes, or until the bottom of the crust appears dry.For a fully blind-baked pie crust, return to the oven and allow to bake for 15 to 20 minutes longer, or until the bottom crust is golden brown and cooked through.*Dock: Pricking holes in the rolled-out pie dough allows the steam to escape while it's baking. Without this, the steam would puff up in bubbles and pockets throughout the crust.*Blind Baking: Sometimes called pre-baking, this is the process of baking a pie crust or other pastry without the filling. *Blind baking a pie crust is necessary when it will be filled with an unbaked filling (such as pudding or cream pies), in which case the crust must be fully baked.There you have it, my Homemade Pie Crust.
Notes
 1) Refrigerate the dough, wrapped in plastic wrap, for at least 2 hours or up to 2 days in the refrigerator. You want to let the refrigerated dough sit on the counter for about 10 minutes to soften before rolling it slightly.
2) Whenever you're using shortening and butter to make your pie crust, you must keep the surface well floured and both sides of the disk of dough before rolling.
3) For best results, store the frozen pie dough or frozen pie crusts for up to 1 month. Keep tightly covered with plastic wrap, then wrap again in foil. I like to date any dough I've frozen, so if I have more than one, I know they'll be rotated. When you are ready to use your dough, transfer it to the fridge the night before so it will be ready for you to use.
4) You can also refrigerate unbaked pie dough or unbaked pie crust for up to 3 days. Keep tightly covered with plastic wrap.
5) If your pie dough breaks or crumbles when you try to roll it out, it's probably too dry. Just sprinkle some cold water over the dough with your fingers and work it in gently.
6) Make sure to chill the pie shell for at least 30 minutes before baking. This ensures the edges of the pie crust won't shrink.
1) Refrigerate the dough, wrapped in plastic wrap, for at least 2 hours or up to 2 days in the refrigerator. You want to let the refrigerated dough sit on the counter for about 10 minutes to soften before rolling it slightly.
2) Whenever you're using shortening and butter to make your pie crust, you must keep the surface well floured and both sides of the disk of dough before rolling.
3) For best results, store the frozen pie dough or frozen pie crusts for up to 1 month. Keep tightly covered with plastic wrap, then wrap again in foil. I like to date any dough I've frozen, so if I have more than one, I know they'll be rotated. When you are ready to use your dough, transfer it to the fridge the night before so it will be ready for you to use.
4) You can also refrigerate unbaked pie dough or unbaked pie crust for up to 3 days. Keep tightly covered with plastic wrap.
5) If your pie dough breaks or crumbles when you try to roll it out, it's probably too dry. Just sprinkle some cold water over the dough with your fingers and work it in gently.
6) Make sure to chill the pie shell for at least 30 minutes before baking. This ensures the edges of the pie crust won't shrink.Whether you're fully baking or partially baking the pie crust, it comes down to the length of oven time. That's the difference between a partially blind-baked pie crust and a fully blind-baked pie crust. 7) The sweet dough for this recipe, also known as “pasta frolla,” alternatively, if you choose to make the dough for a savory dish, omit the sugar. 8) If you want to make this recipe without using shortening and make it an all-butter crust (Pate Brisee Dough) and omit the shortening, add 5 tablespoons plus 1 teaspoon more butter to the amount above. You may have to adjust the amount of ice water. 9) I like to add my flour, sugar, and salt into the bowl of the food processor that's fitted with the blade attachment, and my refrigerated cubed butter and cubed shortening into the freezer for 10-15 minutes, ensuring they are all very cold.
https://lindalouhamel.com/2014/09/11/farmer-cheese-pie/
https://lindalouhamel.com/2022/01/31/french-potato-pie-tourte-aux-pommes-de-terre/