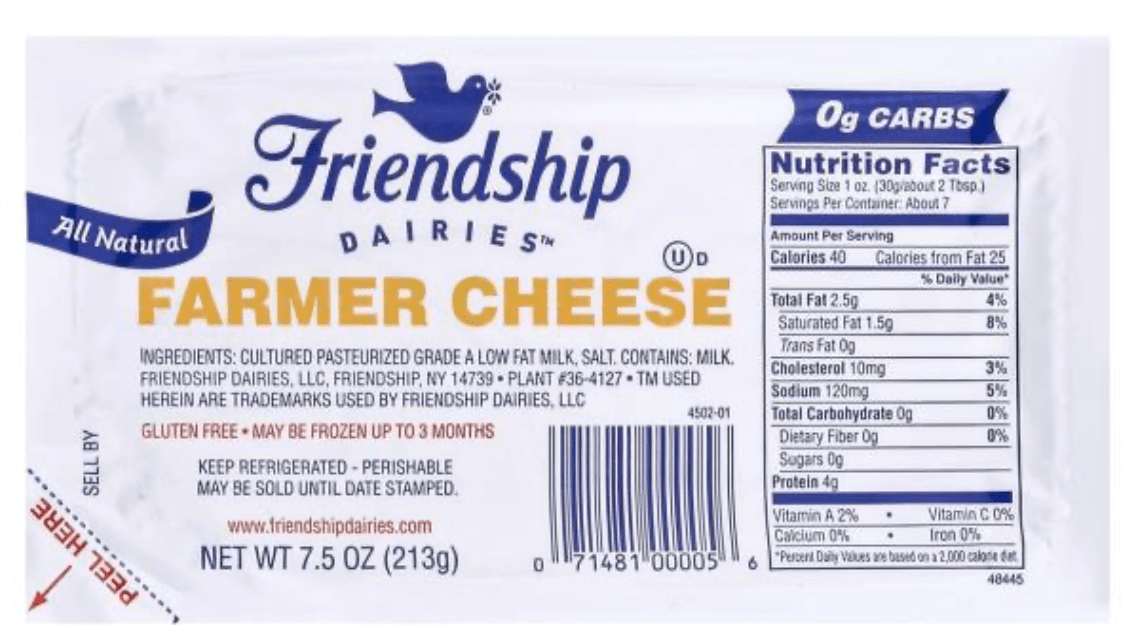
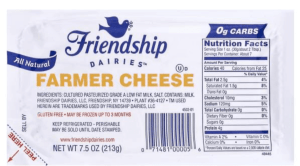
I know it’s been a few days since I’ve found myself behind this keyboard, but for good reason. I’ve been testing out this recipe. Not just for the filling, but for how it would work with the pie dough I made earlier. I love cheesecake, but I wanted to work on a recipe for a Farmer Cheese Pie, like the one I saw at Four and Twenty Blackbirds pie shop in New York. And yes, this brand of cheese is called Farmer cheese, not Farmer’s cheese!
The reason it took me so long to test this recipe is that I couldn’t find Farmer’s cheese at any of my local grocery stores. Well, I was in the dairy aisle looking to buy some butter, and there it was, the Farmer cheese staring me right in the face. I don’t know why it’s not with the other cheeses.
They come packaged in 7.5-ounce bars, so I bought two. I also purchased a store-bought, ready-made pie crust shell from the freezer section.
You know, I’m a big believer in making your pie crust, but this dish is really about the filling., I want to share both ways today, one with a store-bought, ready-made pie crust and one using my Homemade Pie Crust.
The recipe I’m about to share with you will make enough filling for two pie shells. Believe me when I tell you that you’ll want to have extra pie. Make sure to let the frozen pie shell sit out at room temperature for 15 minutes before *blind baking the pie crust. For my Homemade Pie Crust recipe, click the link at the bottom of this post.
For more great baking recipes, visit https://birdsblack.com/

My Farmer Cheese Pie yields enough filling for two pies. If you’re using a Homemade PieCrust then you’ll use both halves.
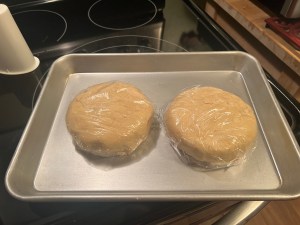
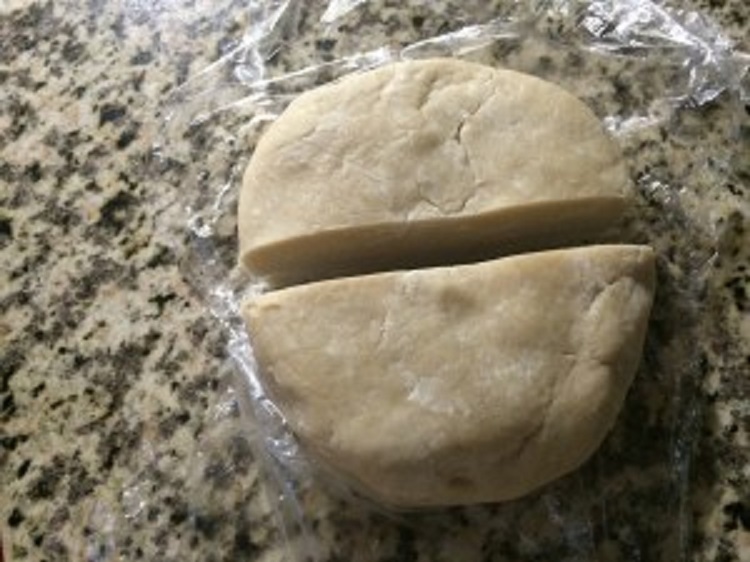
I’m cutting my dough in half here because I want to show both the store-bought, ready-made pie crust and the Homemade Pie Crust for Farmer’s Cheese Pie. I’m wrapping the remaining half of the pie dough tightly in plastic wrap, then into a large zip-lock baggie and transferring it to the freezer for another time.


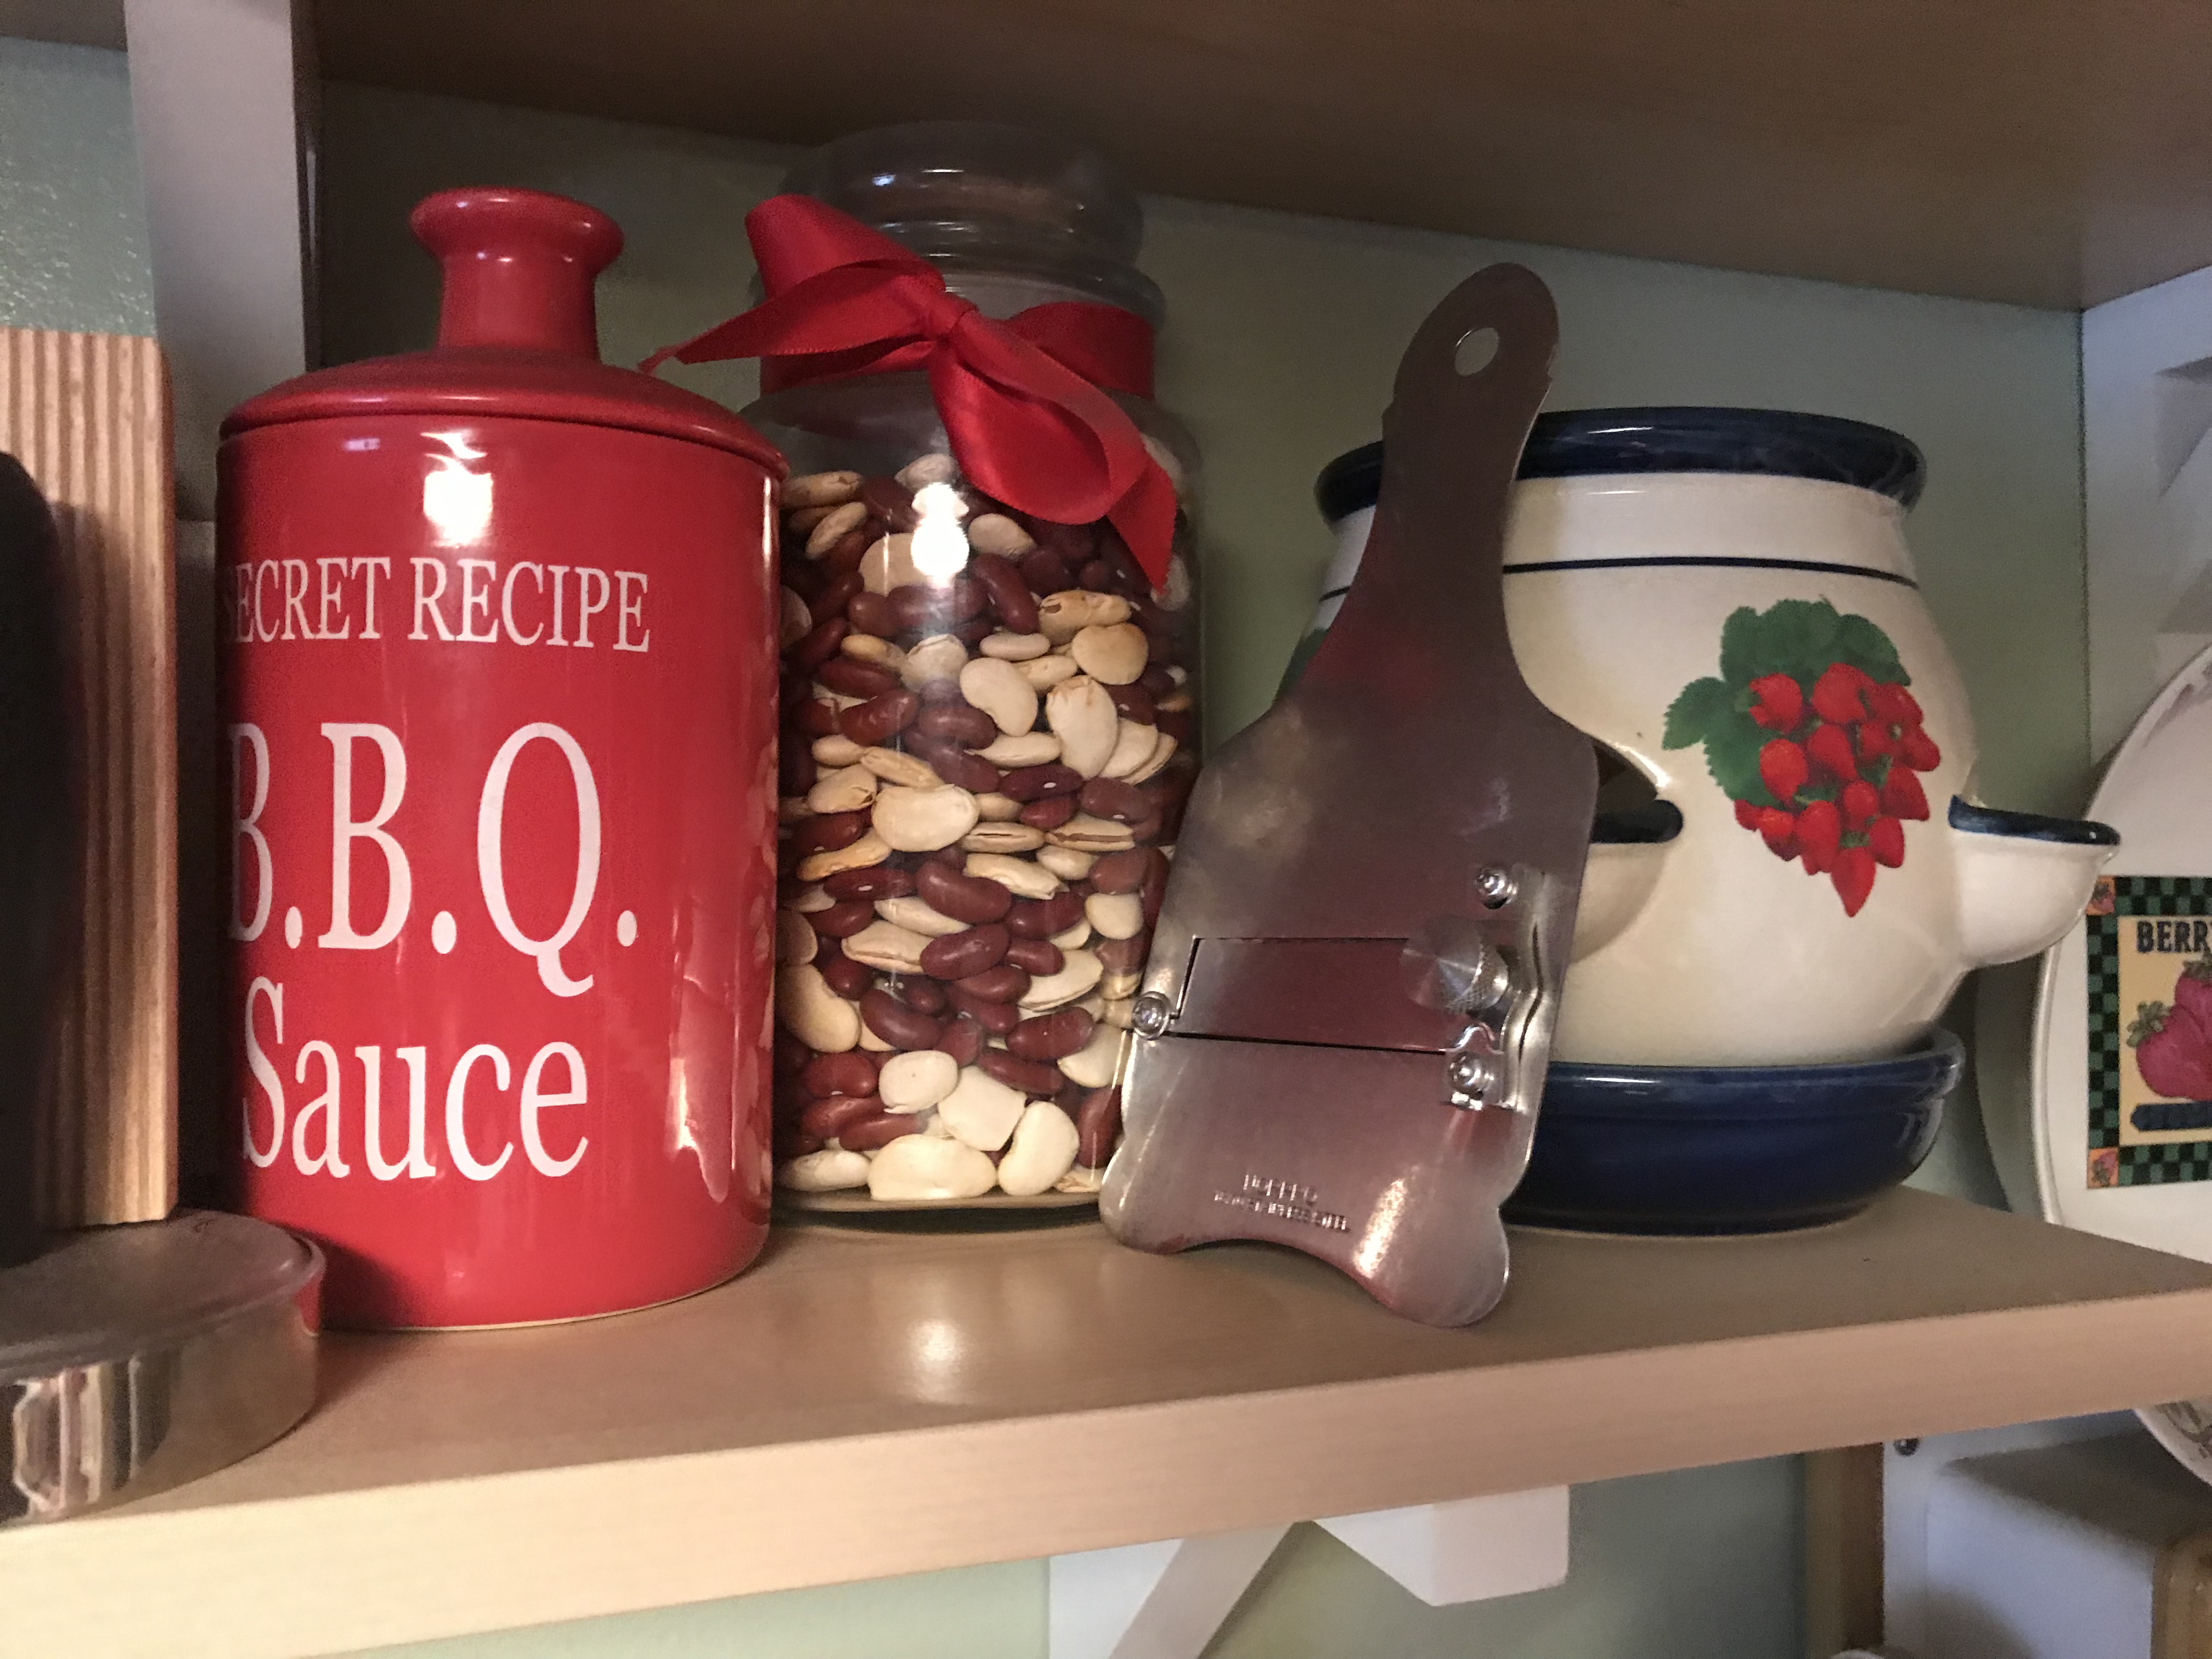
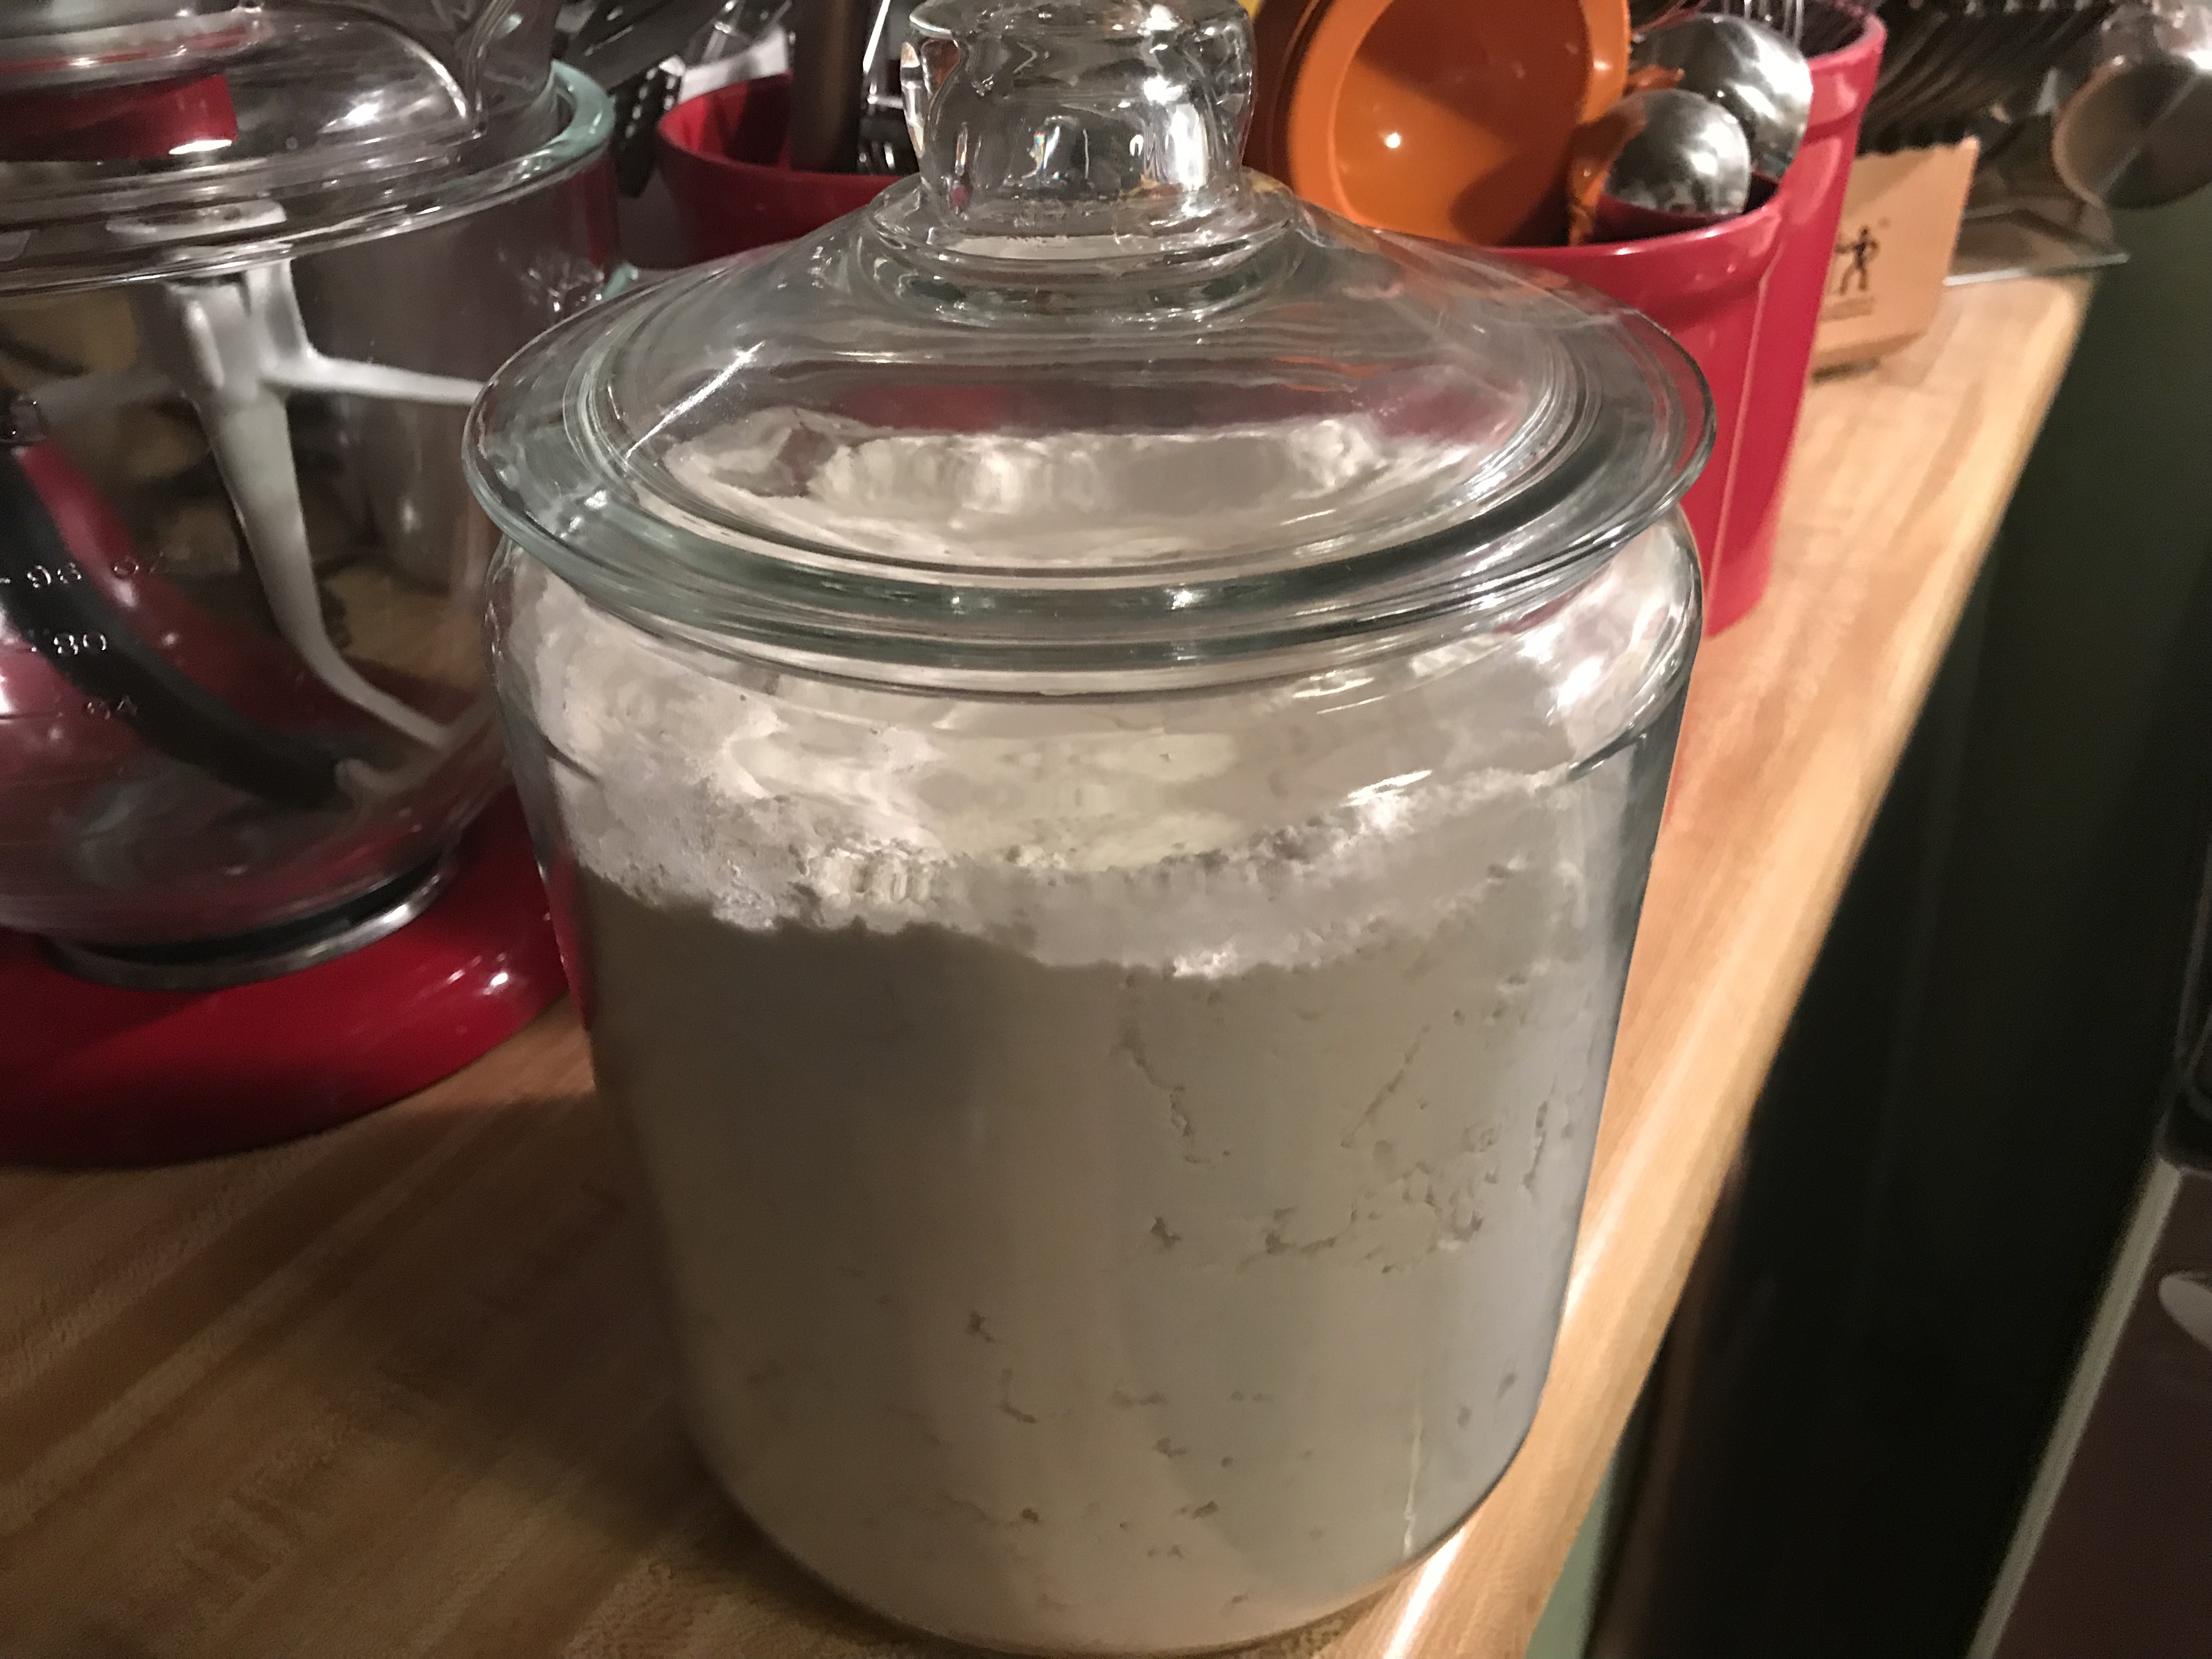
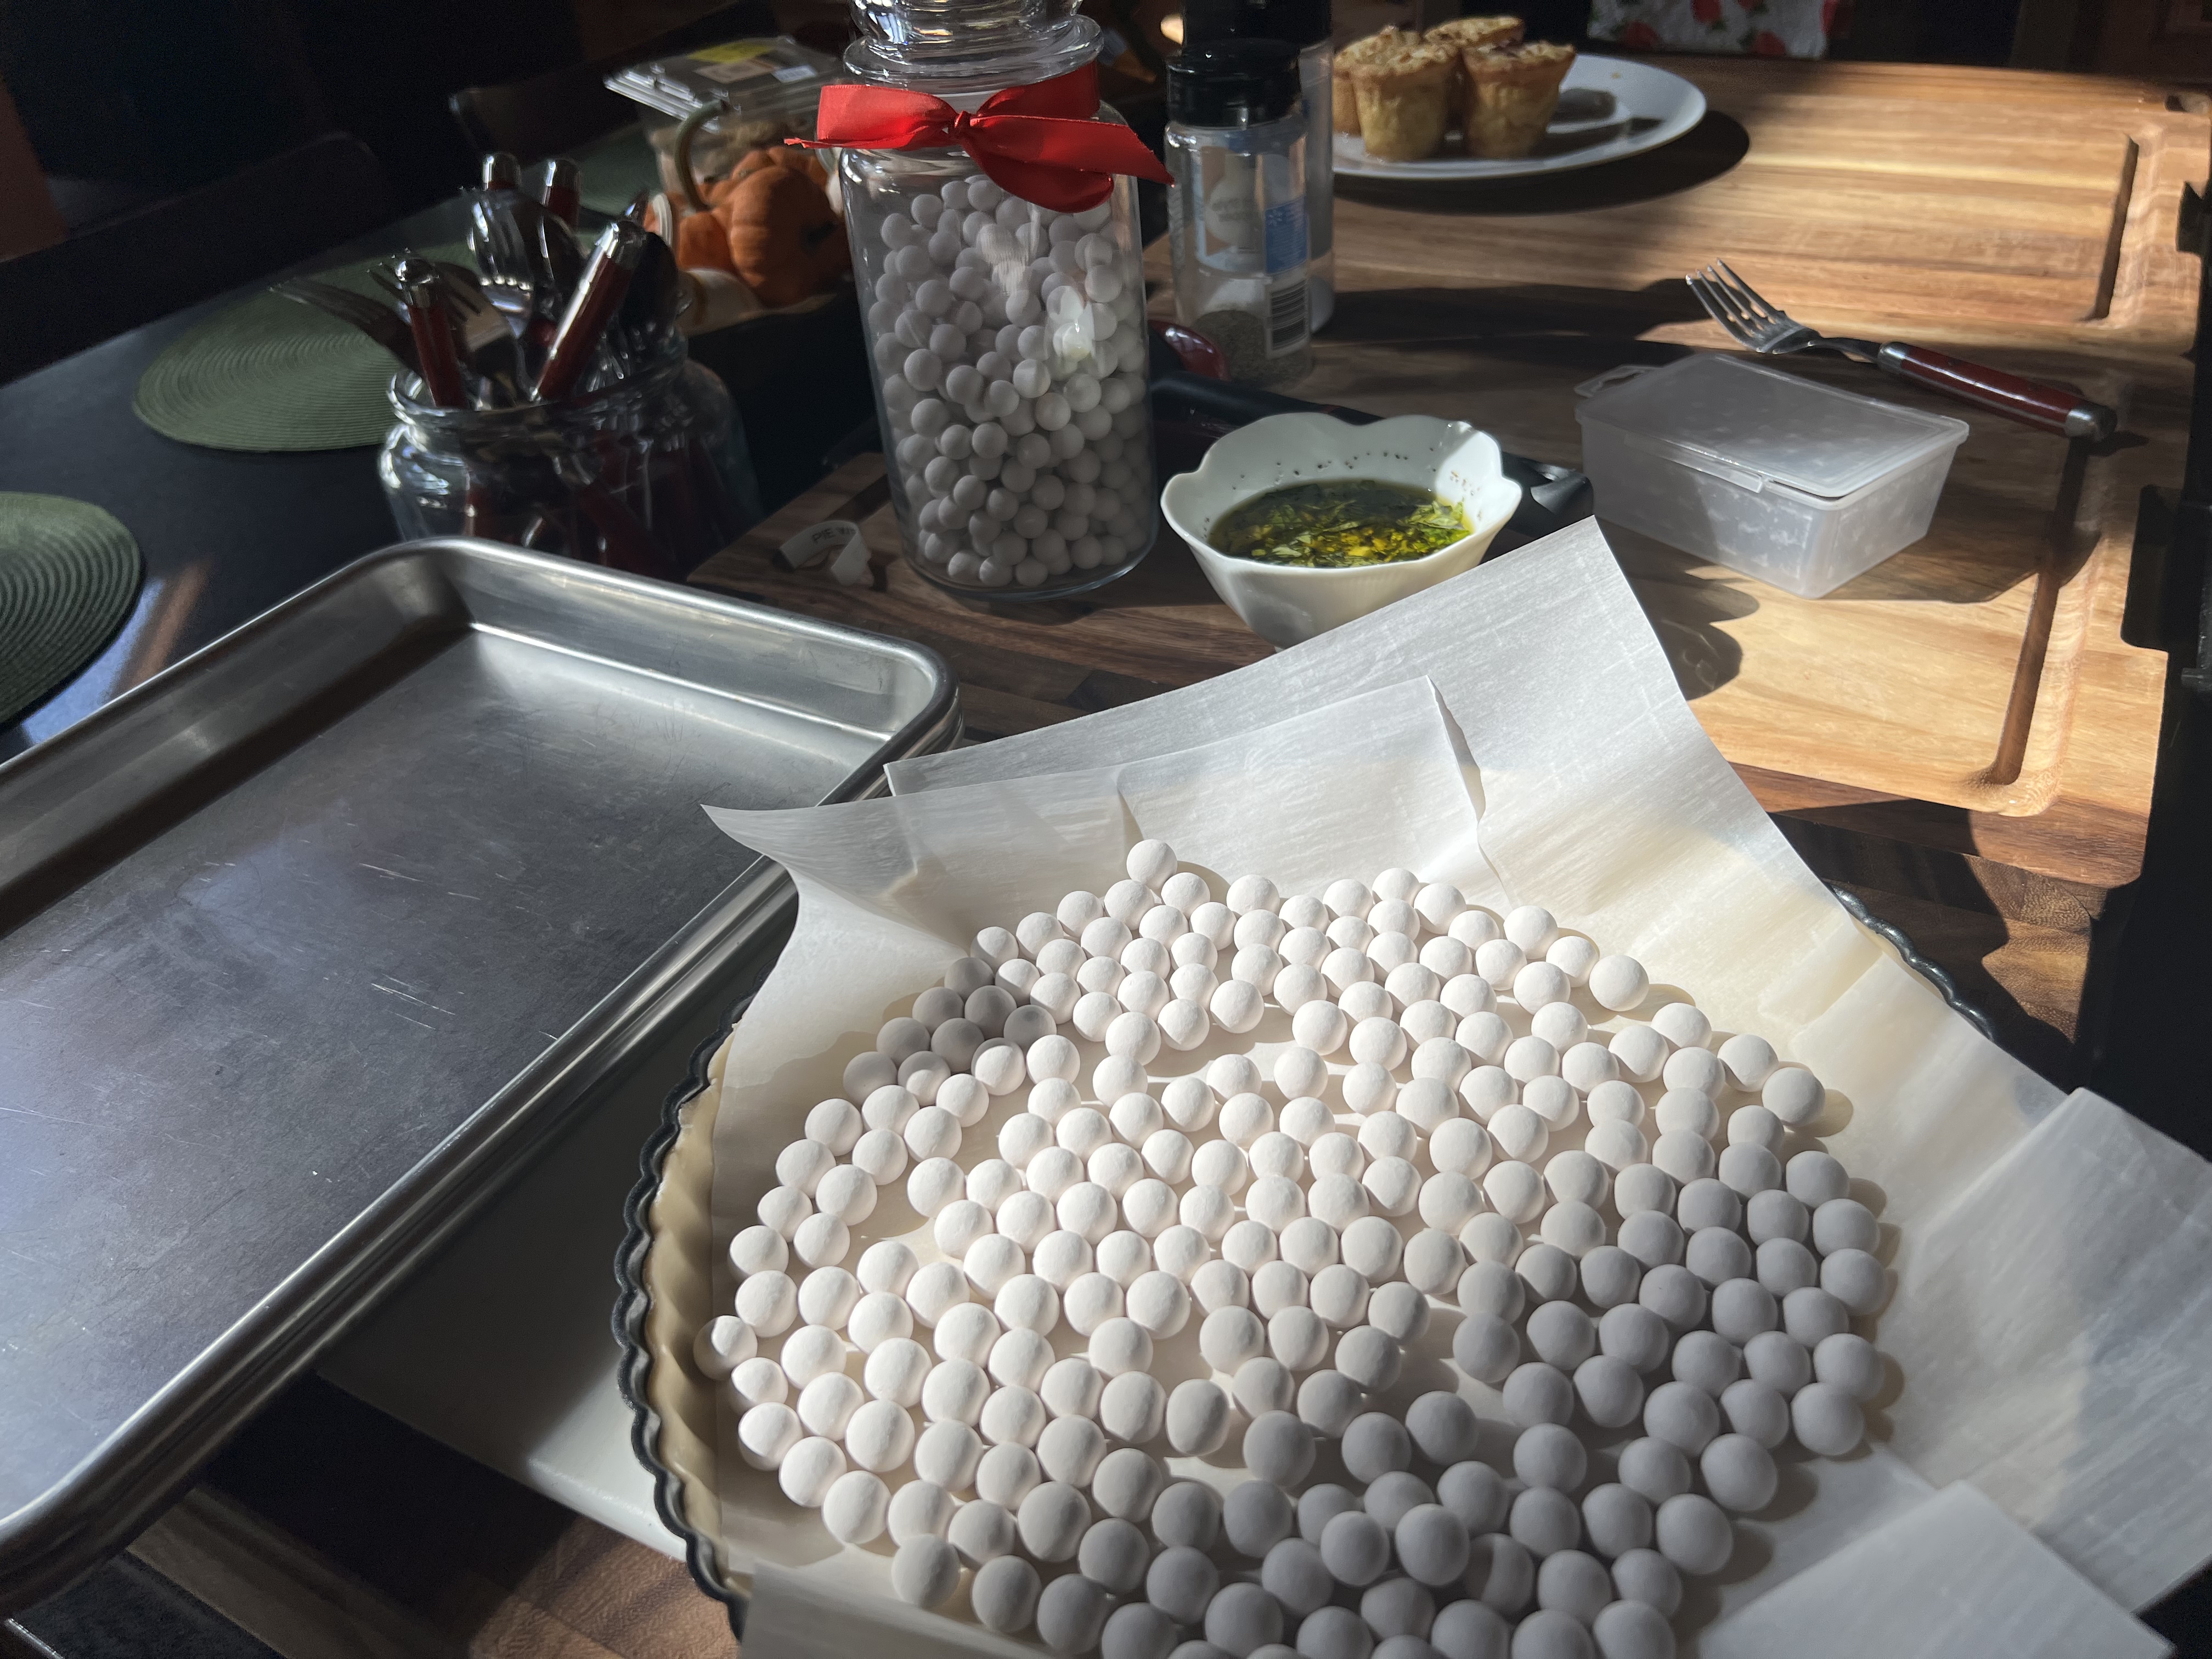
I keep my pie weights (dried beans) in a jar on a shelf in my kitchen. I can use them over and over again by letting them cool completely before placing them back into the jar for the next time.
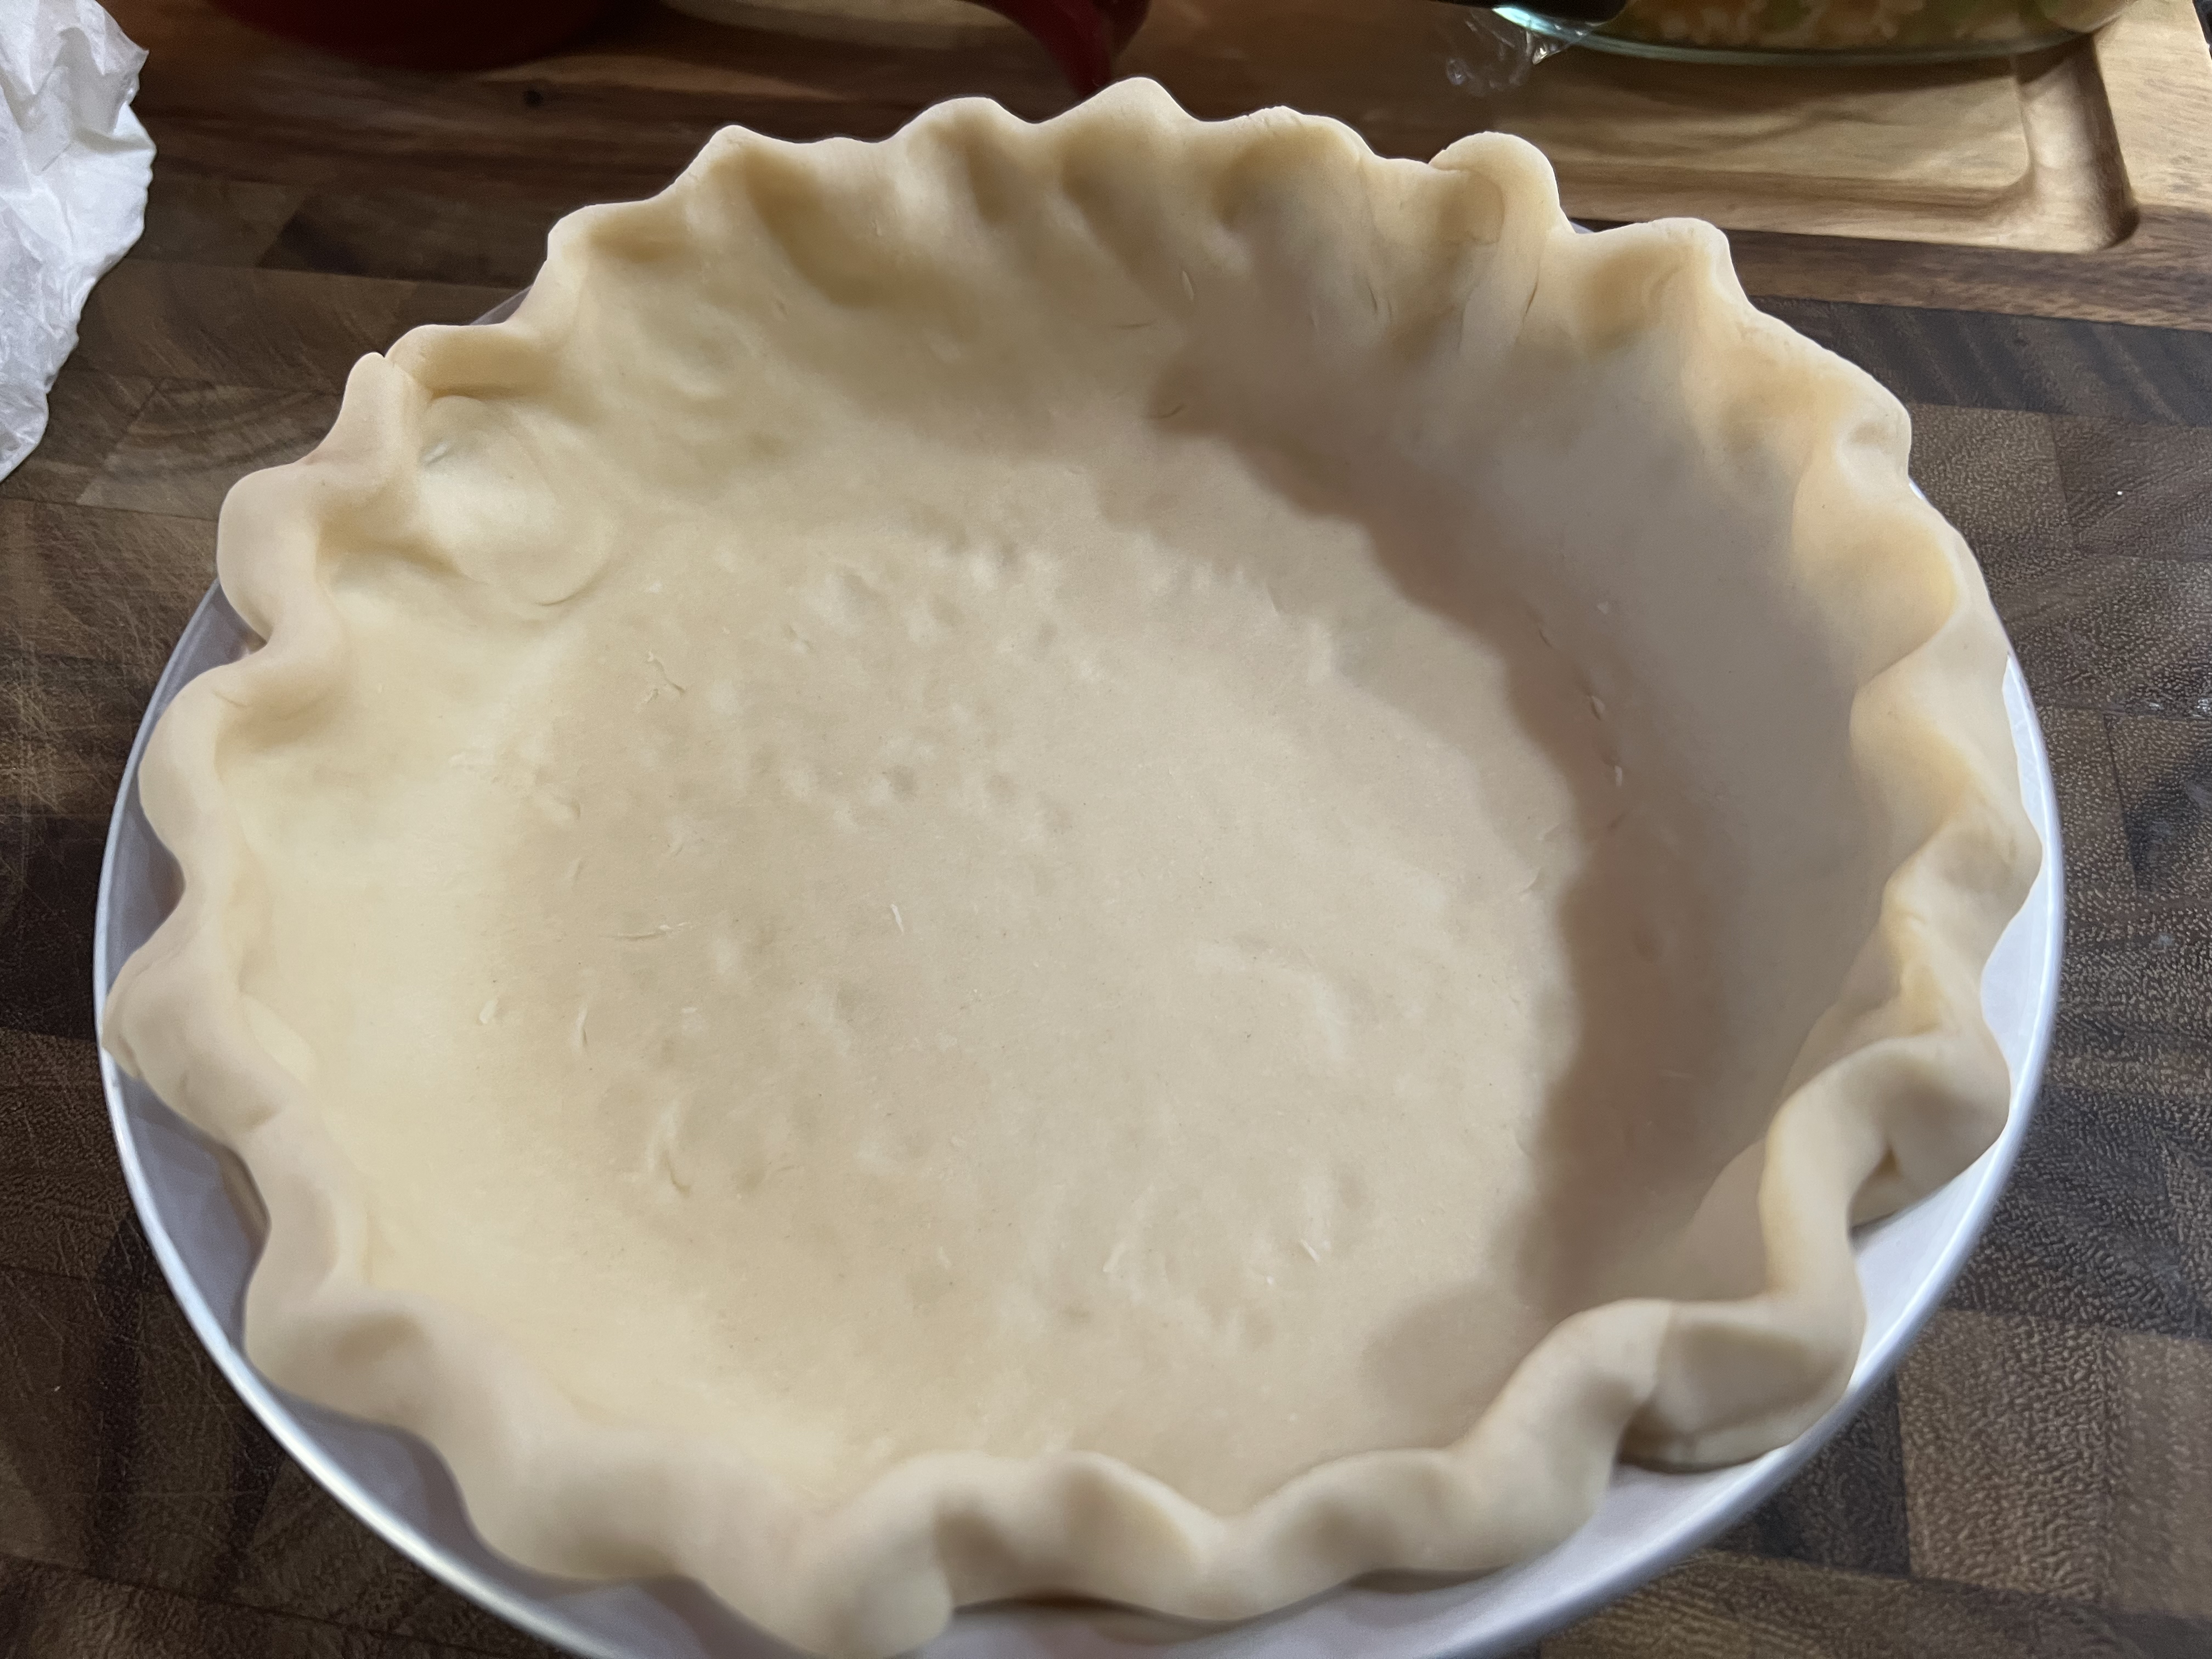
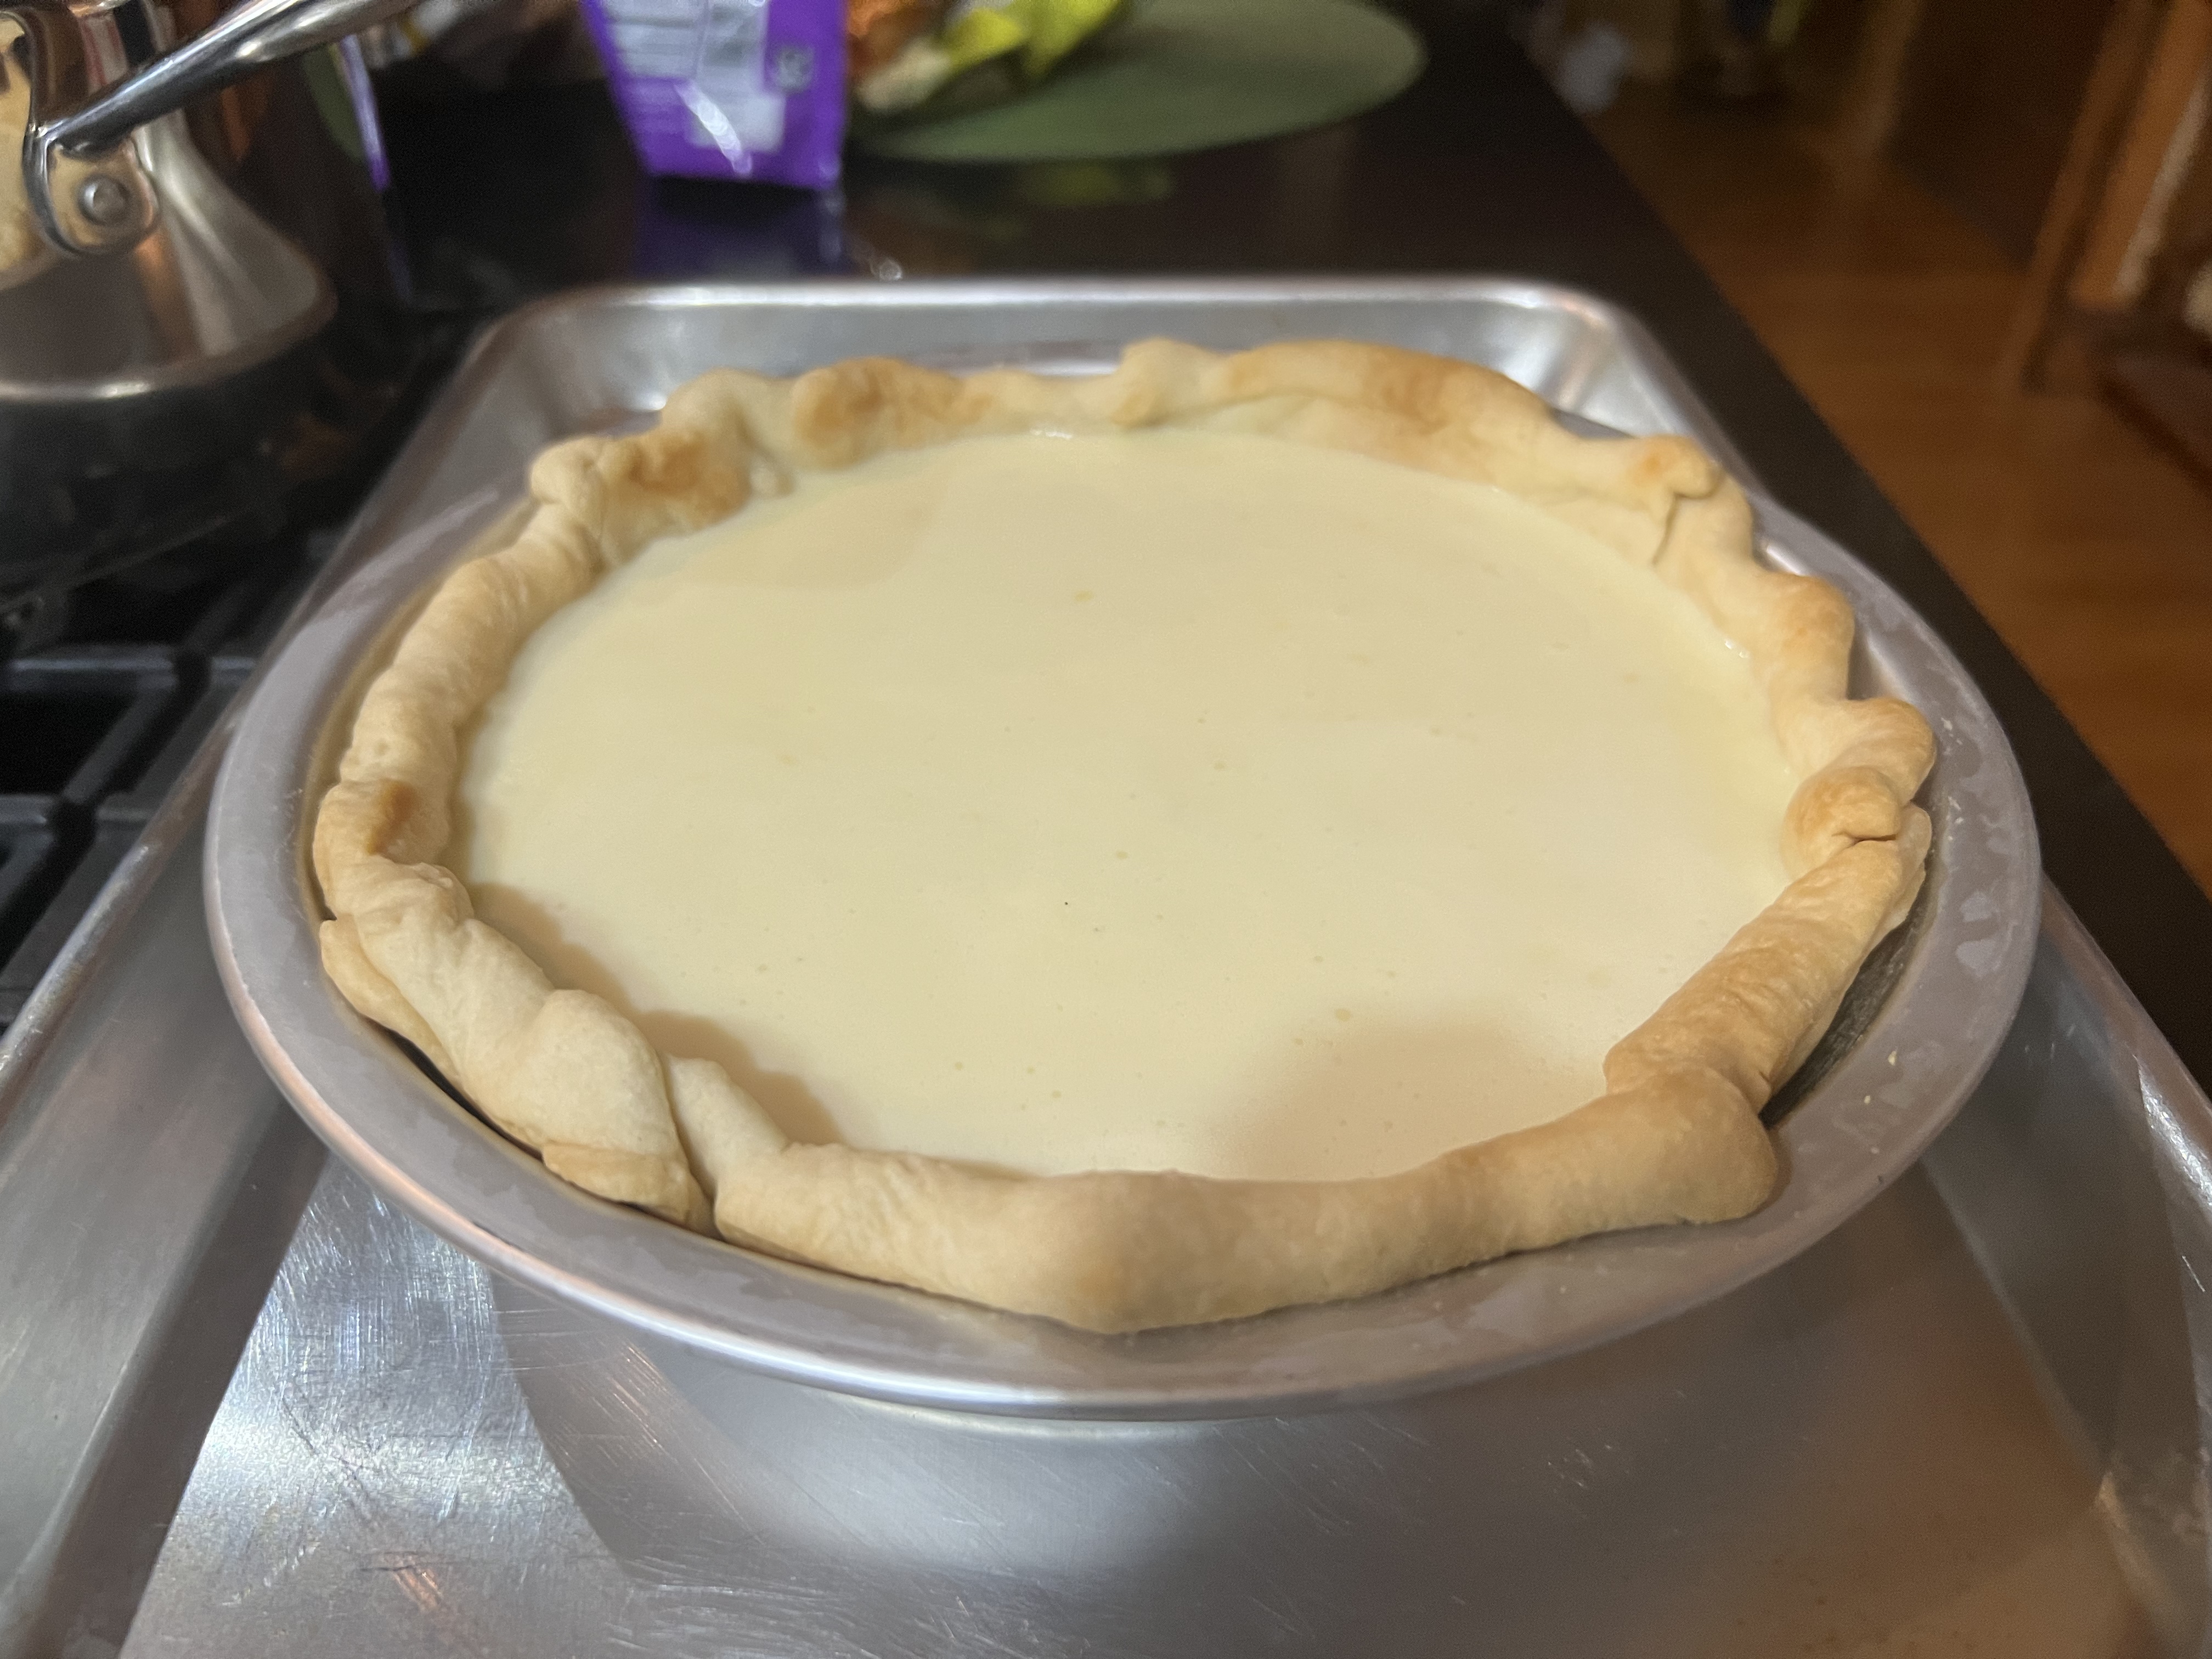
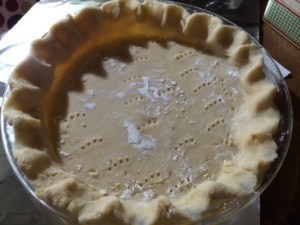
Next, take the dough that’s hanging over the edge of the pie pan and fold it all the way around. Using your fingers, crimp the edges. You won’t need to do this with the store-bought one because it’s already done for you.
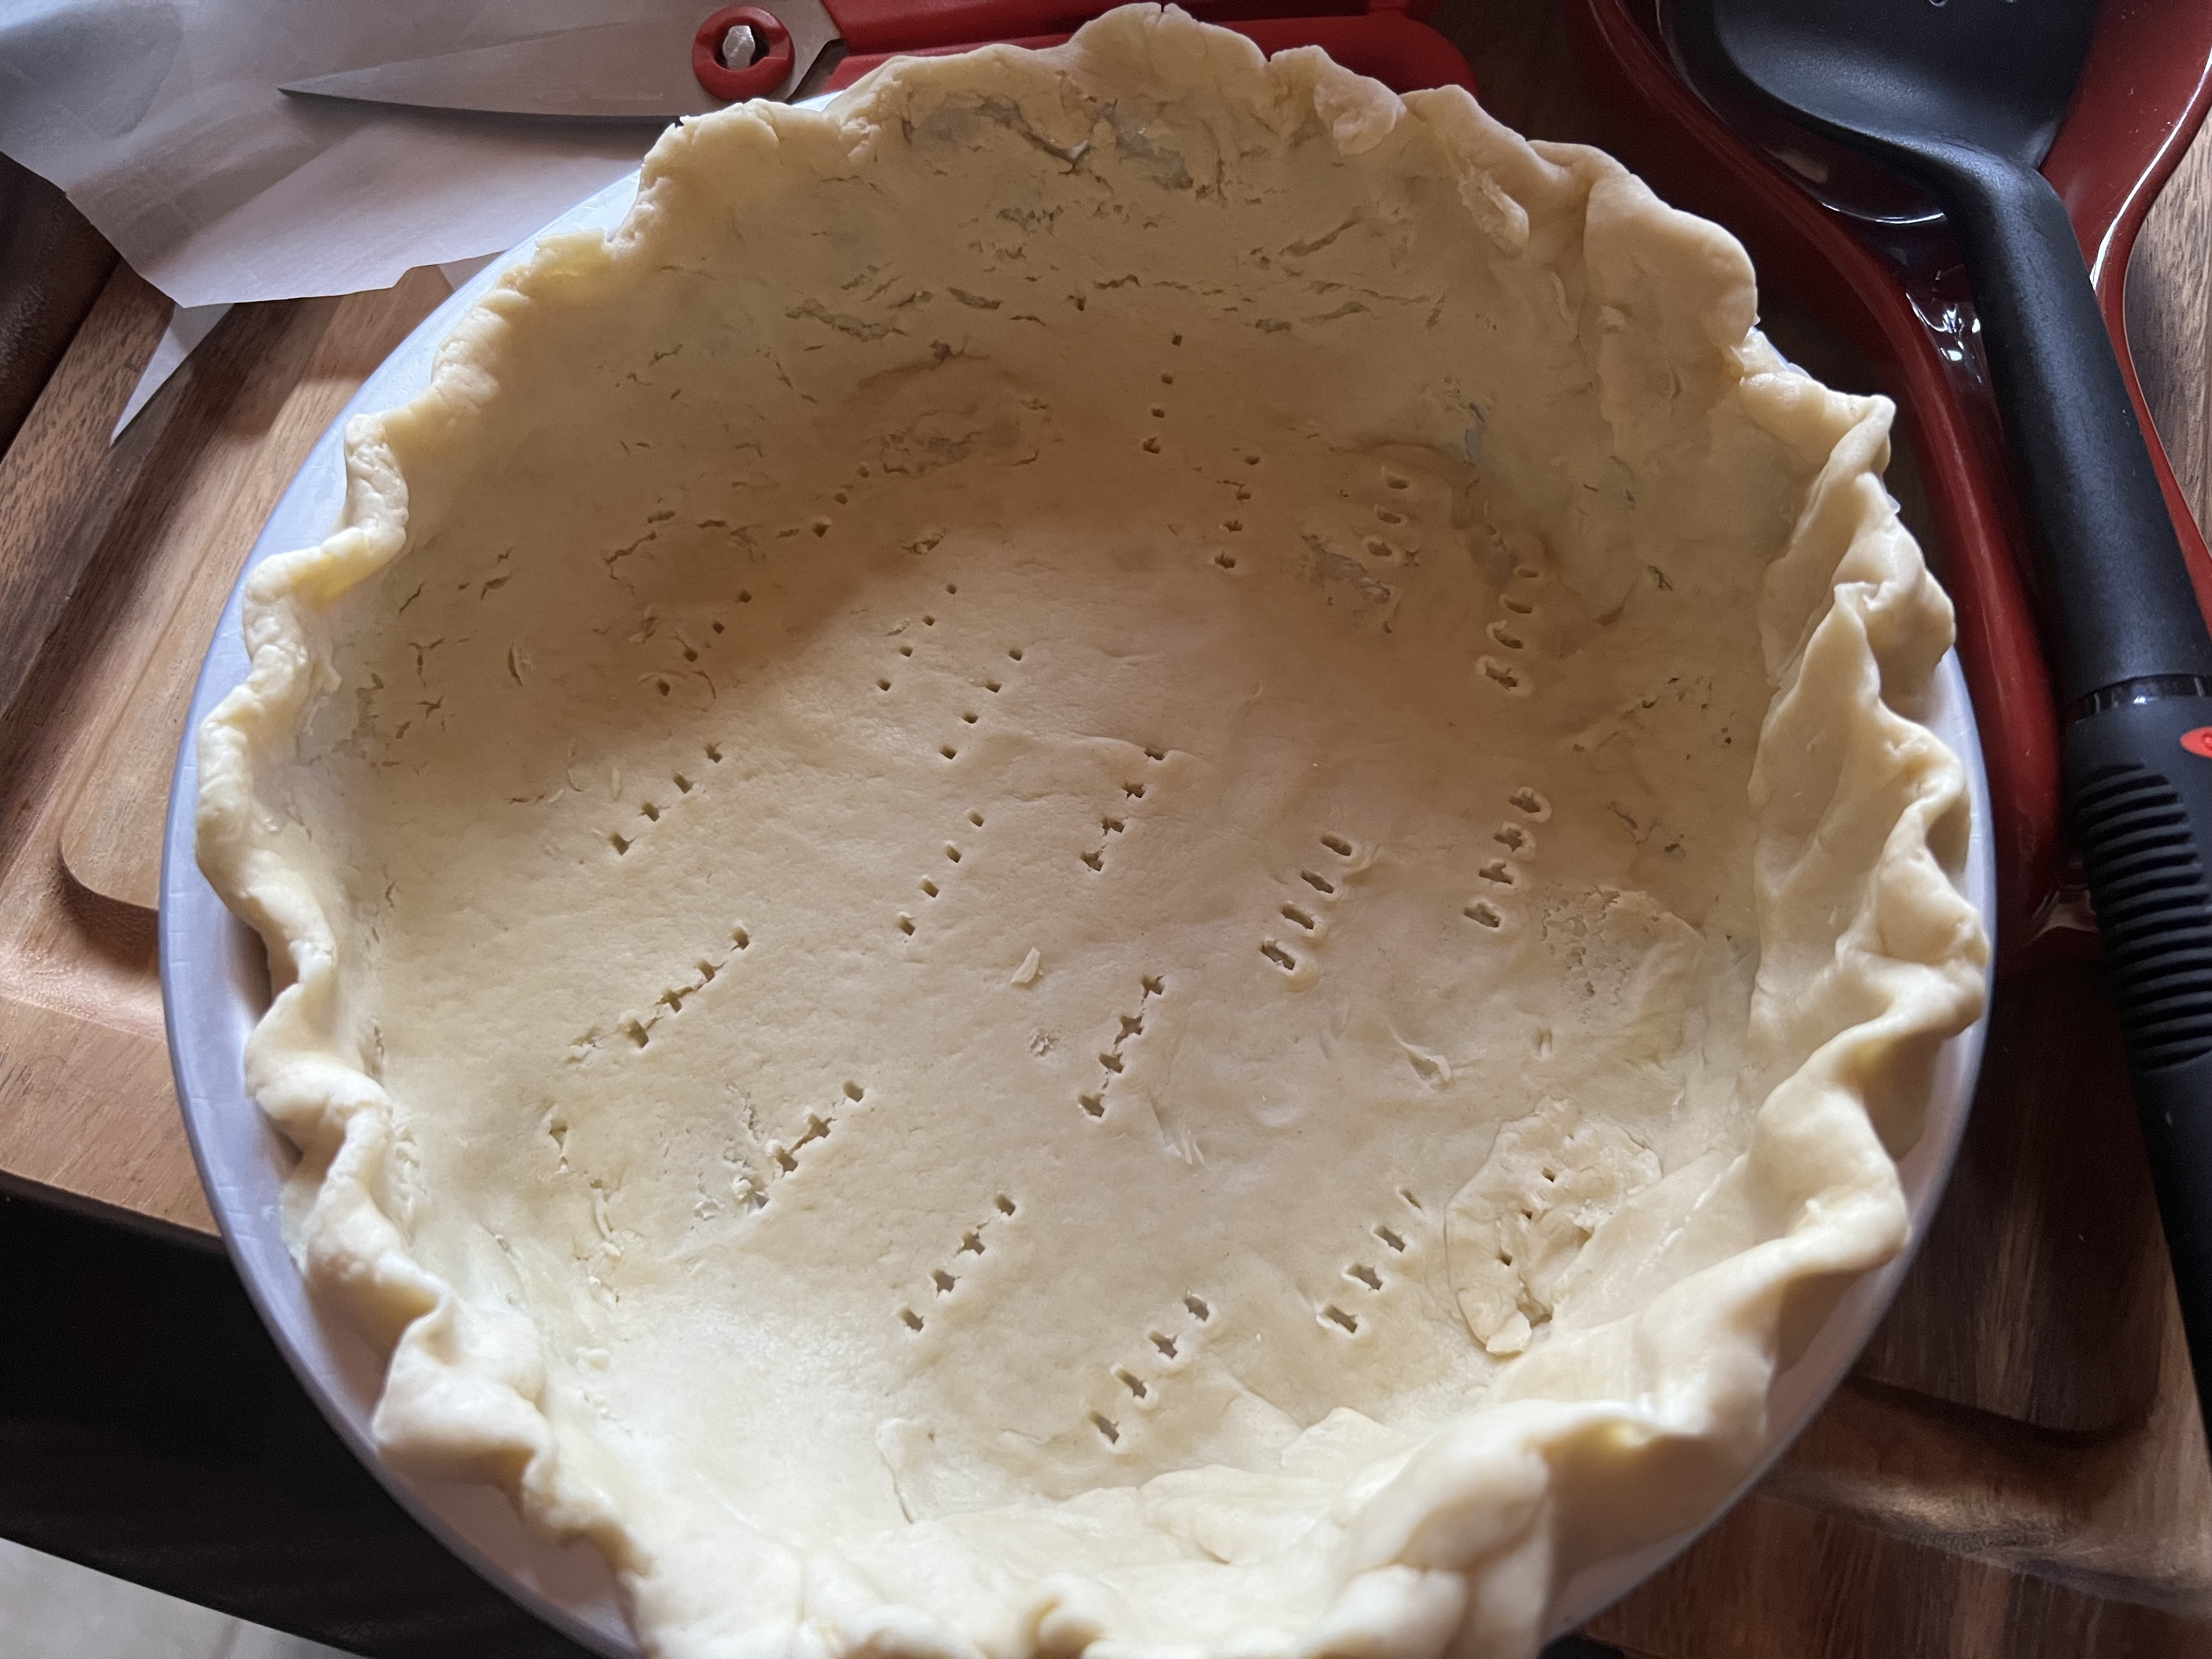
At this point, you want to dock with a fork all over the bottom of the pie crust. Do the same with the thawed store-bought, ready-made crust as well.
Place both pie shells back into the fridge to rest for 1 hour. Doing this will prevent the sides of the pie dough from shrinking and let it maintain its shape. While this is happening, work on the filling.


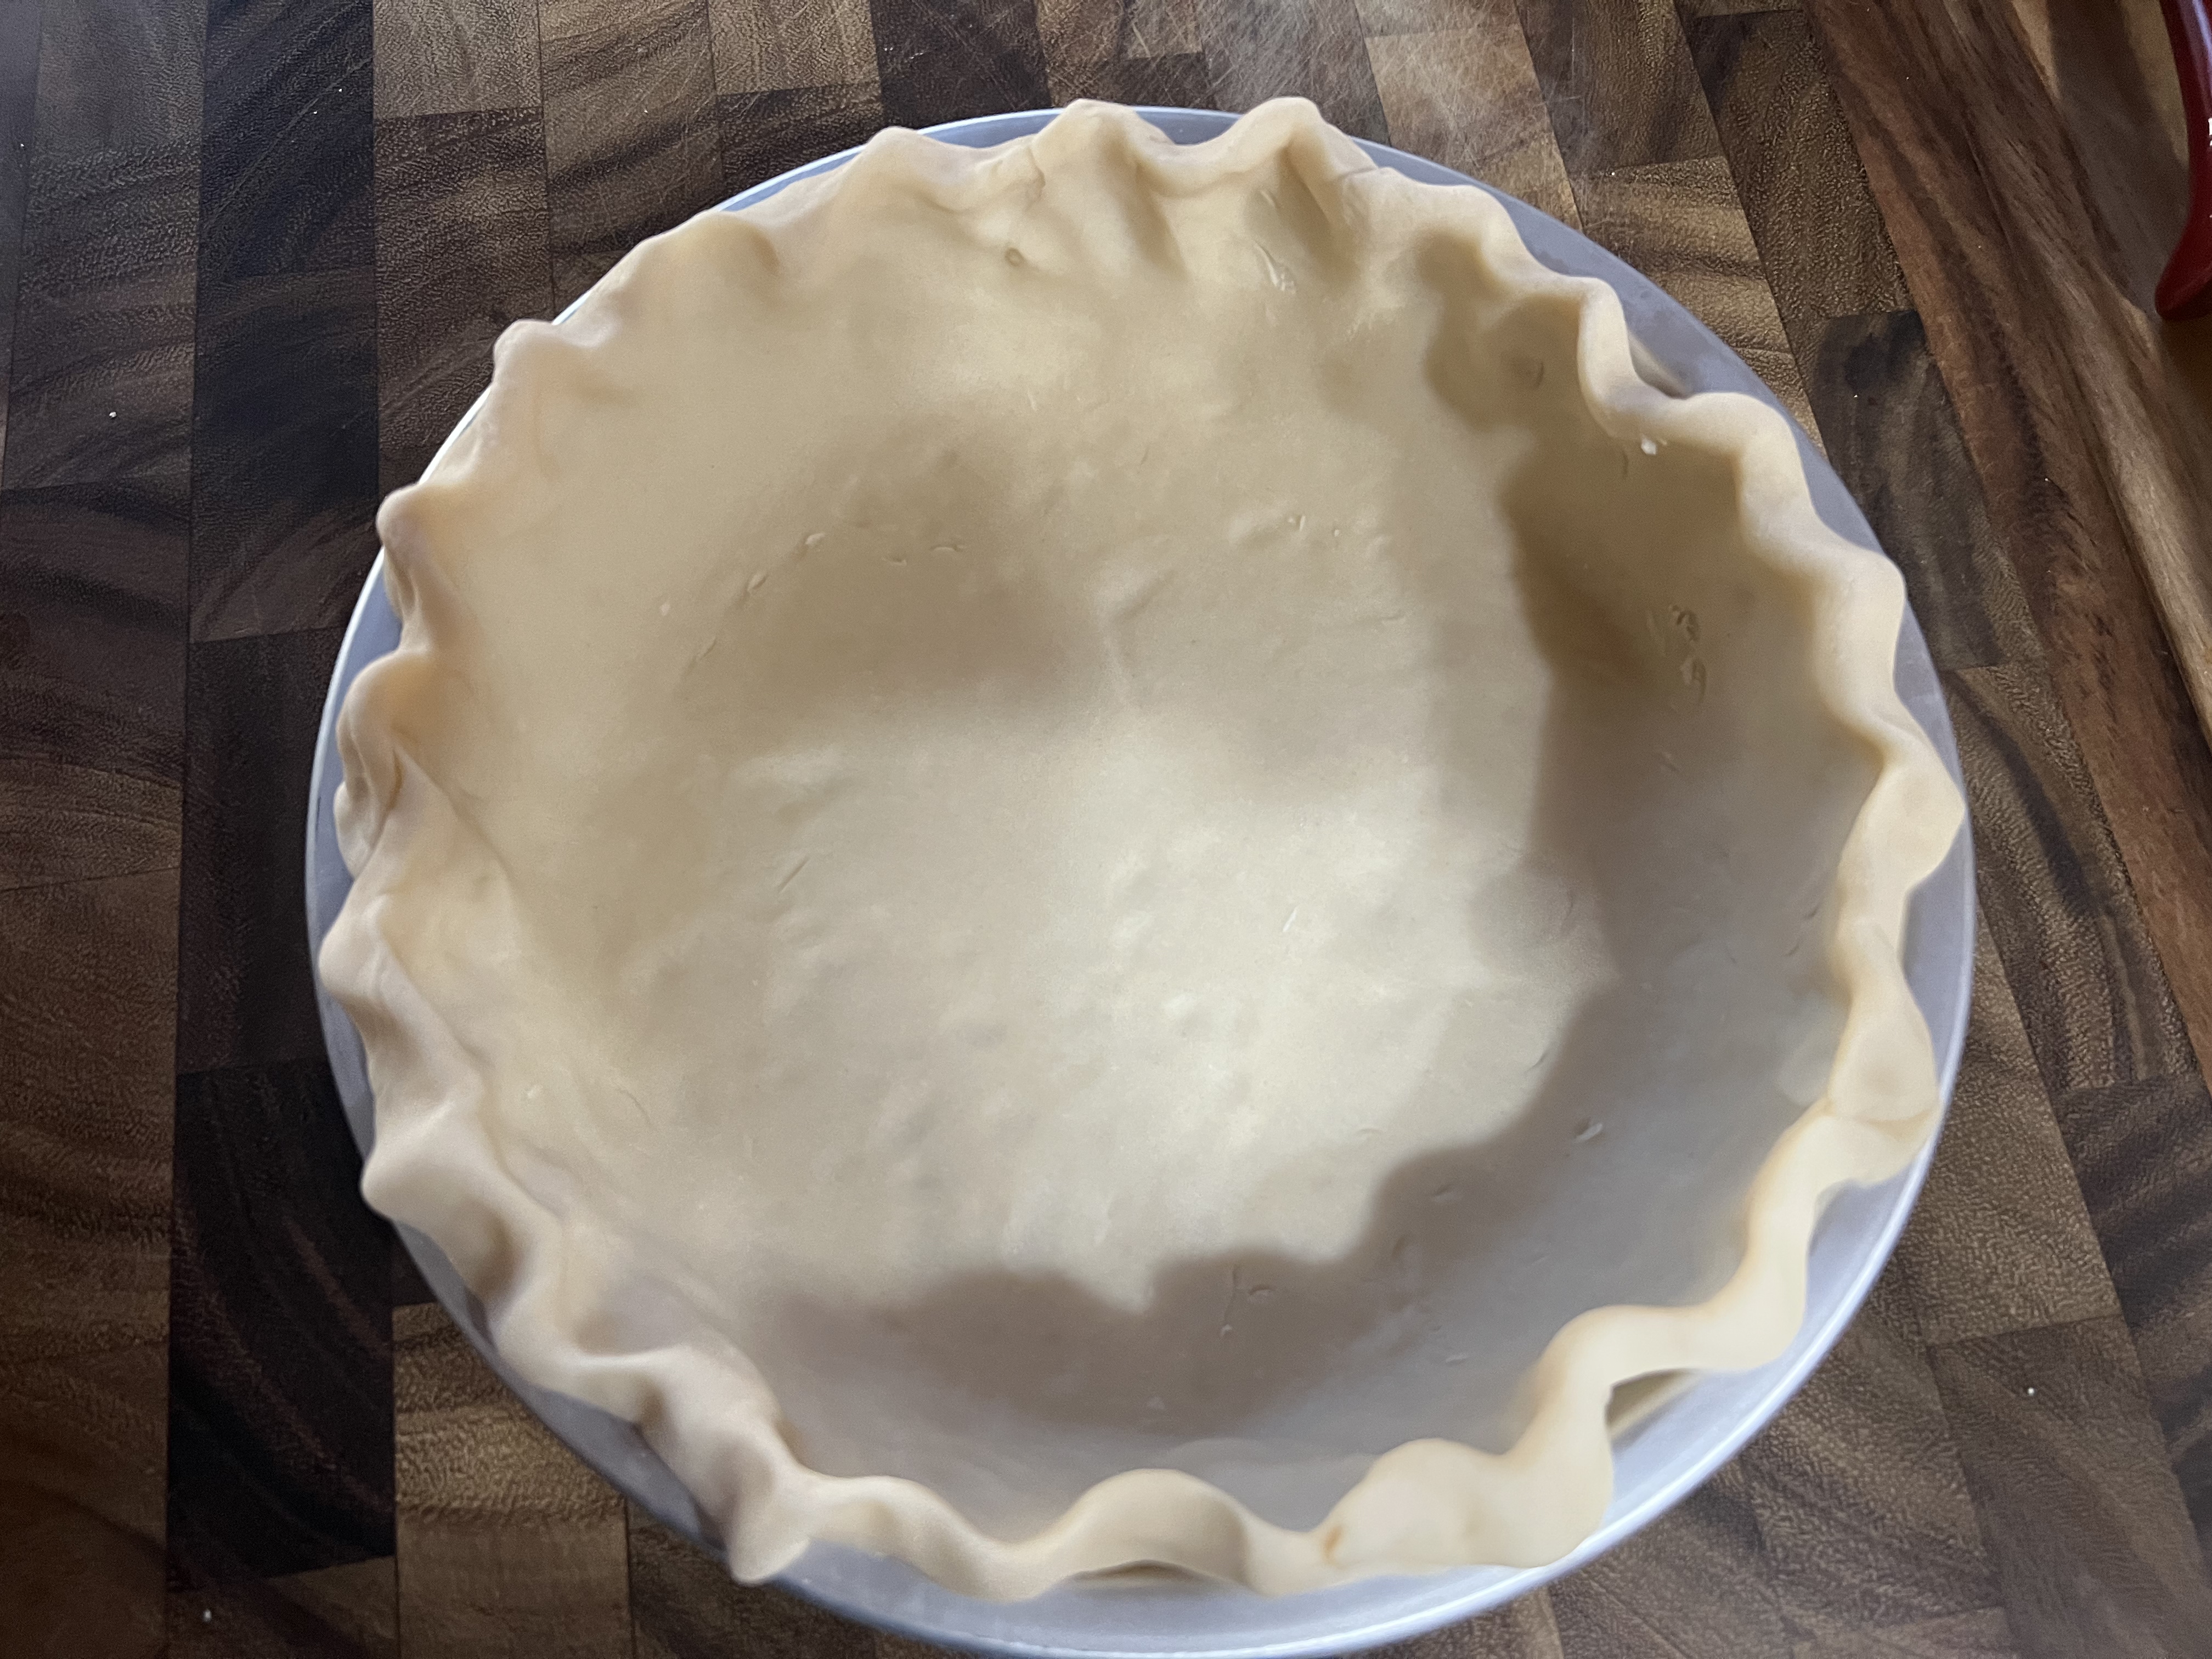
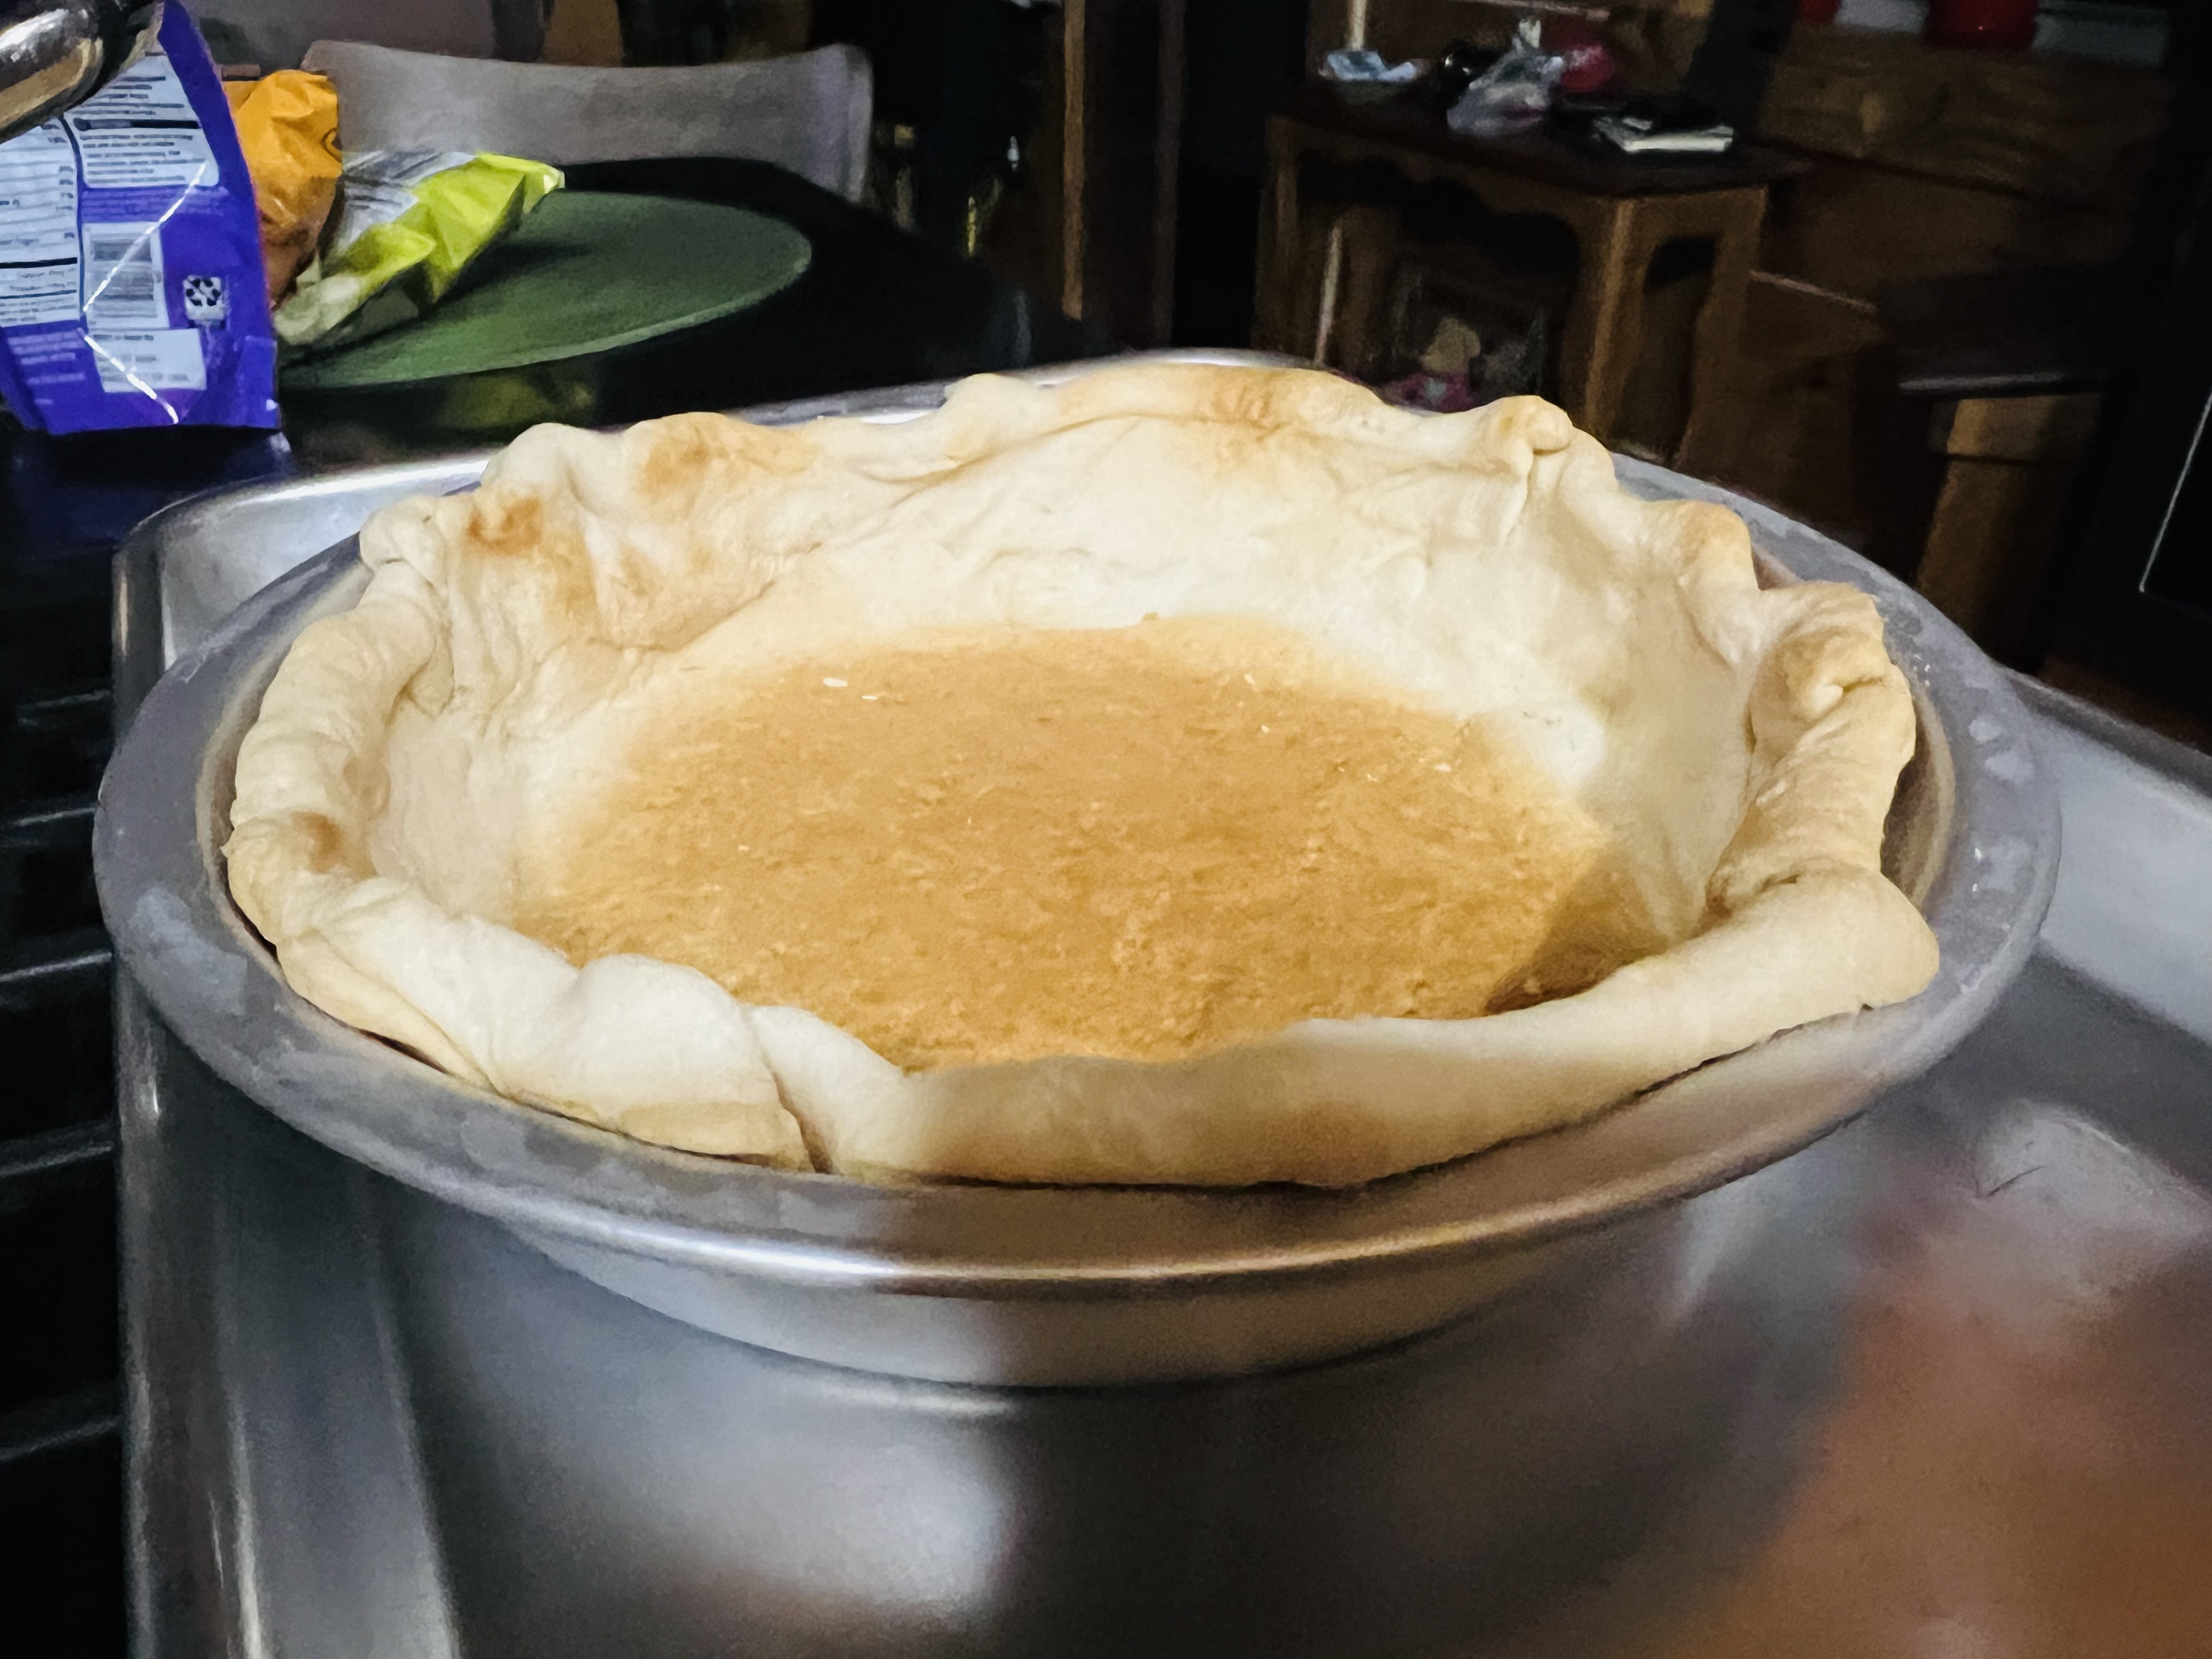
The picture below is the Homemade Pie Crust. The rest of the pictures are of ready-made store-bought pie crusts. The dough is rolled out thinner than my Homemade Pie Crust.

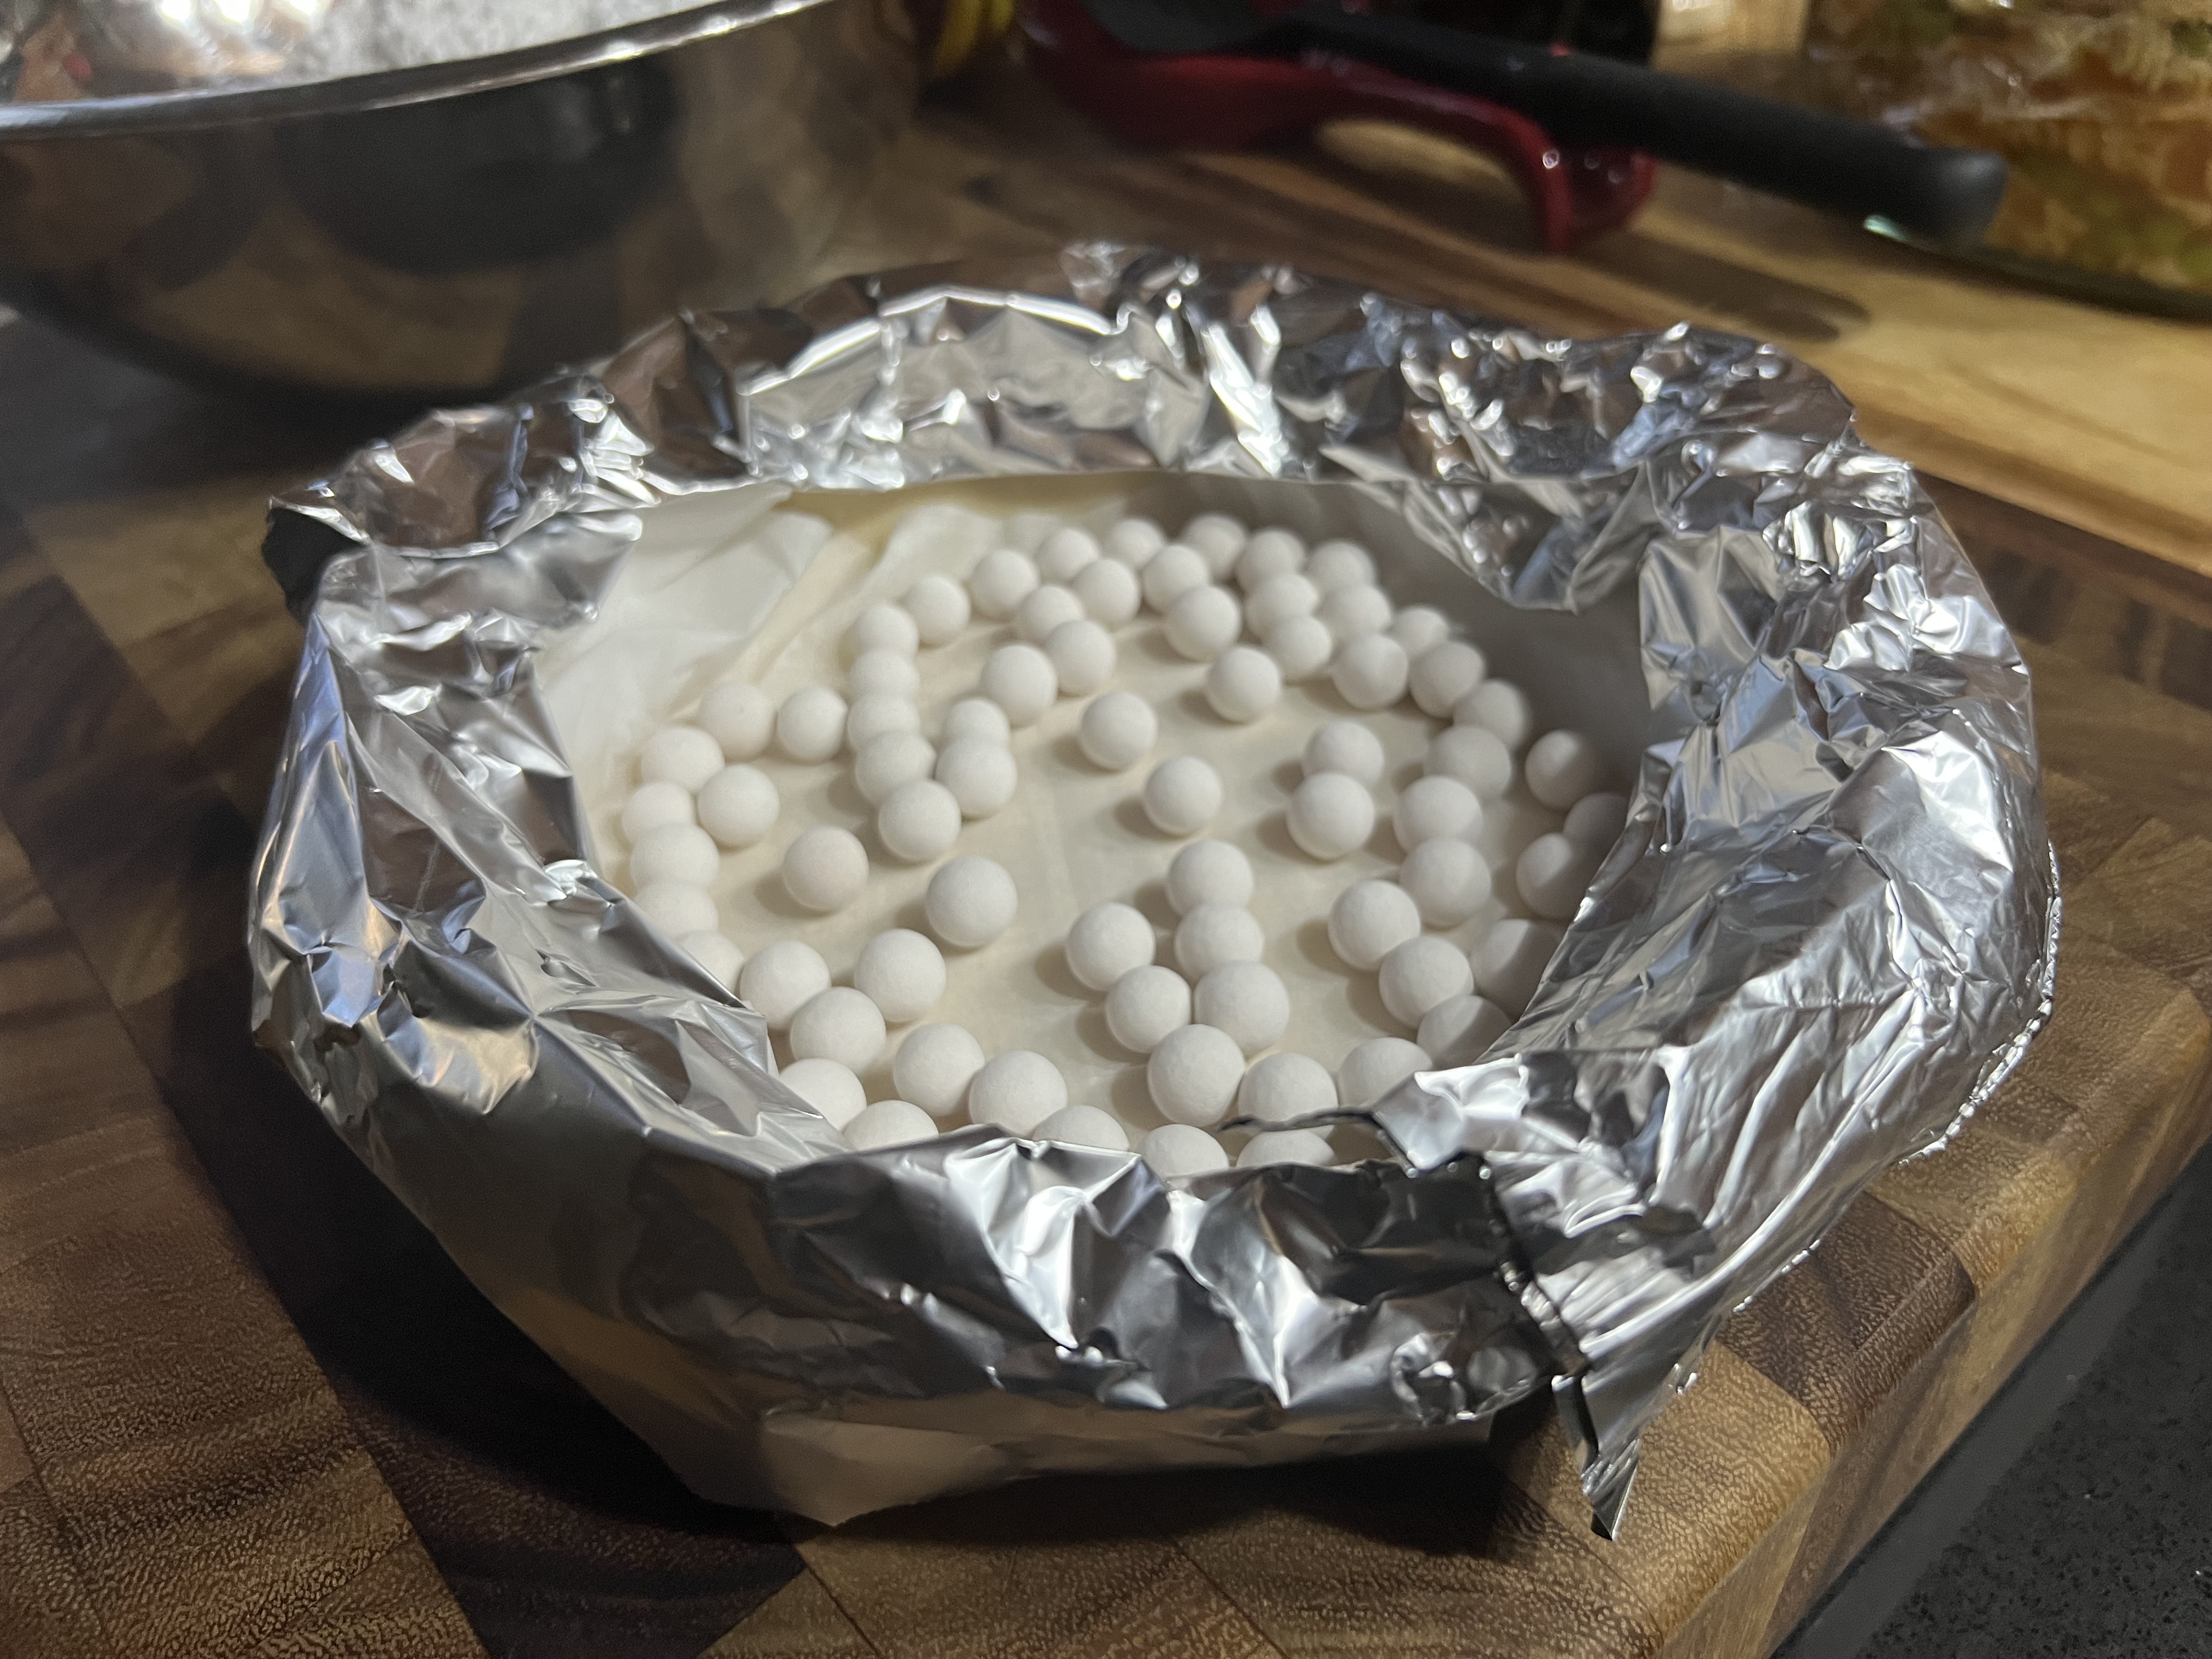
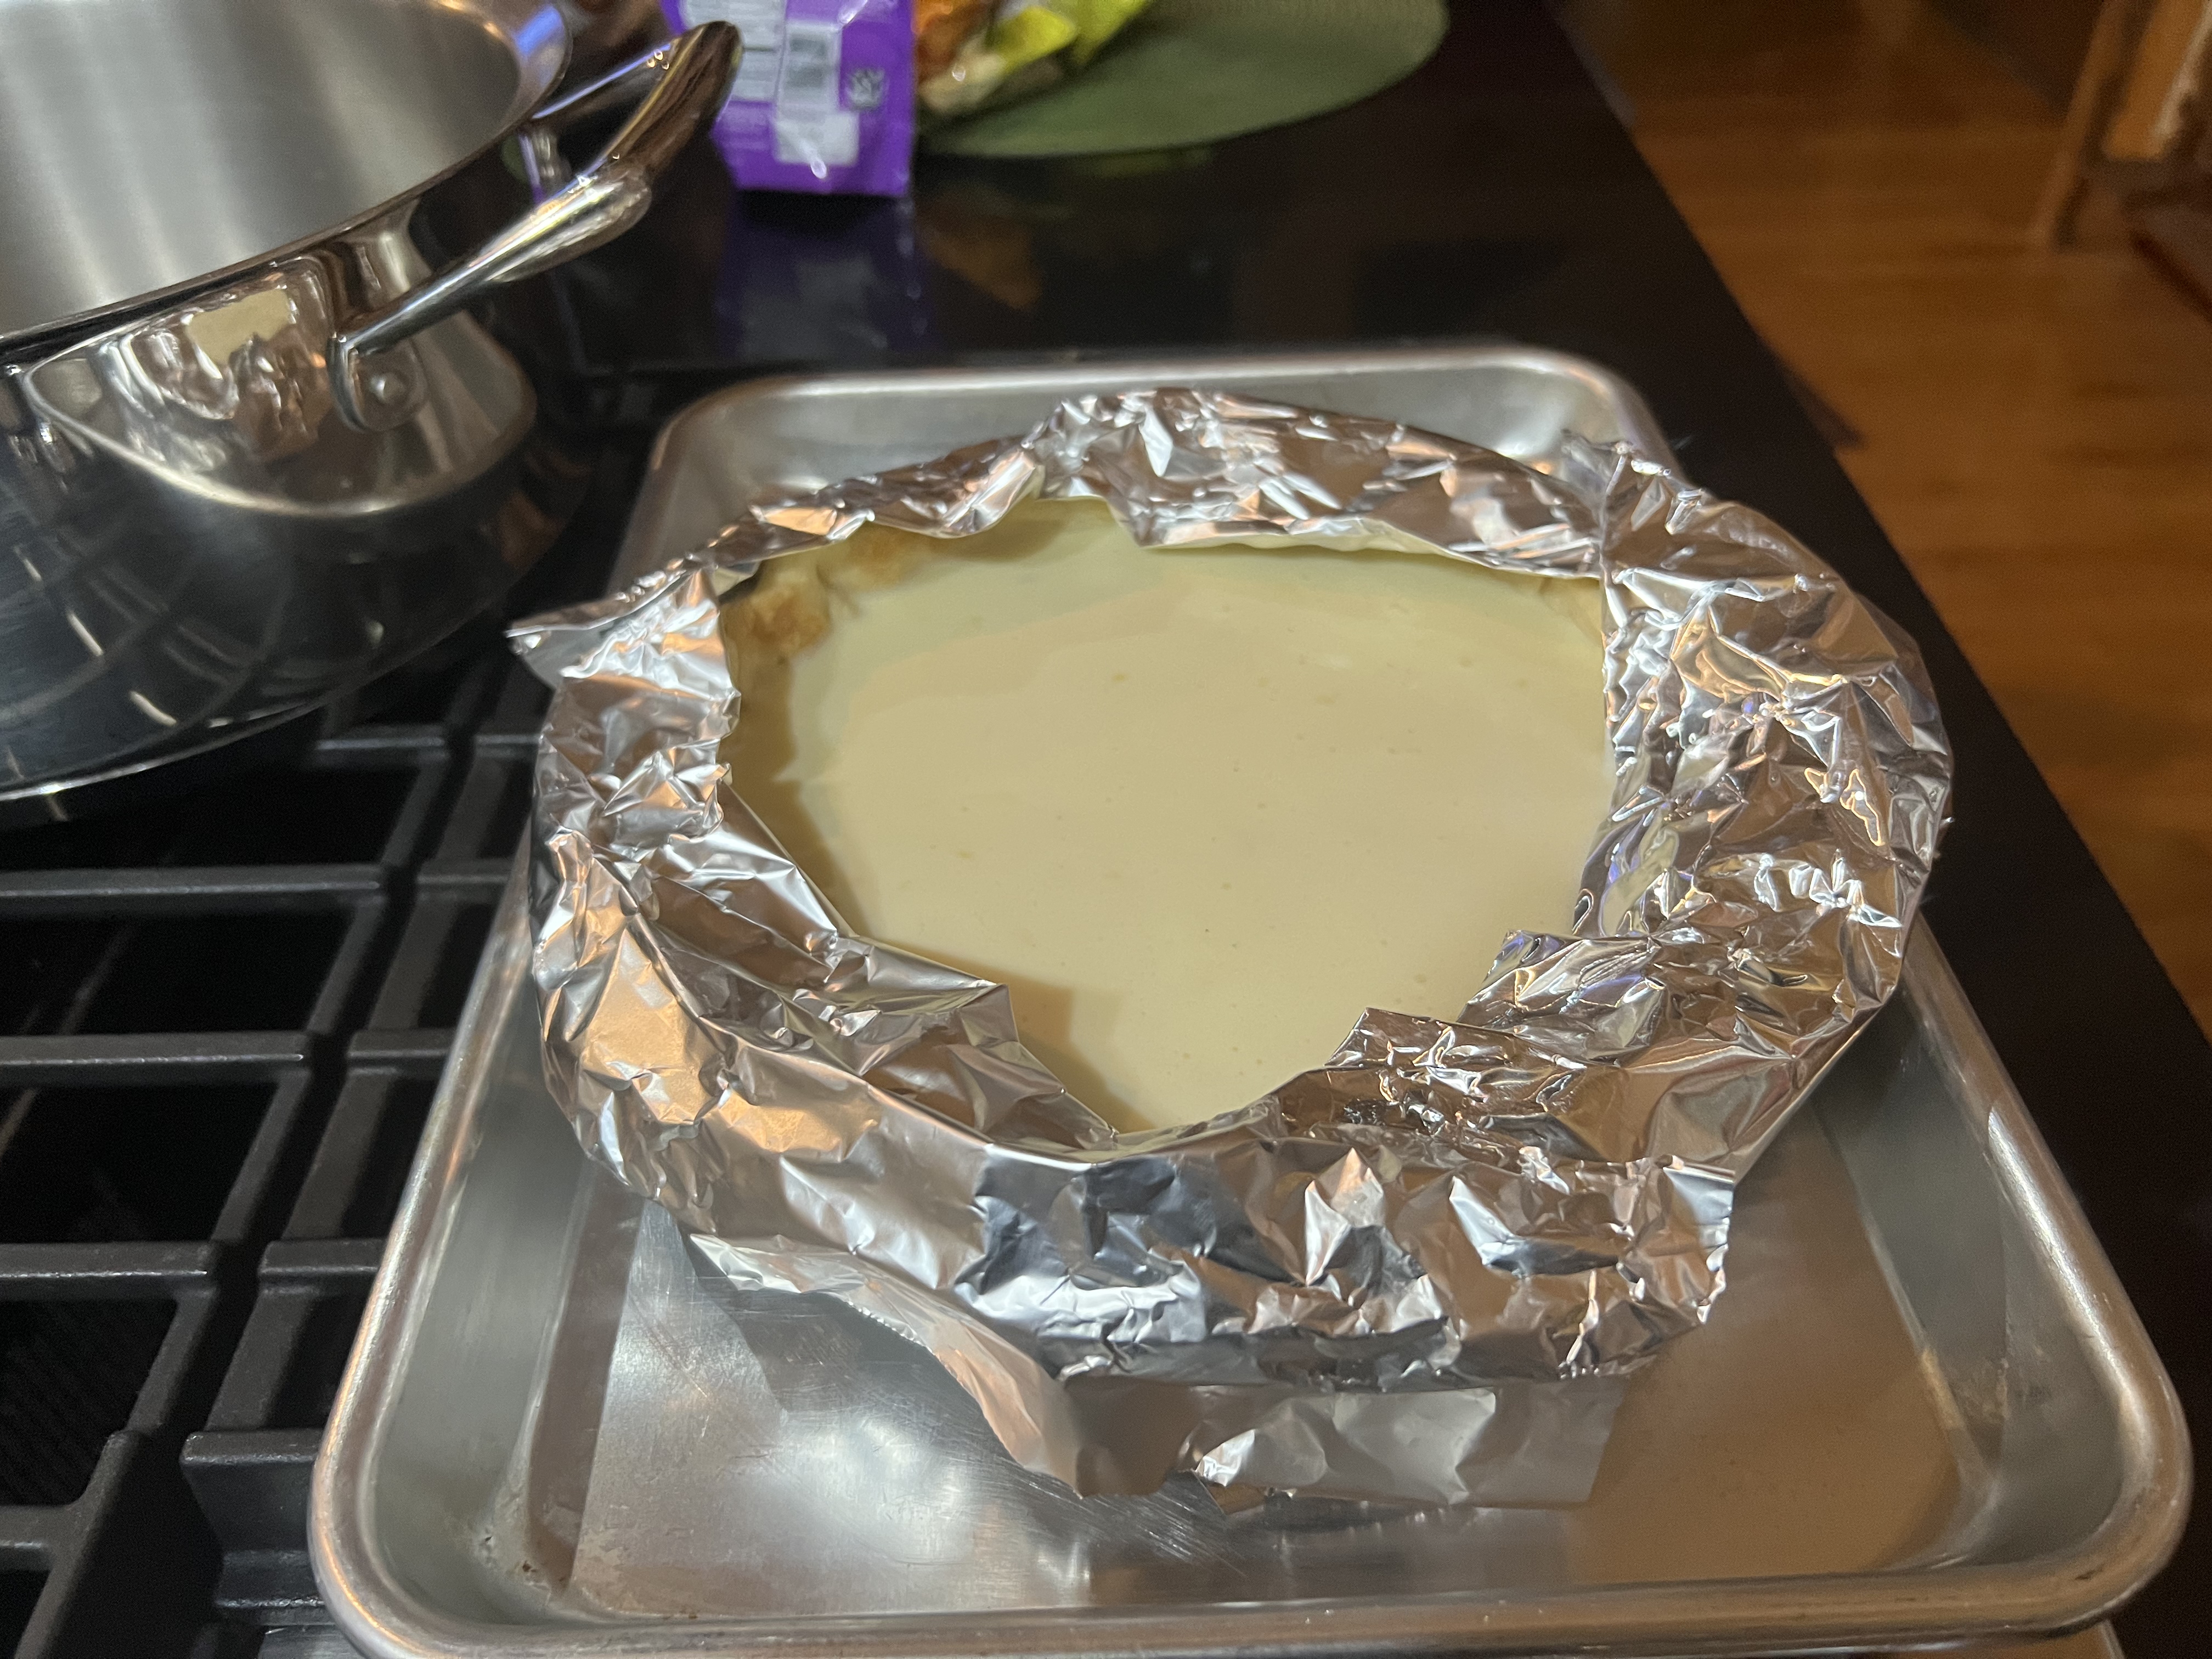

The picture below is what’s known as a silicone pie crust cover. It will prevent your crust from burning before the pie is done. You can also use substitute aluminum foil.

Prep Time: 15 minutes
Cook Time: 35-40 minutes
Resting Time: 1 hour
Total Time: 2 hours 5 minutes
Yields: 2 pies, 12 servings
Equipment: hand-held electric mixer, 1 (8-inch) metal pie pan, 1 (9-inch) glass pie pan, rolling pin, parchment paper, silicone pie crust cover, and or aluminum foil, 2 rimmed baking sheet pans, pie weights or dried beans
Ingredients:
1 homemade disk of pie dough, rolled out to a circle, 10 inches in diameter, 1/8-inch in thickness
1 (13.2-ounce) Jus-Rol ready-made, store-bought pie crust
2 (7.5-ounce) bars of Farmer cheese, room temperature
3 1/2 cups powdered sugar
1 teaspoon of Kosher salt
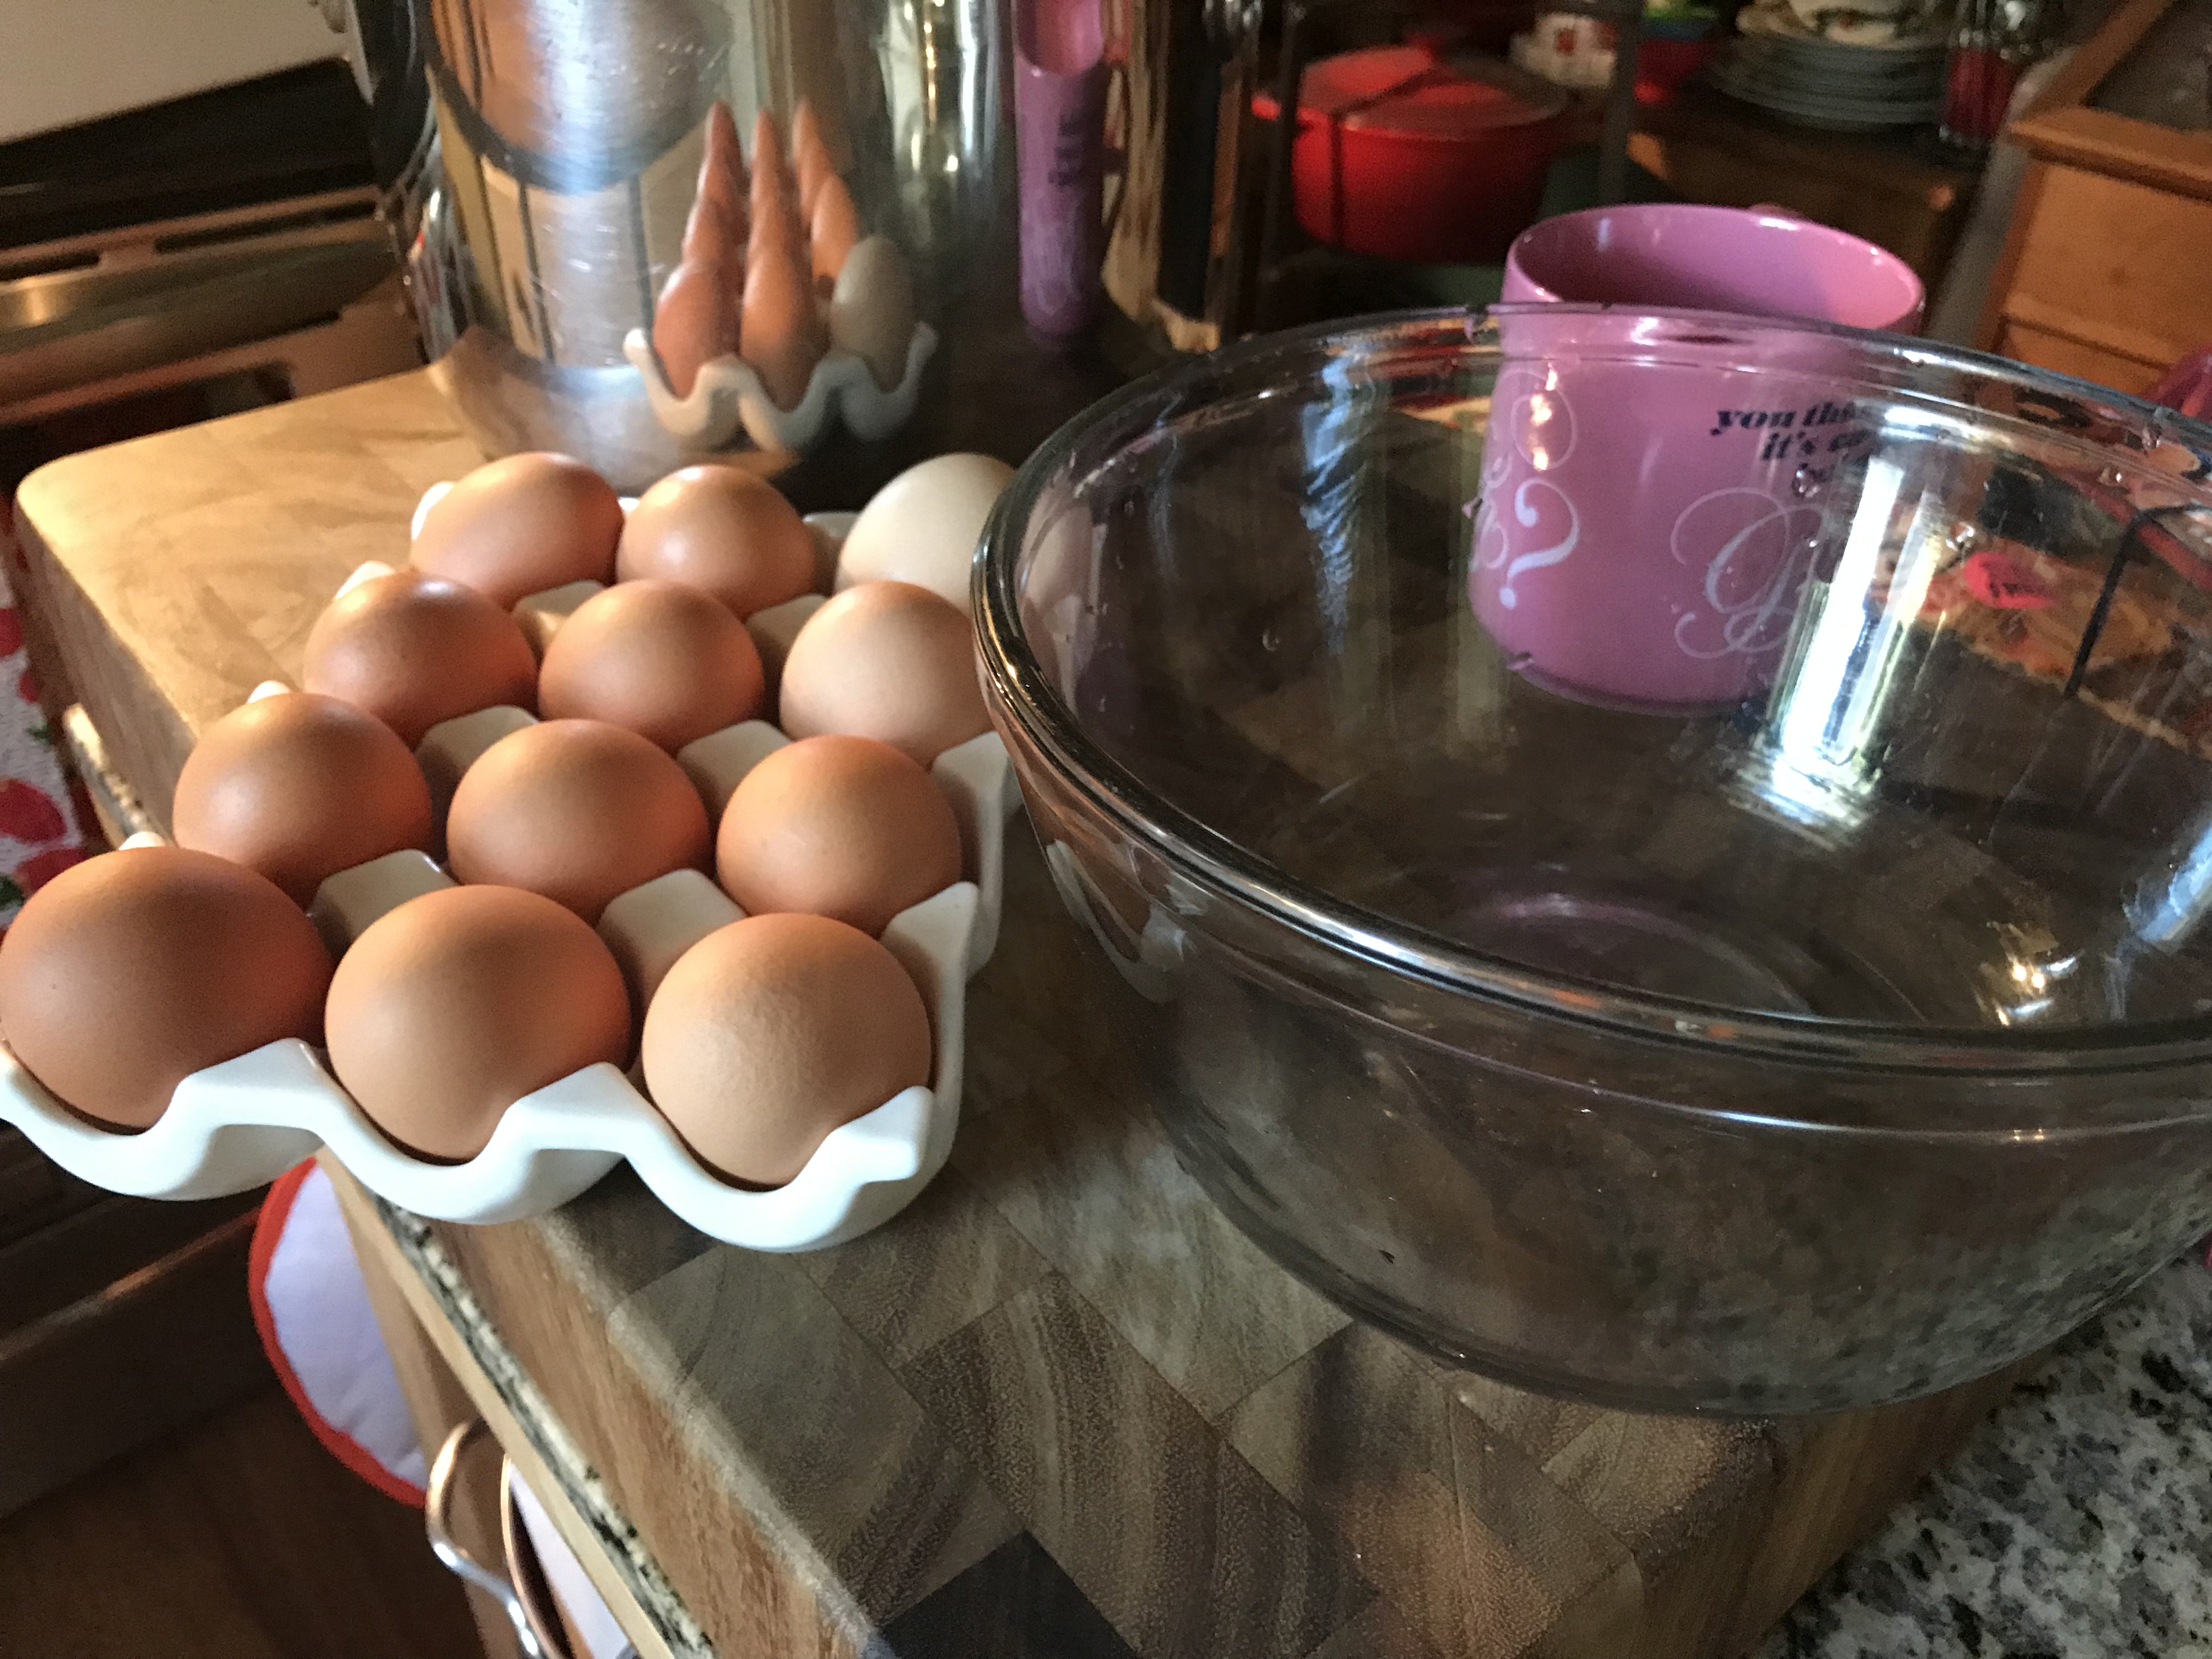
5 large eggs, room temperature
2 tablespoons pure vanilla extract
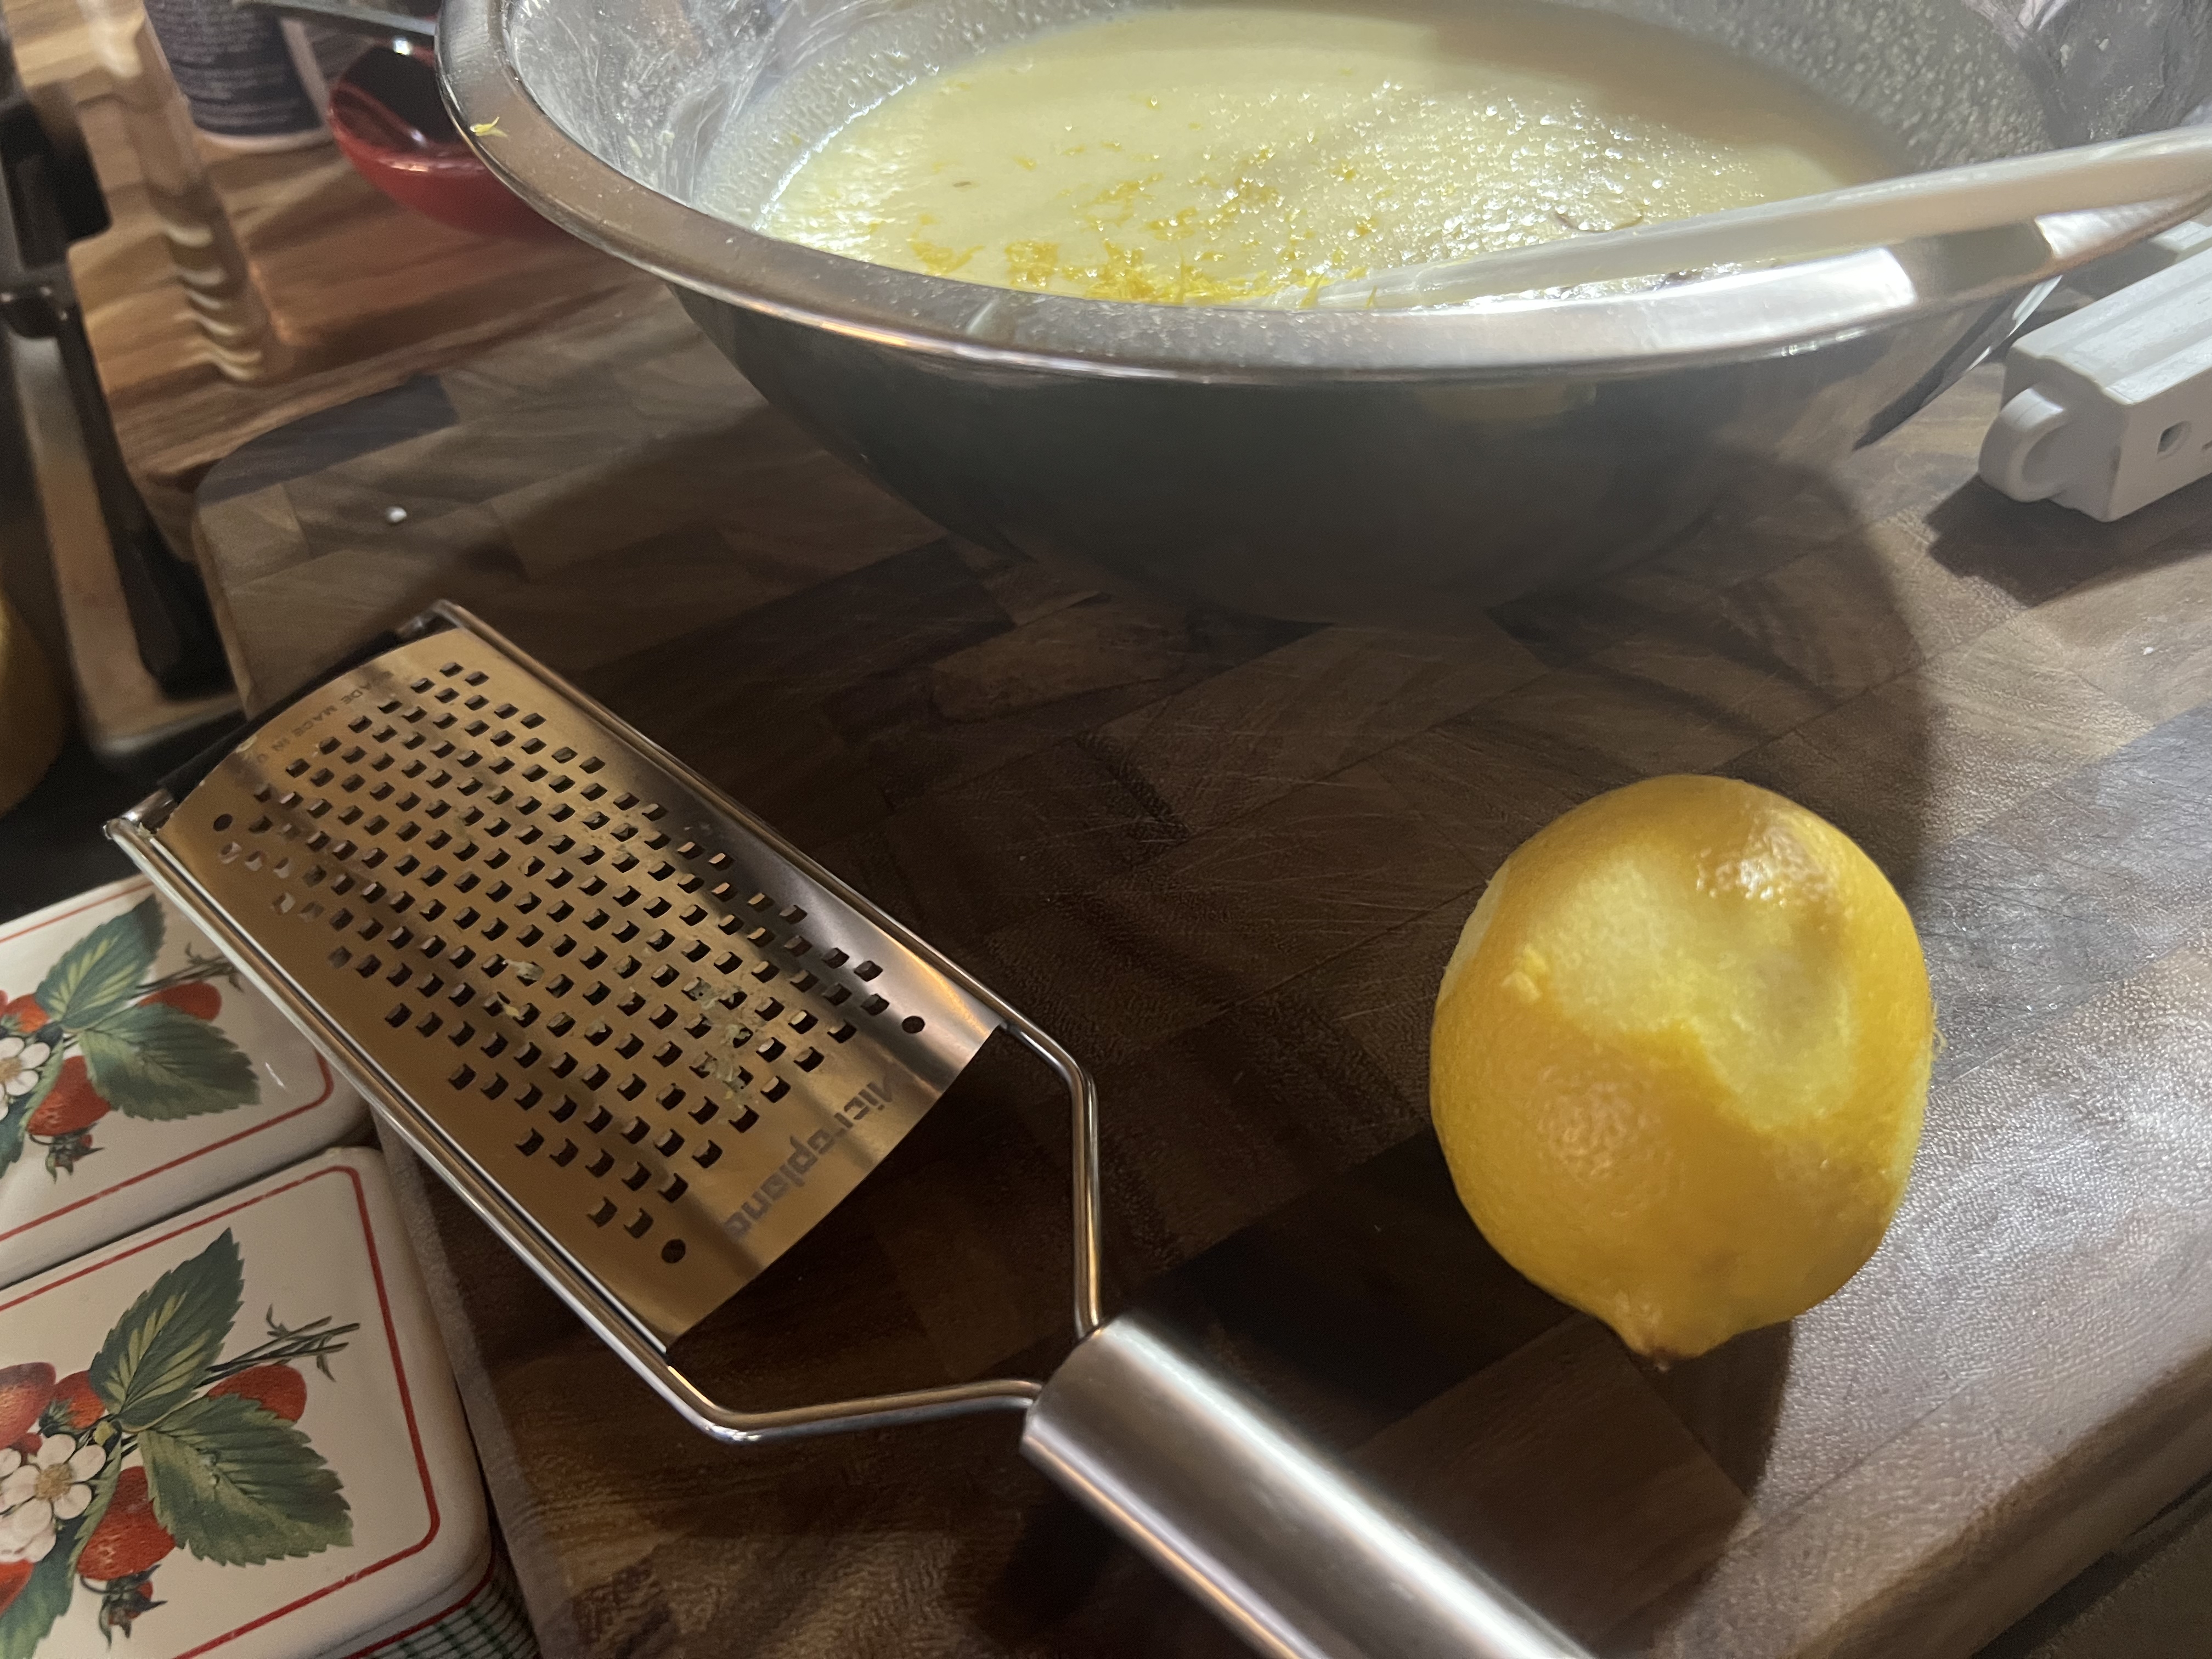
1 teaspoon of lemon zest
1 1/2 cups of heavy cream
all-purpose flour
My Recipe for the Homemade Pie Crust:
Click on the link at the bottom of this page.
Preheat oven to 375°F.
Instructions for the Prepared Homemade Pie Dough:
Dust your board with flour. Start rolling out the dough and turn it a quarter turn each time you roll. Roll the dough out until it’s about 1/8-inch in thickness and 10 inches in diameter. Roll the dough back up over the rolling pin and lay it over the 9-inch glass pie pan. Allow the dough to fall into the pan. With your fingers, gently press the dough down around the bottom edges and sides of the pan. Next, take the dough that’s hanging off the edge of the pan and fold it under all the way around the rim. Next, use your fingers to crimp the edges.
Preheat oven to 425°F.
Instructions for one of the store-bought, ready-made Pie Crusts:
As for the store-bought pie crust, carefully lay the dough into the pie pan. With your fingers, gently press the dough around the bottom edges and sides. Next, take the dough that’s hanging off the edge of the pan and fold it under all the way around the rim. Next, use your fingers to crimp the edges.
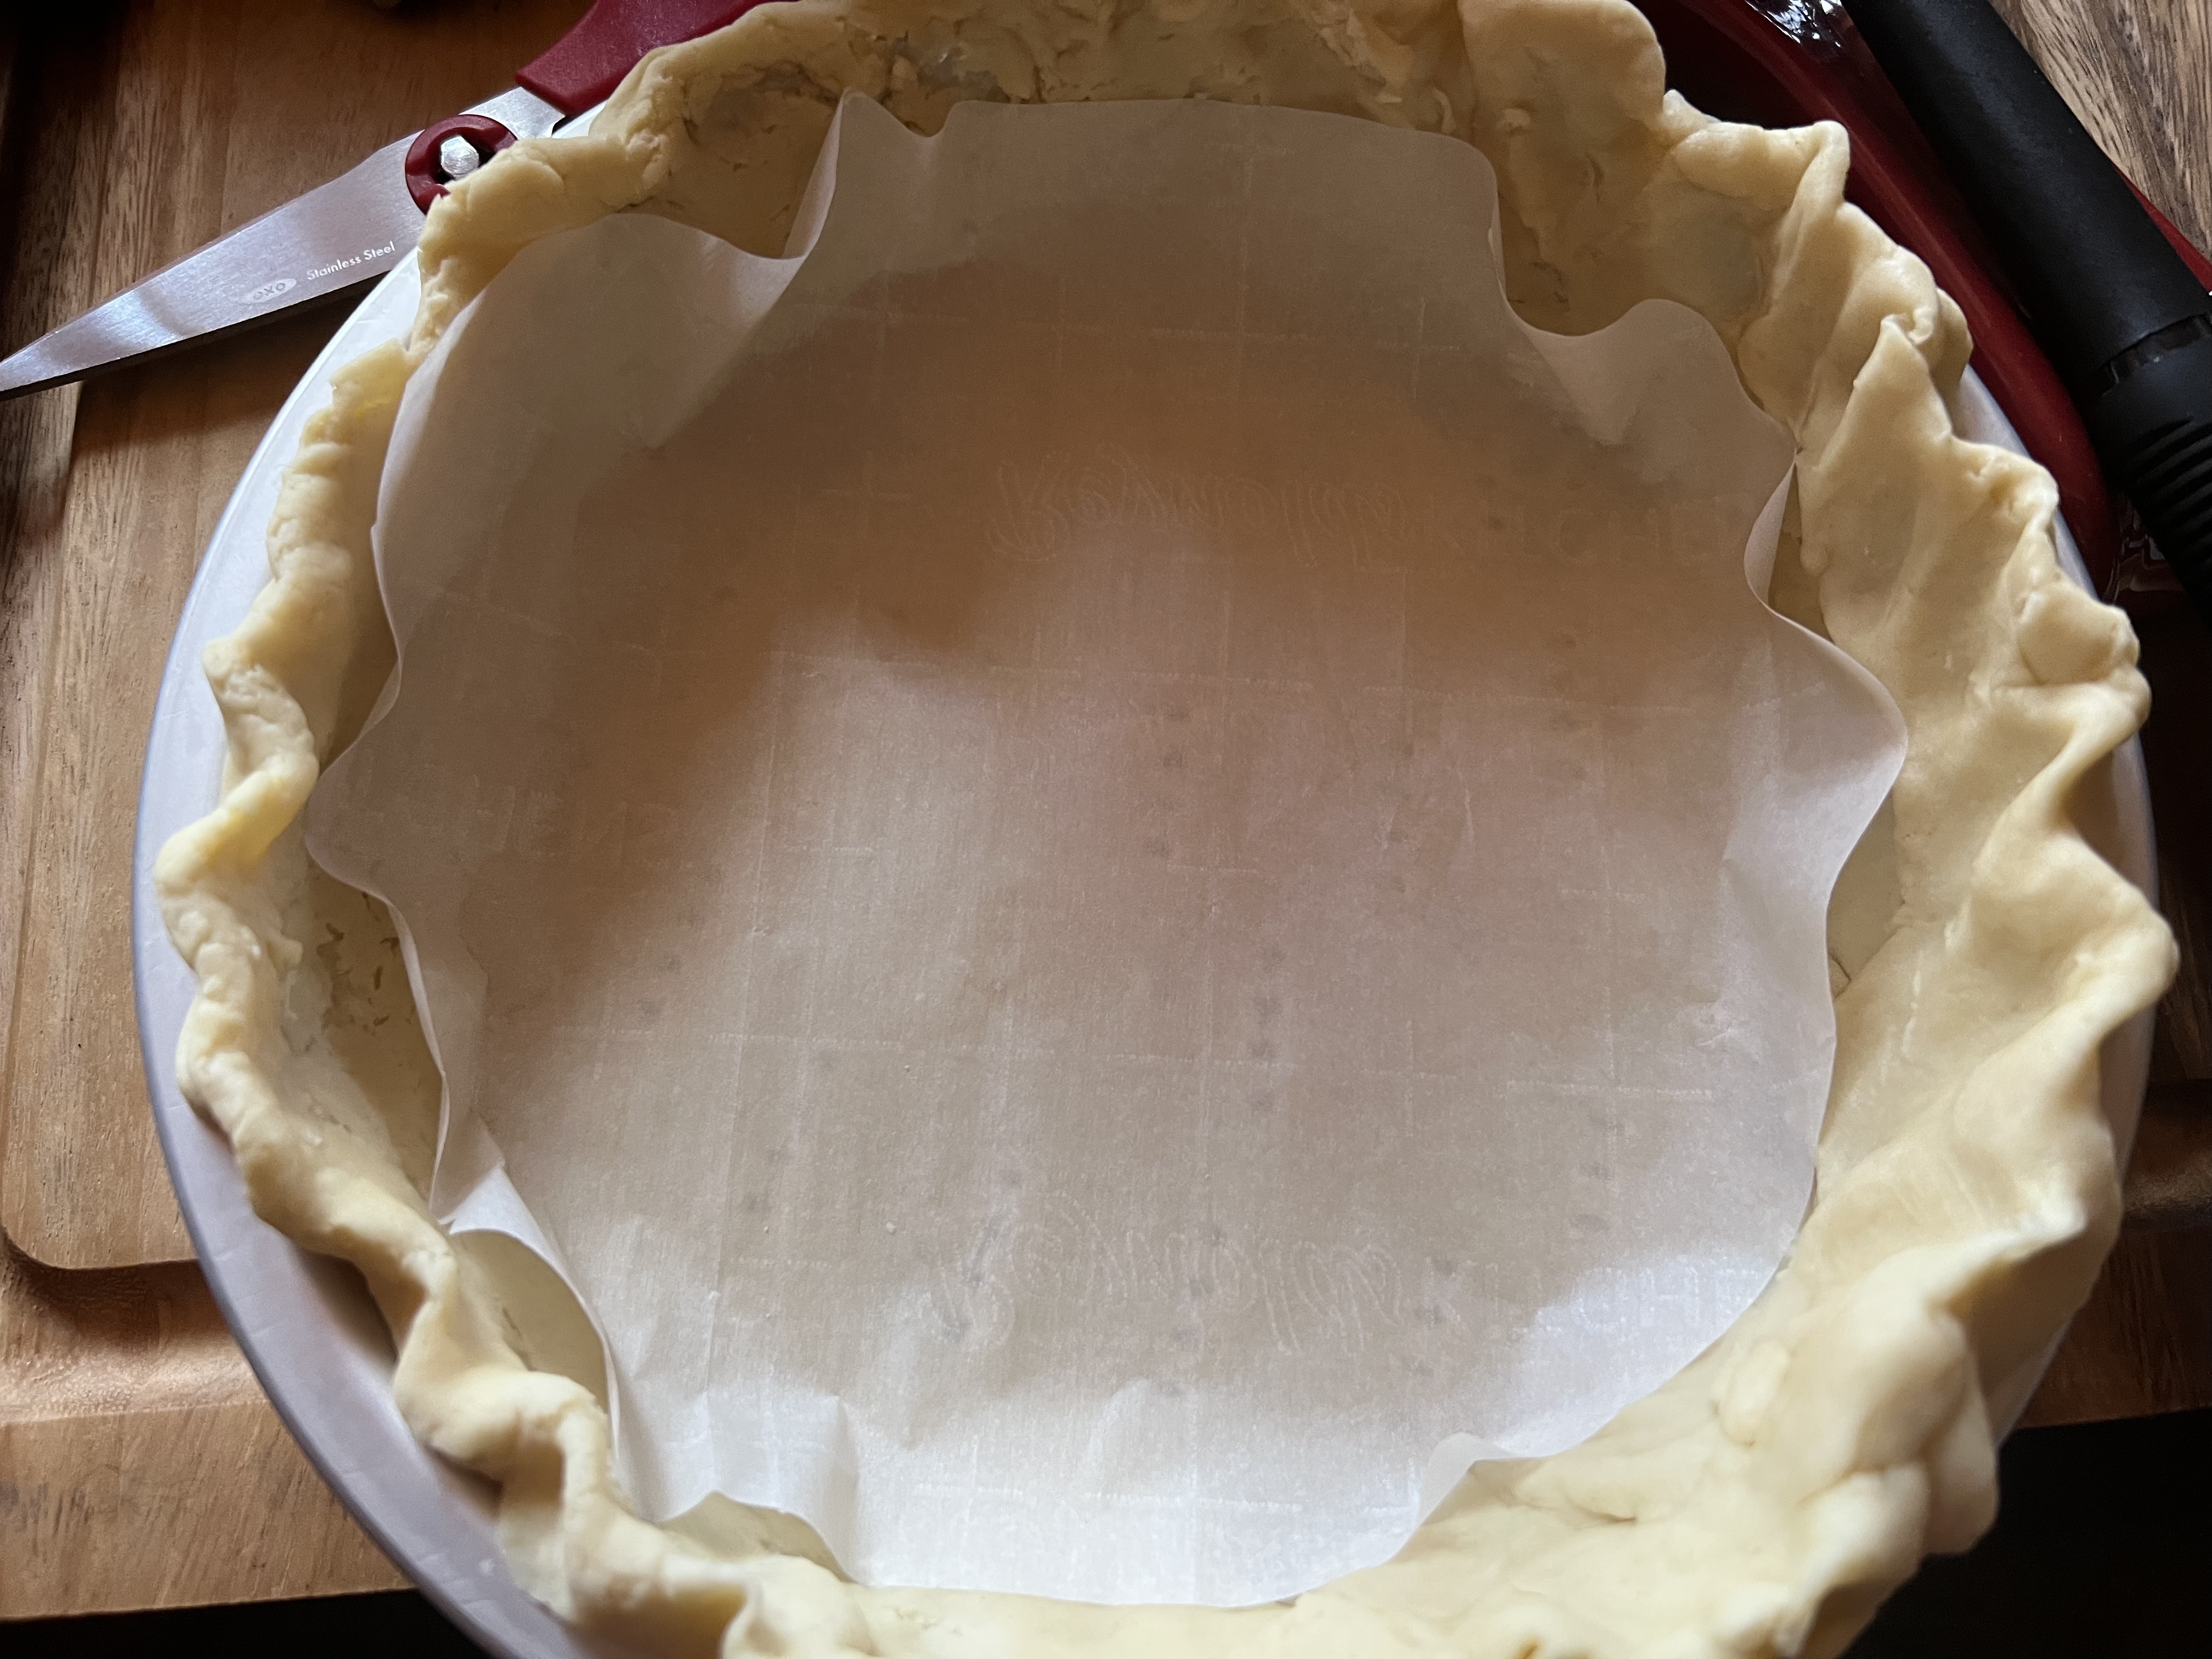
At this point, you need to *dock (prick) with a fork all over the bottom of both the homemade and store-bought pie shells. Place both pie shells back into the fridge for 1 hour to rest.
Instructions for *Fully Blind Baking:
Preheat the oven to 425°F.
If you are making a pie that doesn’t require the filling to be baked, you’ll want to ensure your crust is fully baked before adding the filling. This means you’ll be looking for dark golden coloring all over so that it stays crispy and flaky.
You’ll start the same way with a well-chilled and crimped crust. Poke holes with a fork across the bottom and sides, then add your parchment paper and fill with pie weights. Place on a large baking sheet.
Bake for approximately 15 minutes, looking for that pale golden color. You can afford to go up to 5 minutes more on this one for a slightly darker color on the edges. Remove the pie plate from the oven and carefully remove the parchment paper. Return the pie to the oven and bake for an additional 12 minutes or until edges are dark golden and the bottom crust is no longer shiny and baked through.
Instructions for Partial Blind Baking:
Preheat the oven to 425°F.
After allowing the pie shells to rest in the refrigerator for 1 hour, you need to *dock (prick with a fork) all over the bottom. Place a piece of parchment paper over the bottom of the pie crust, making sure the parchment is flush with the crust. Add dried beans (or pie weights) to both pie shells. Push the beans towards the edges of both pies. Place on a rimmed baking sheet and bake for 20-25 minutes (time may vary slightly depending on your oven), or until the crimped edges are set but not browned.
Remove the pie shells from the oven. Next, carefully remove the parchment paper with the dried beans. DO NOT remove the silicone cover and or aluminum foil covering the edges while the pies are cooling.
Reduce oven temperature to 350°F.
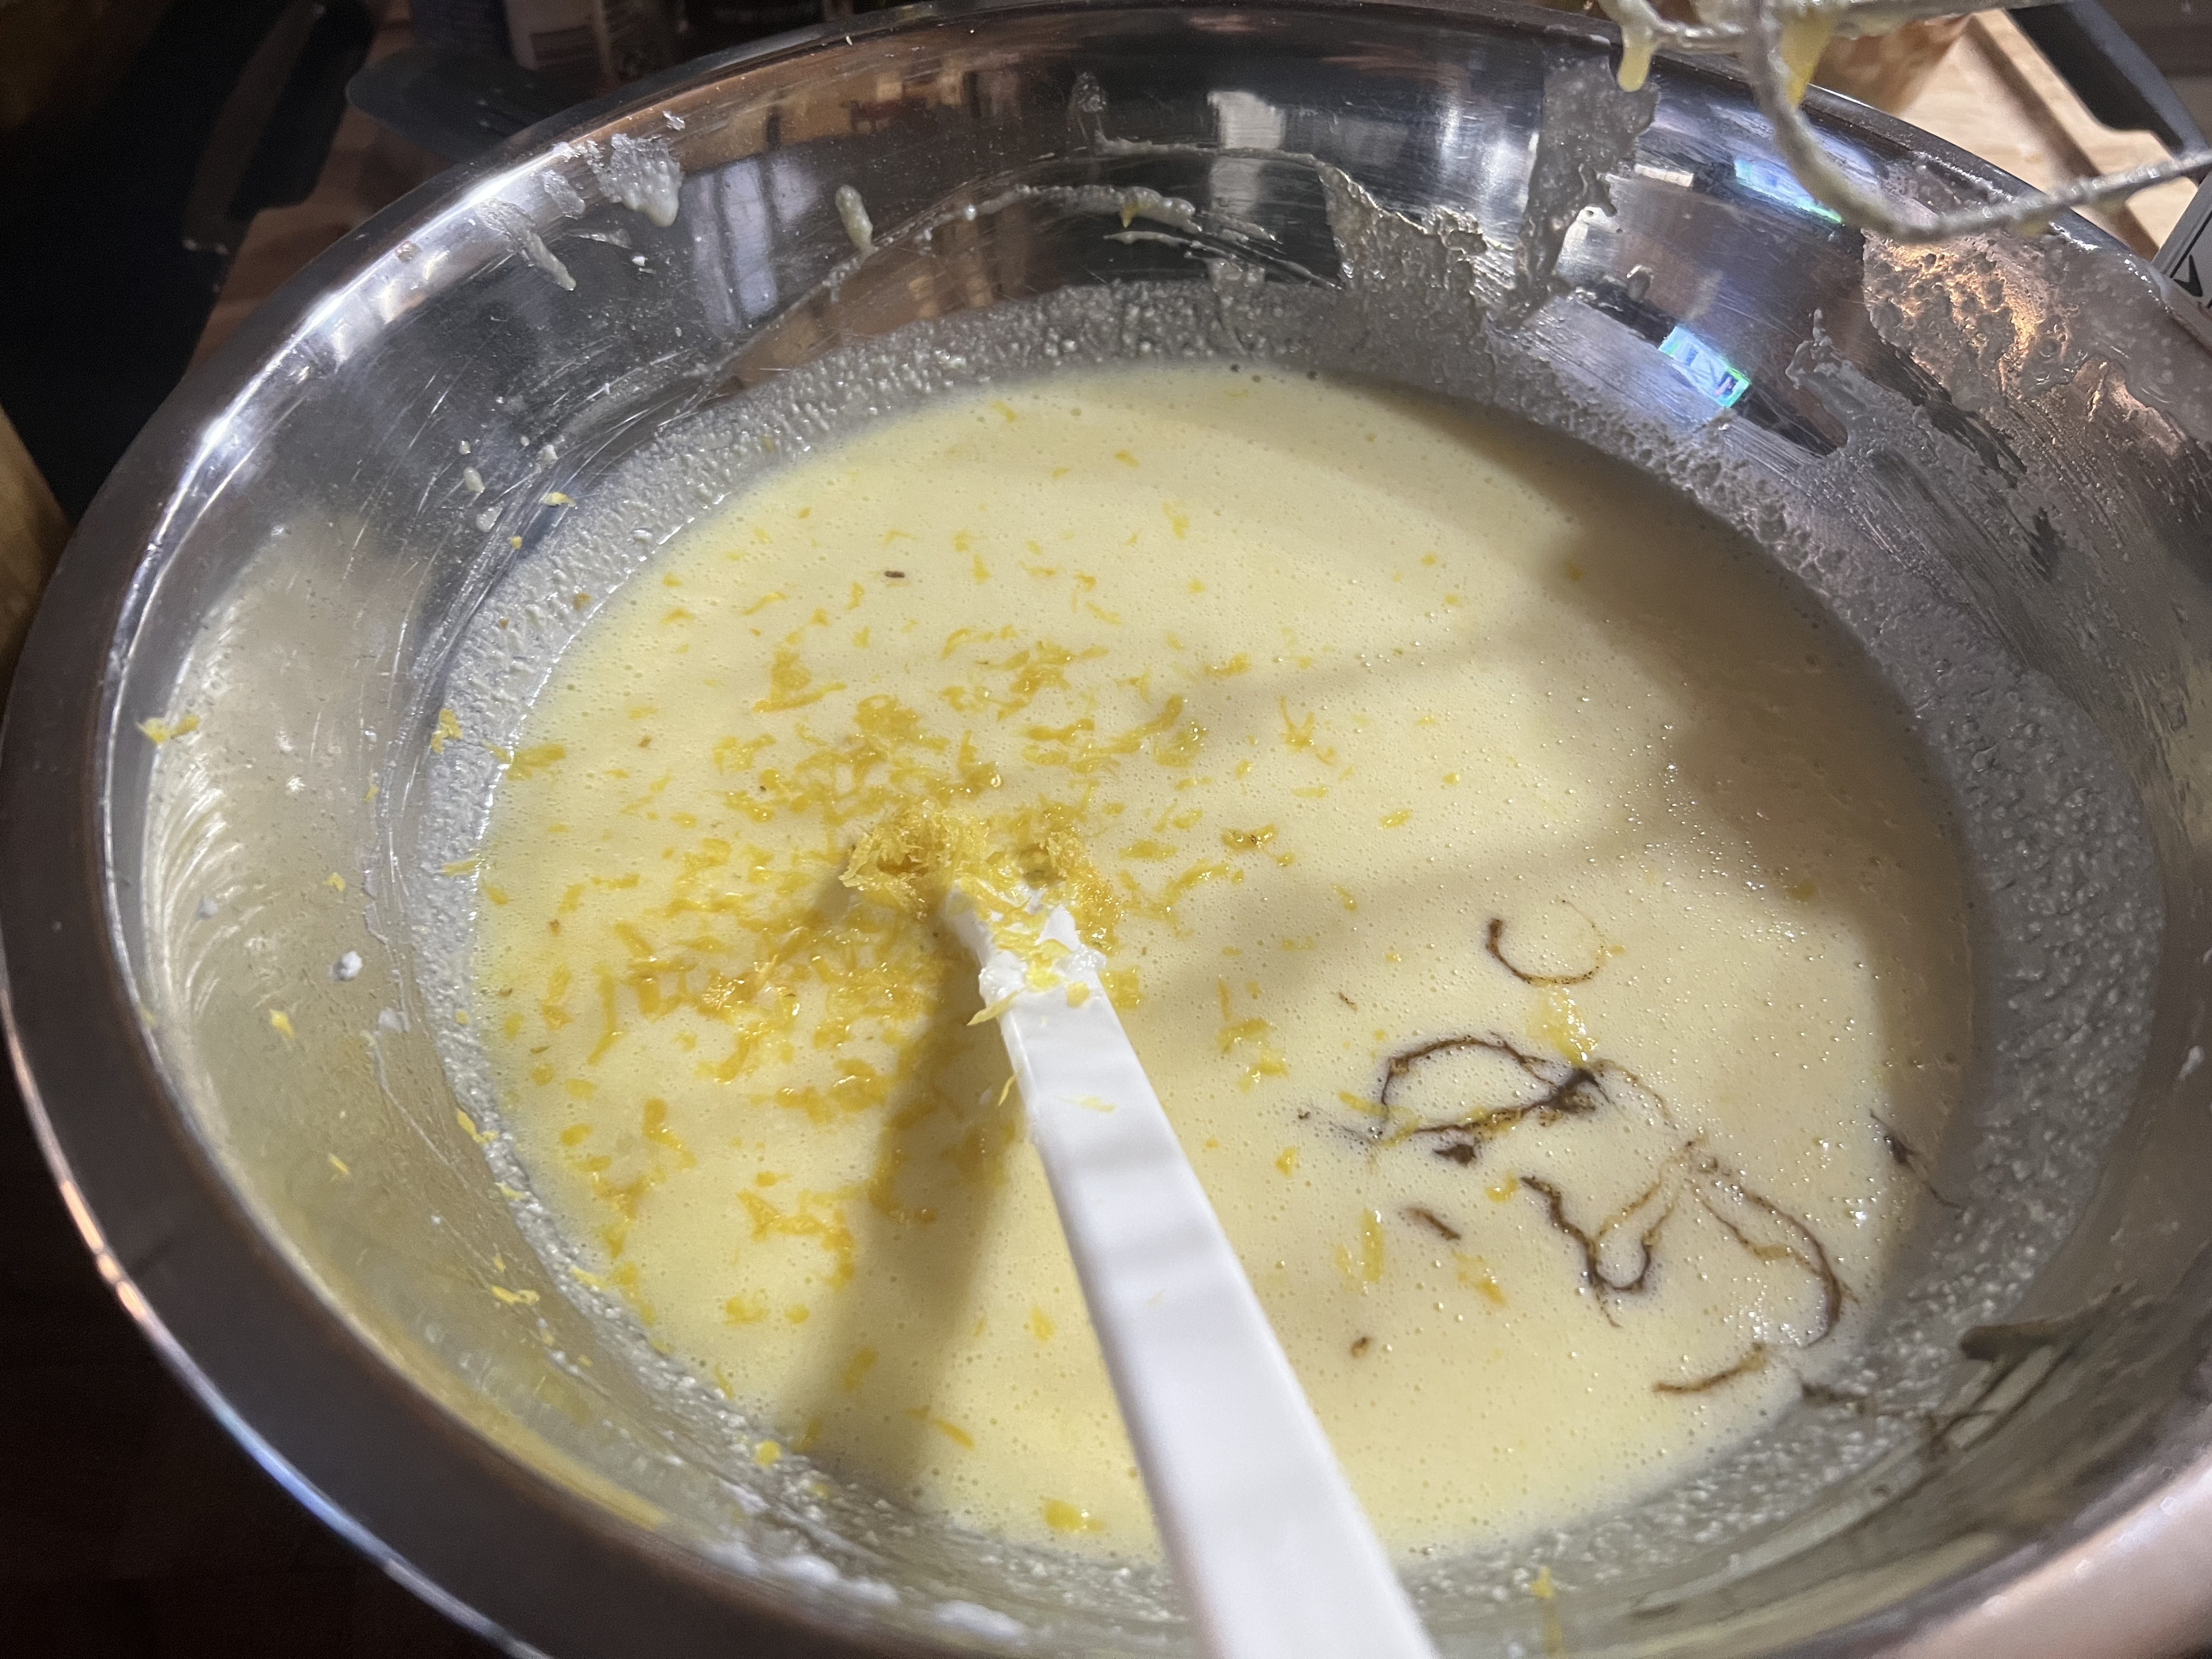
Instructions for the Farmer Cheese Filling:
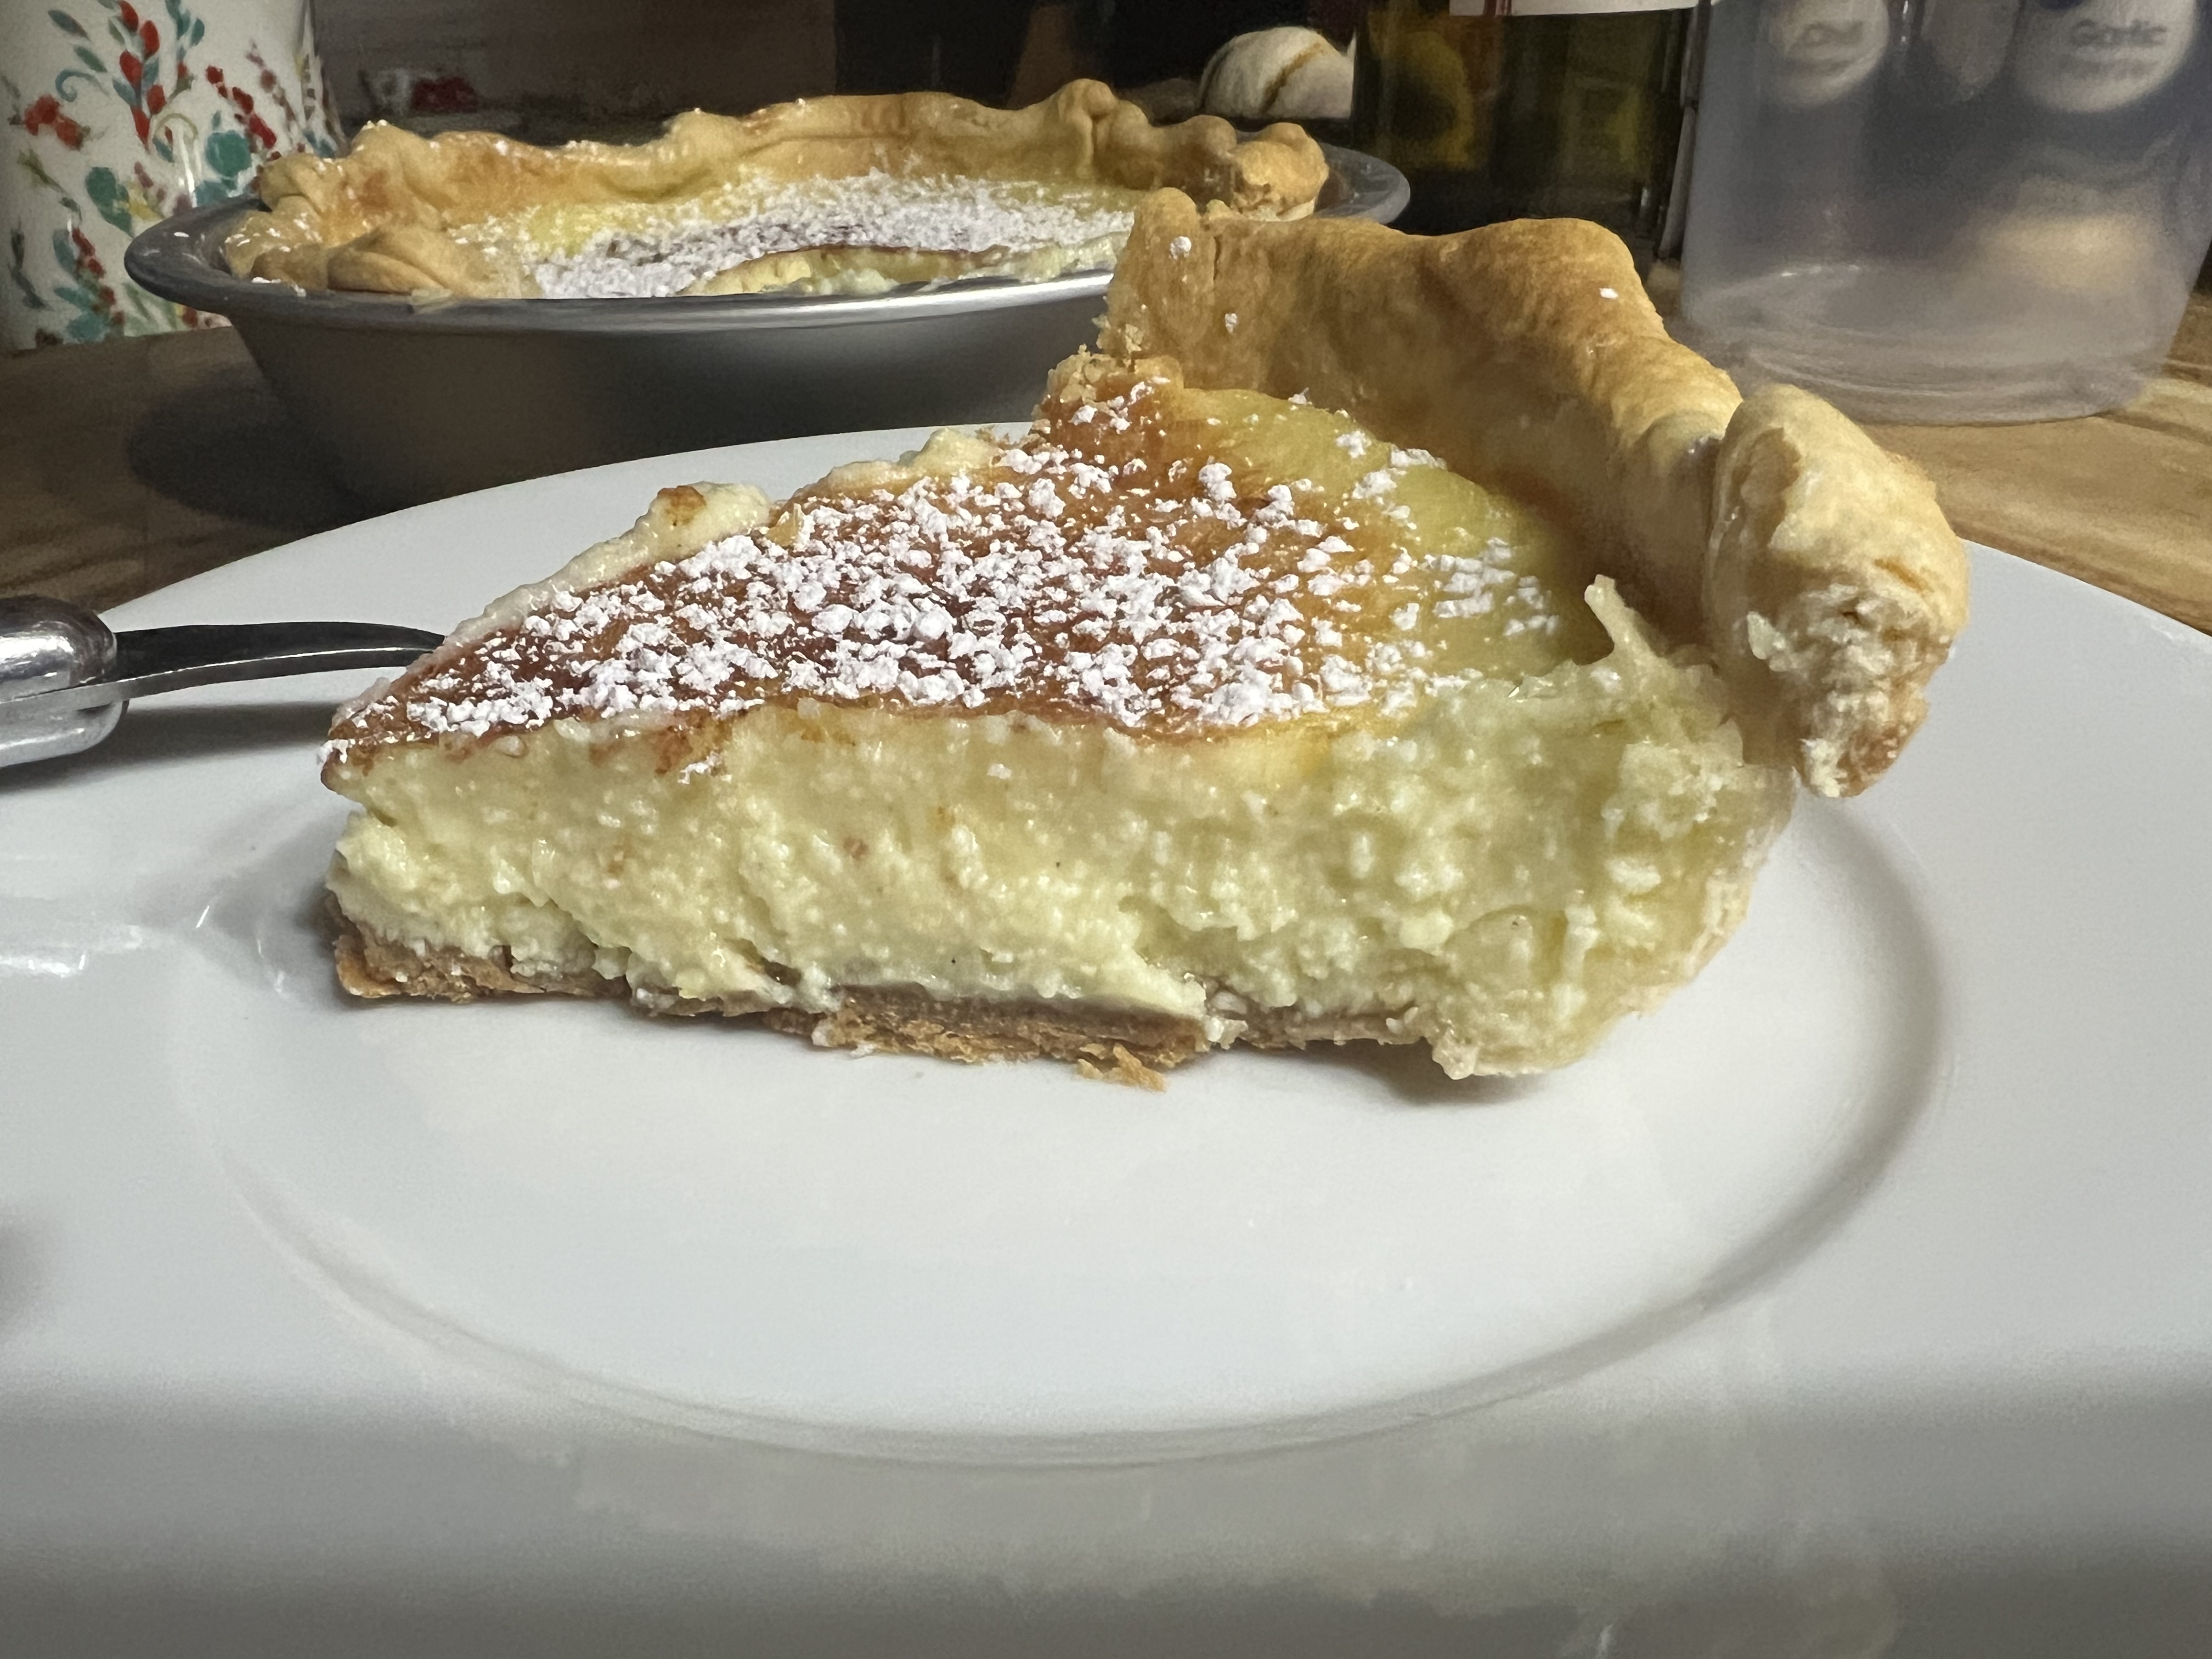
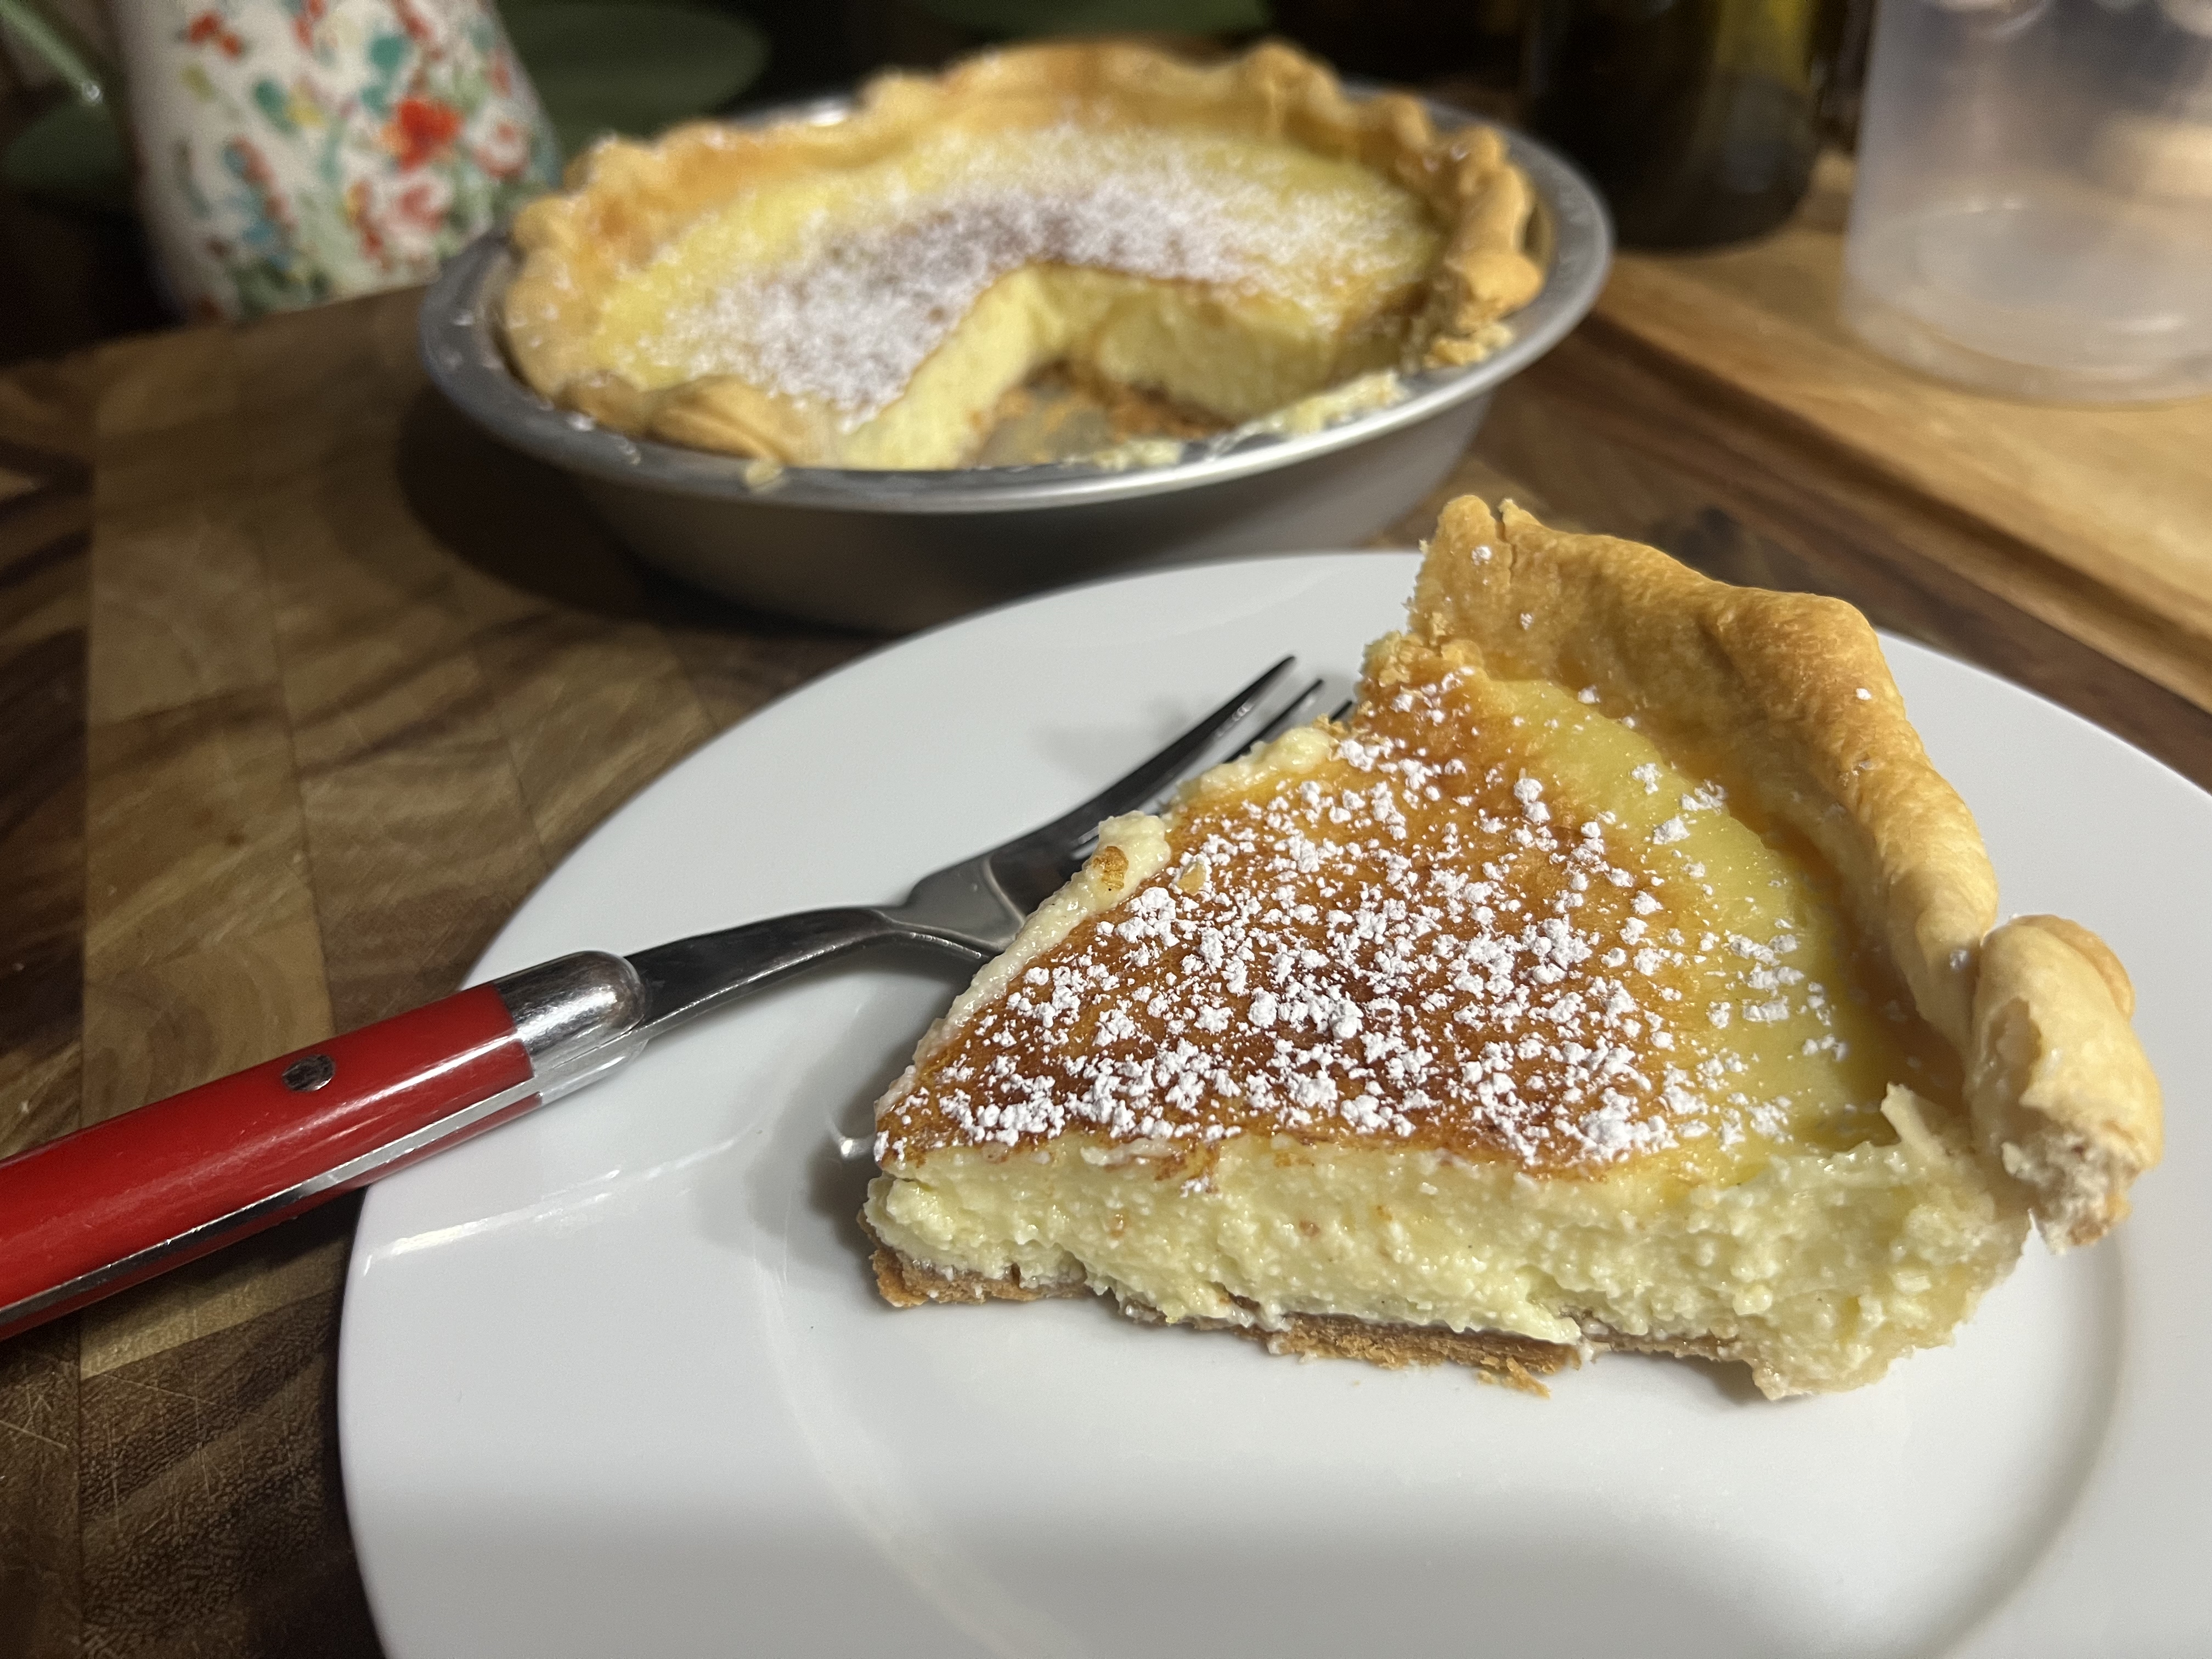
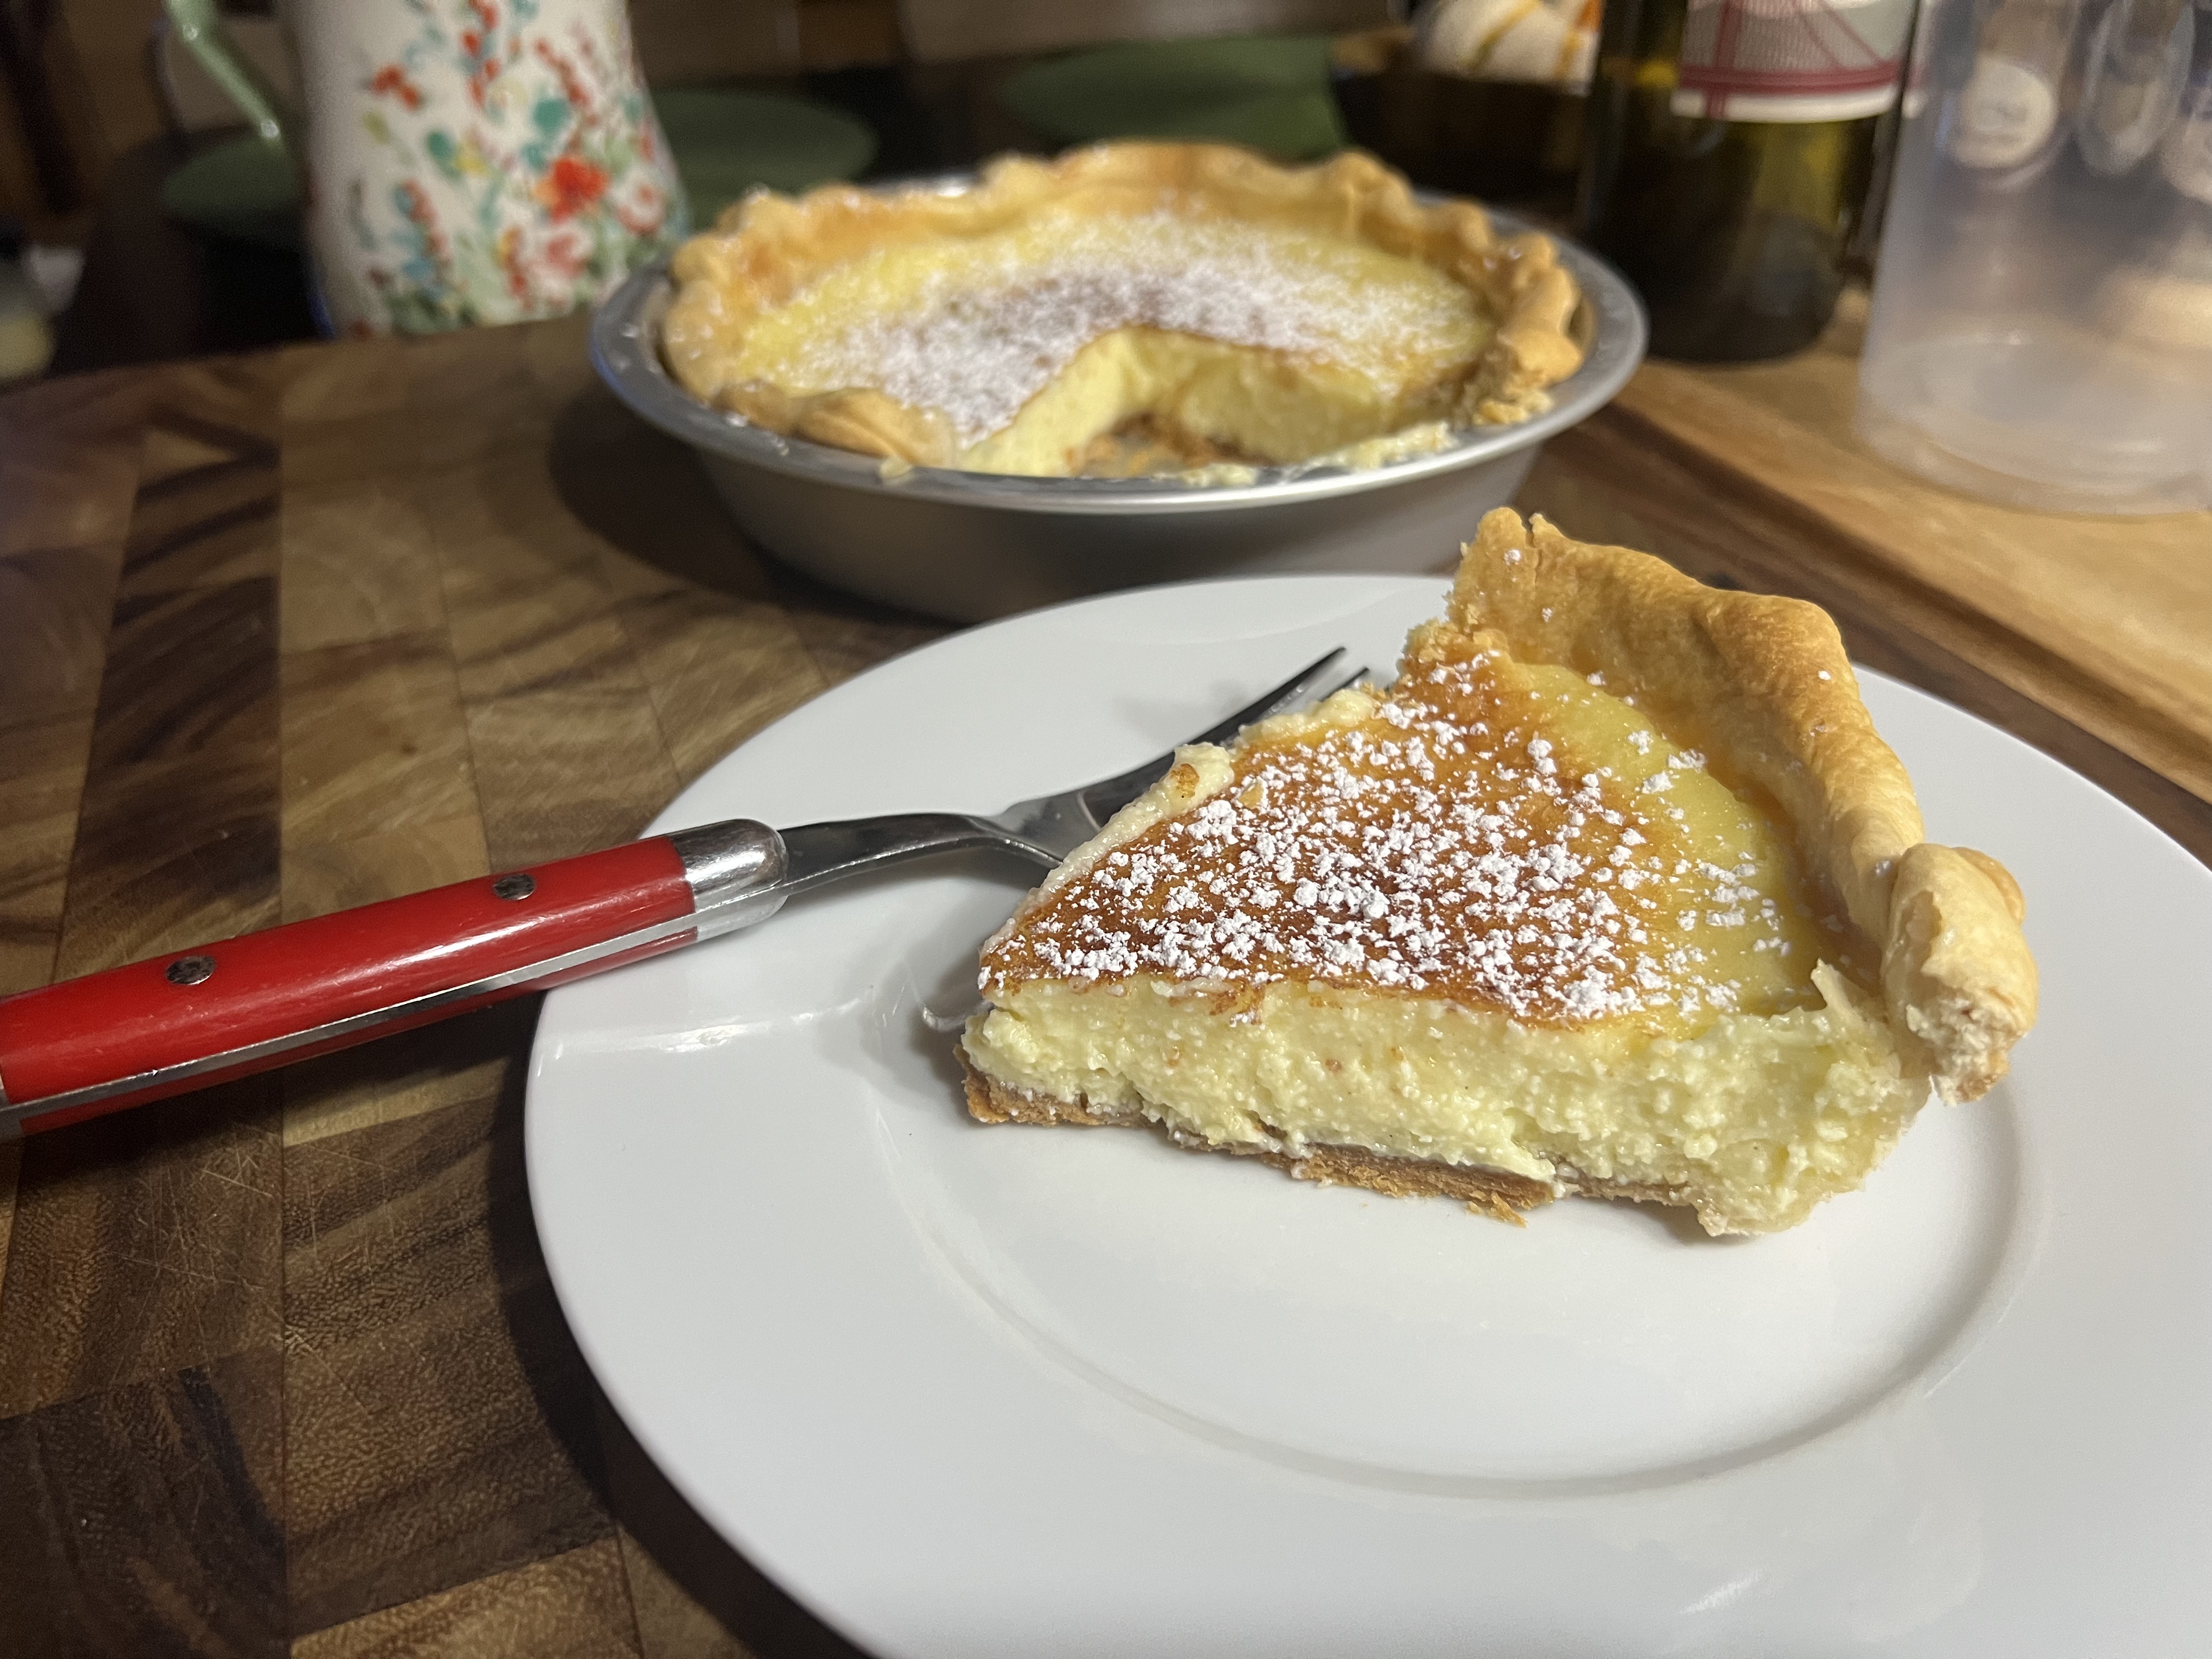
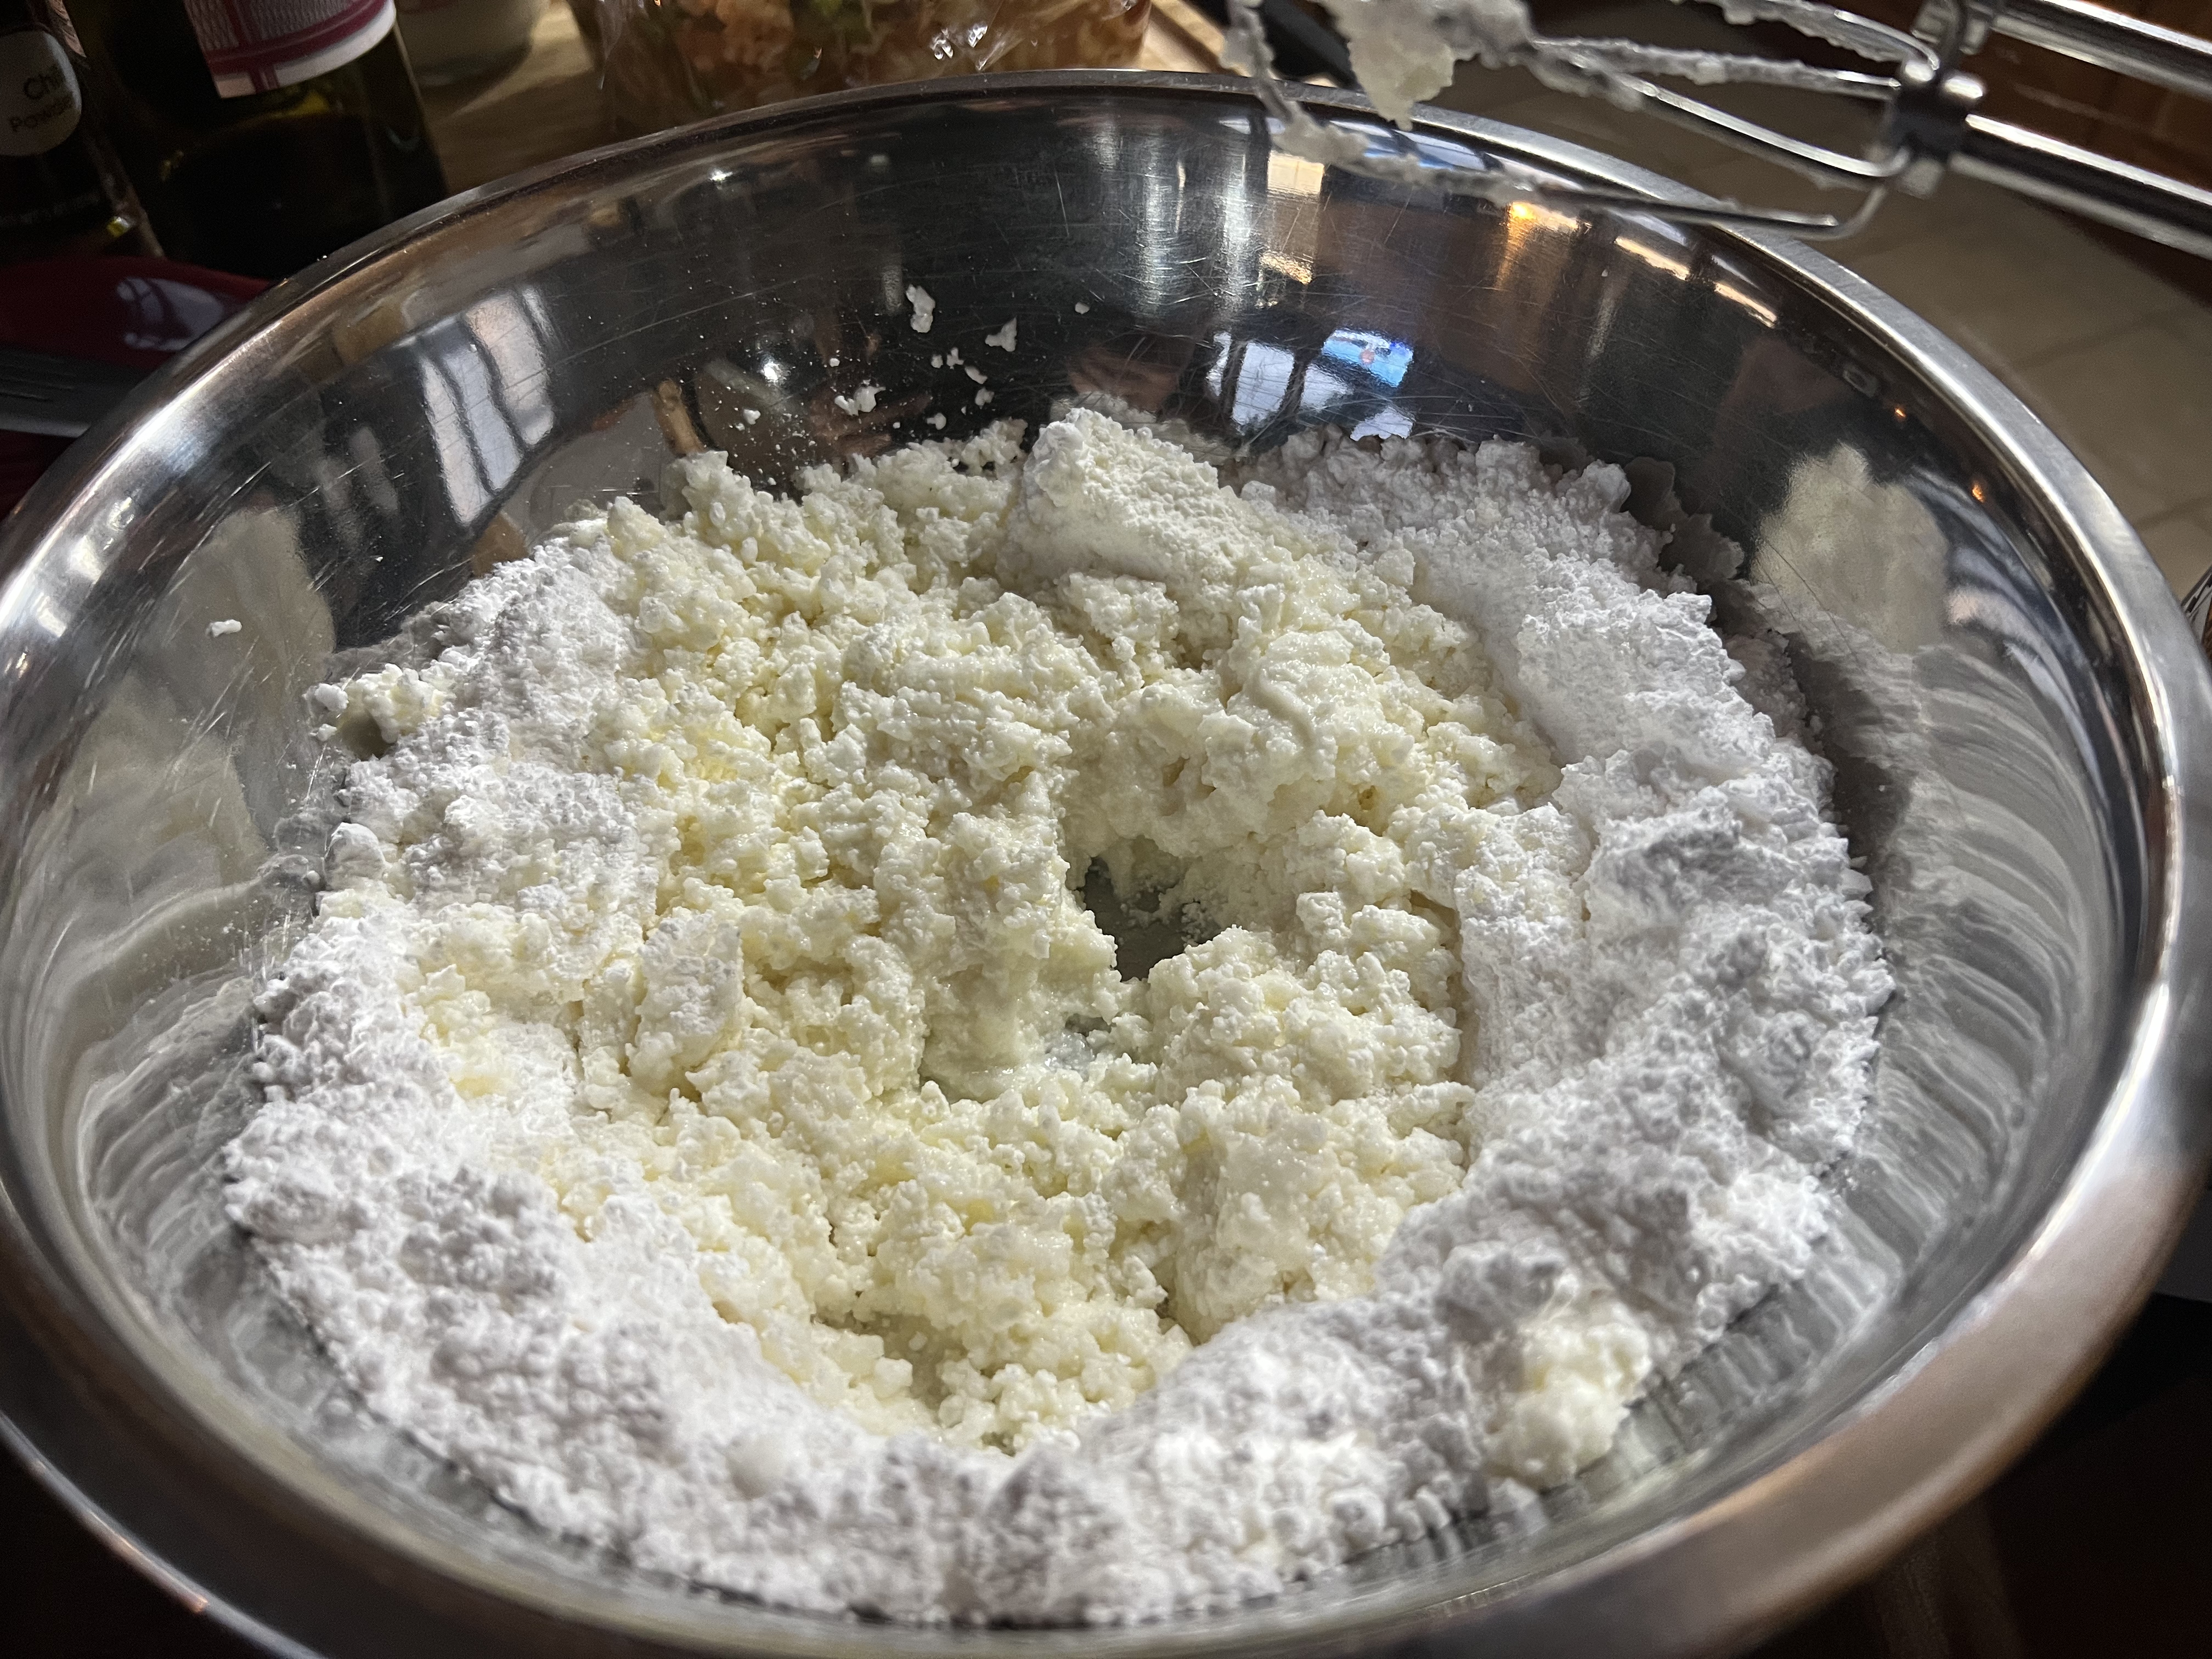
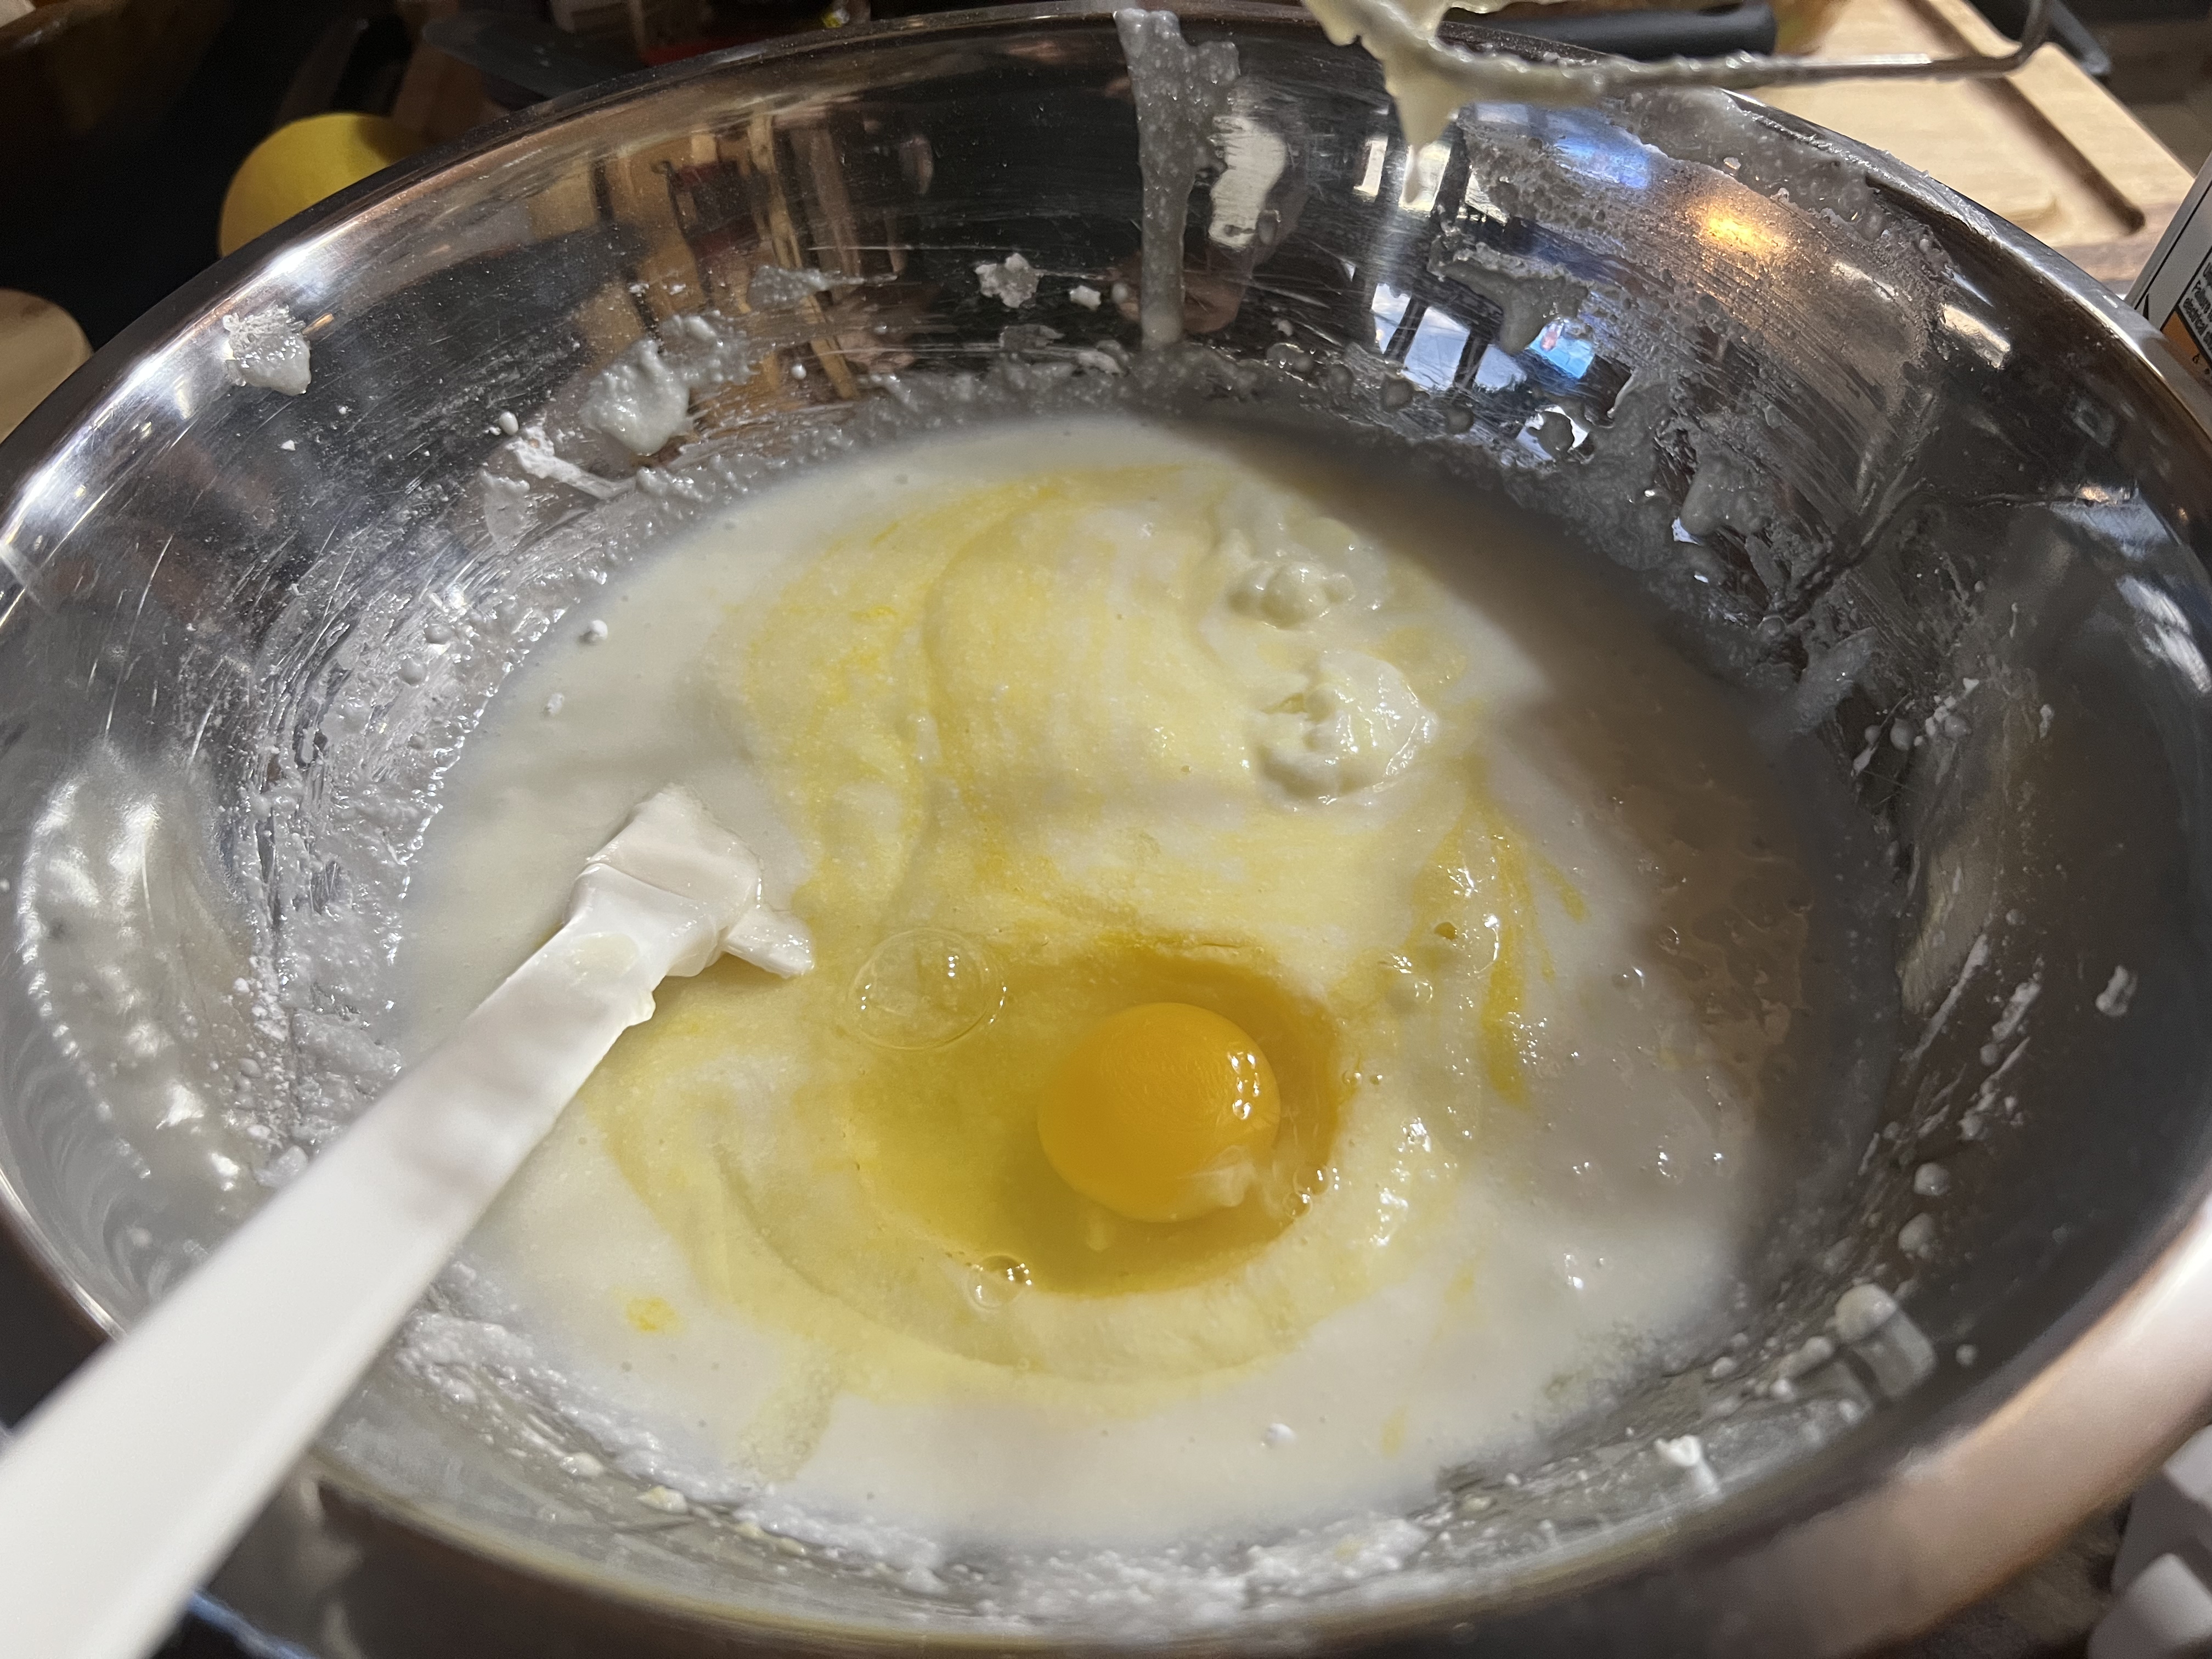
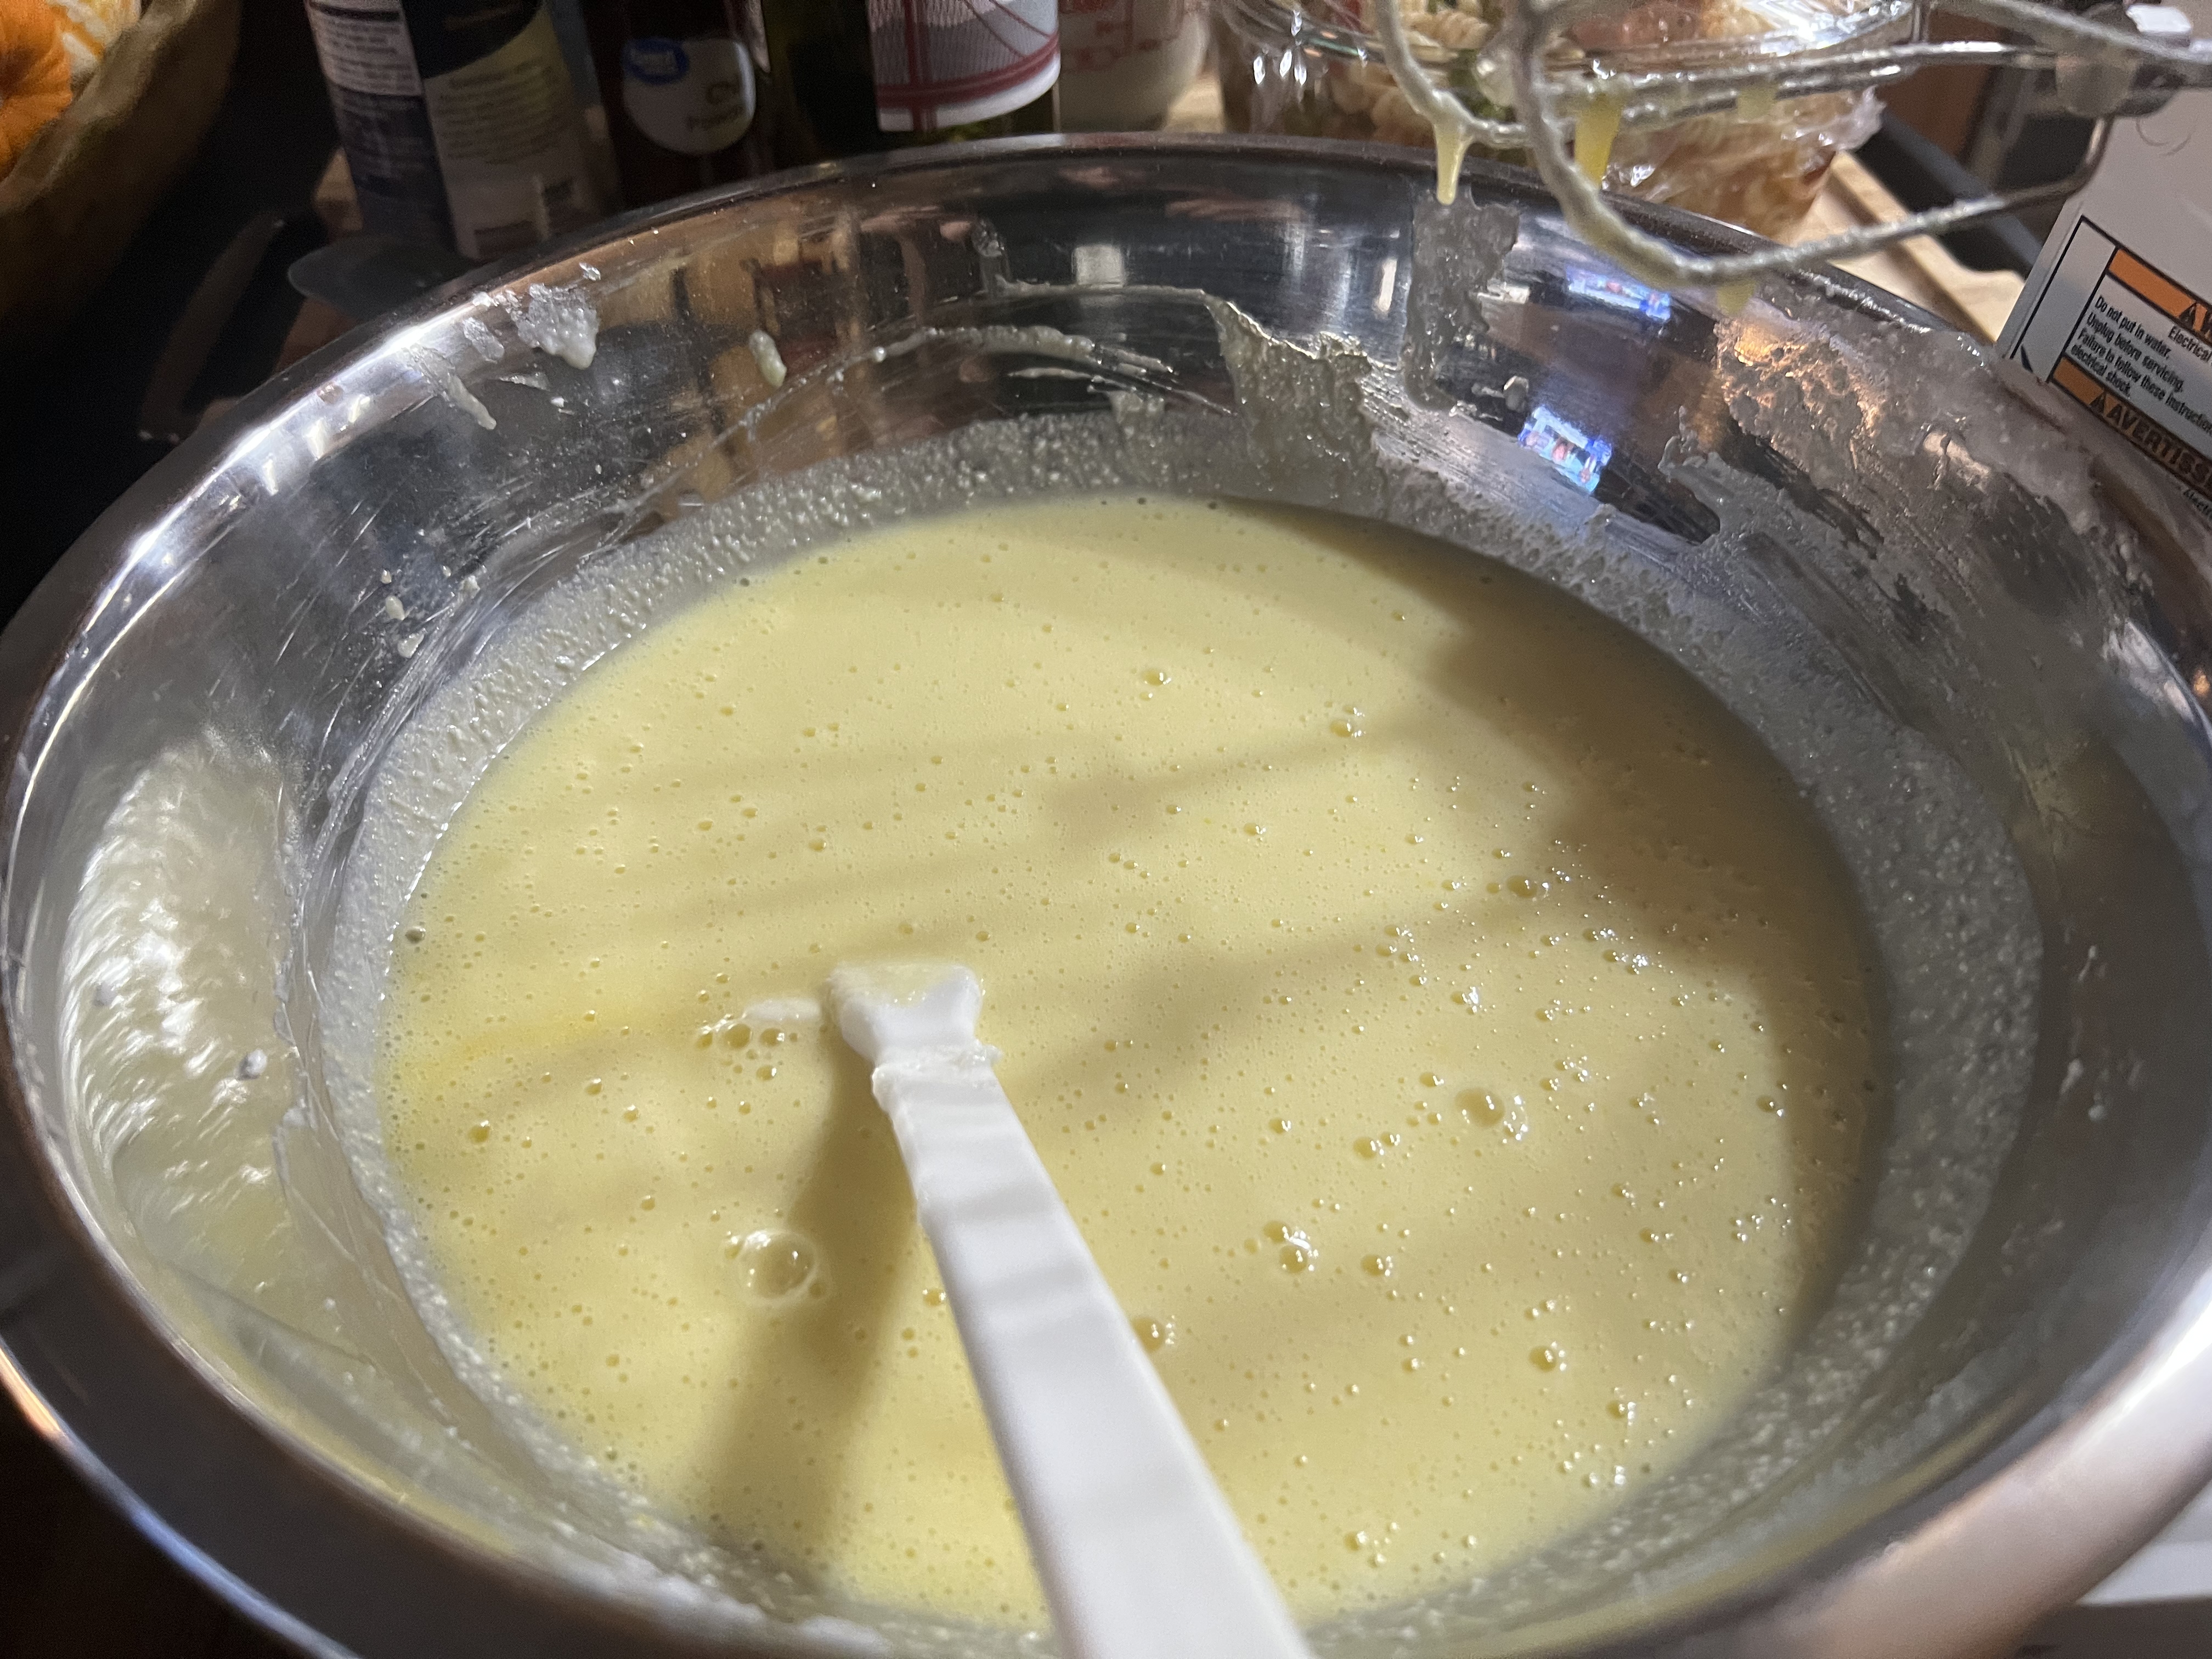
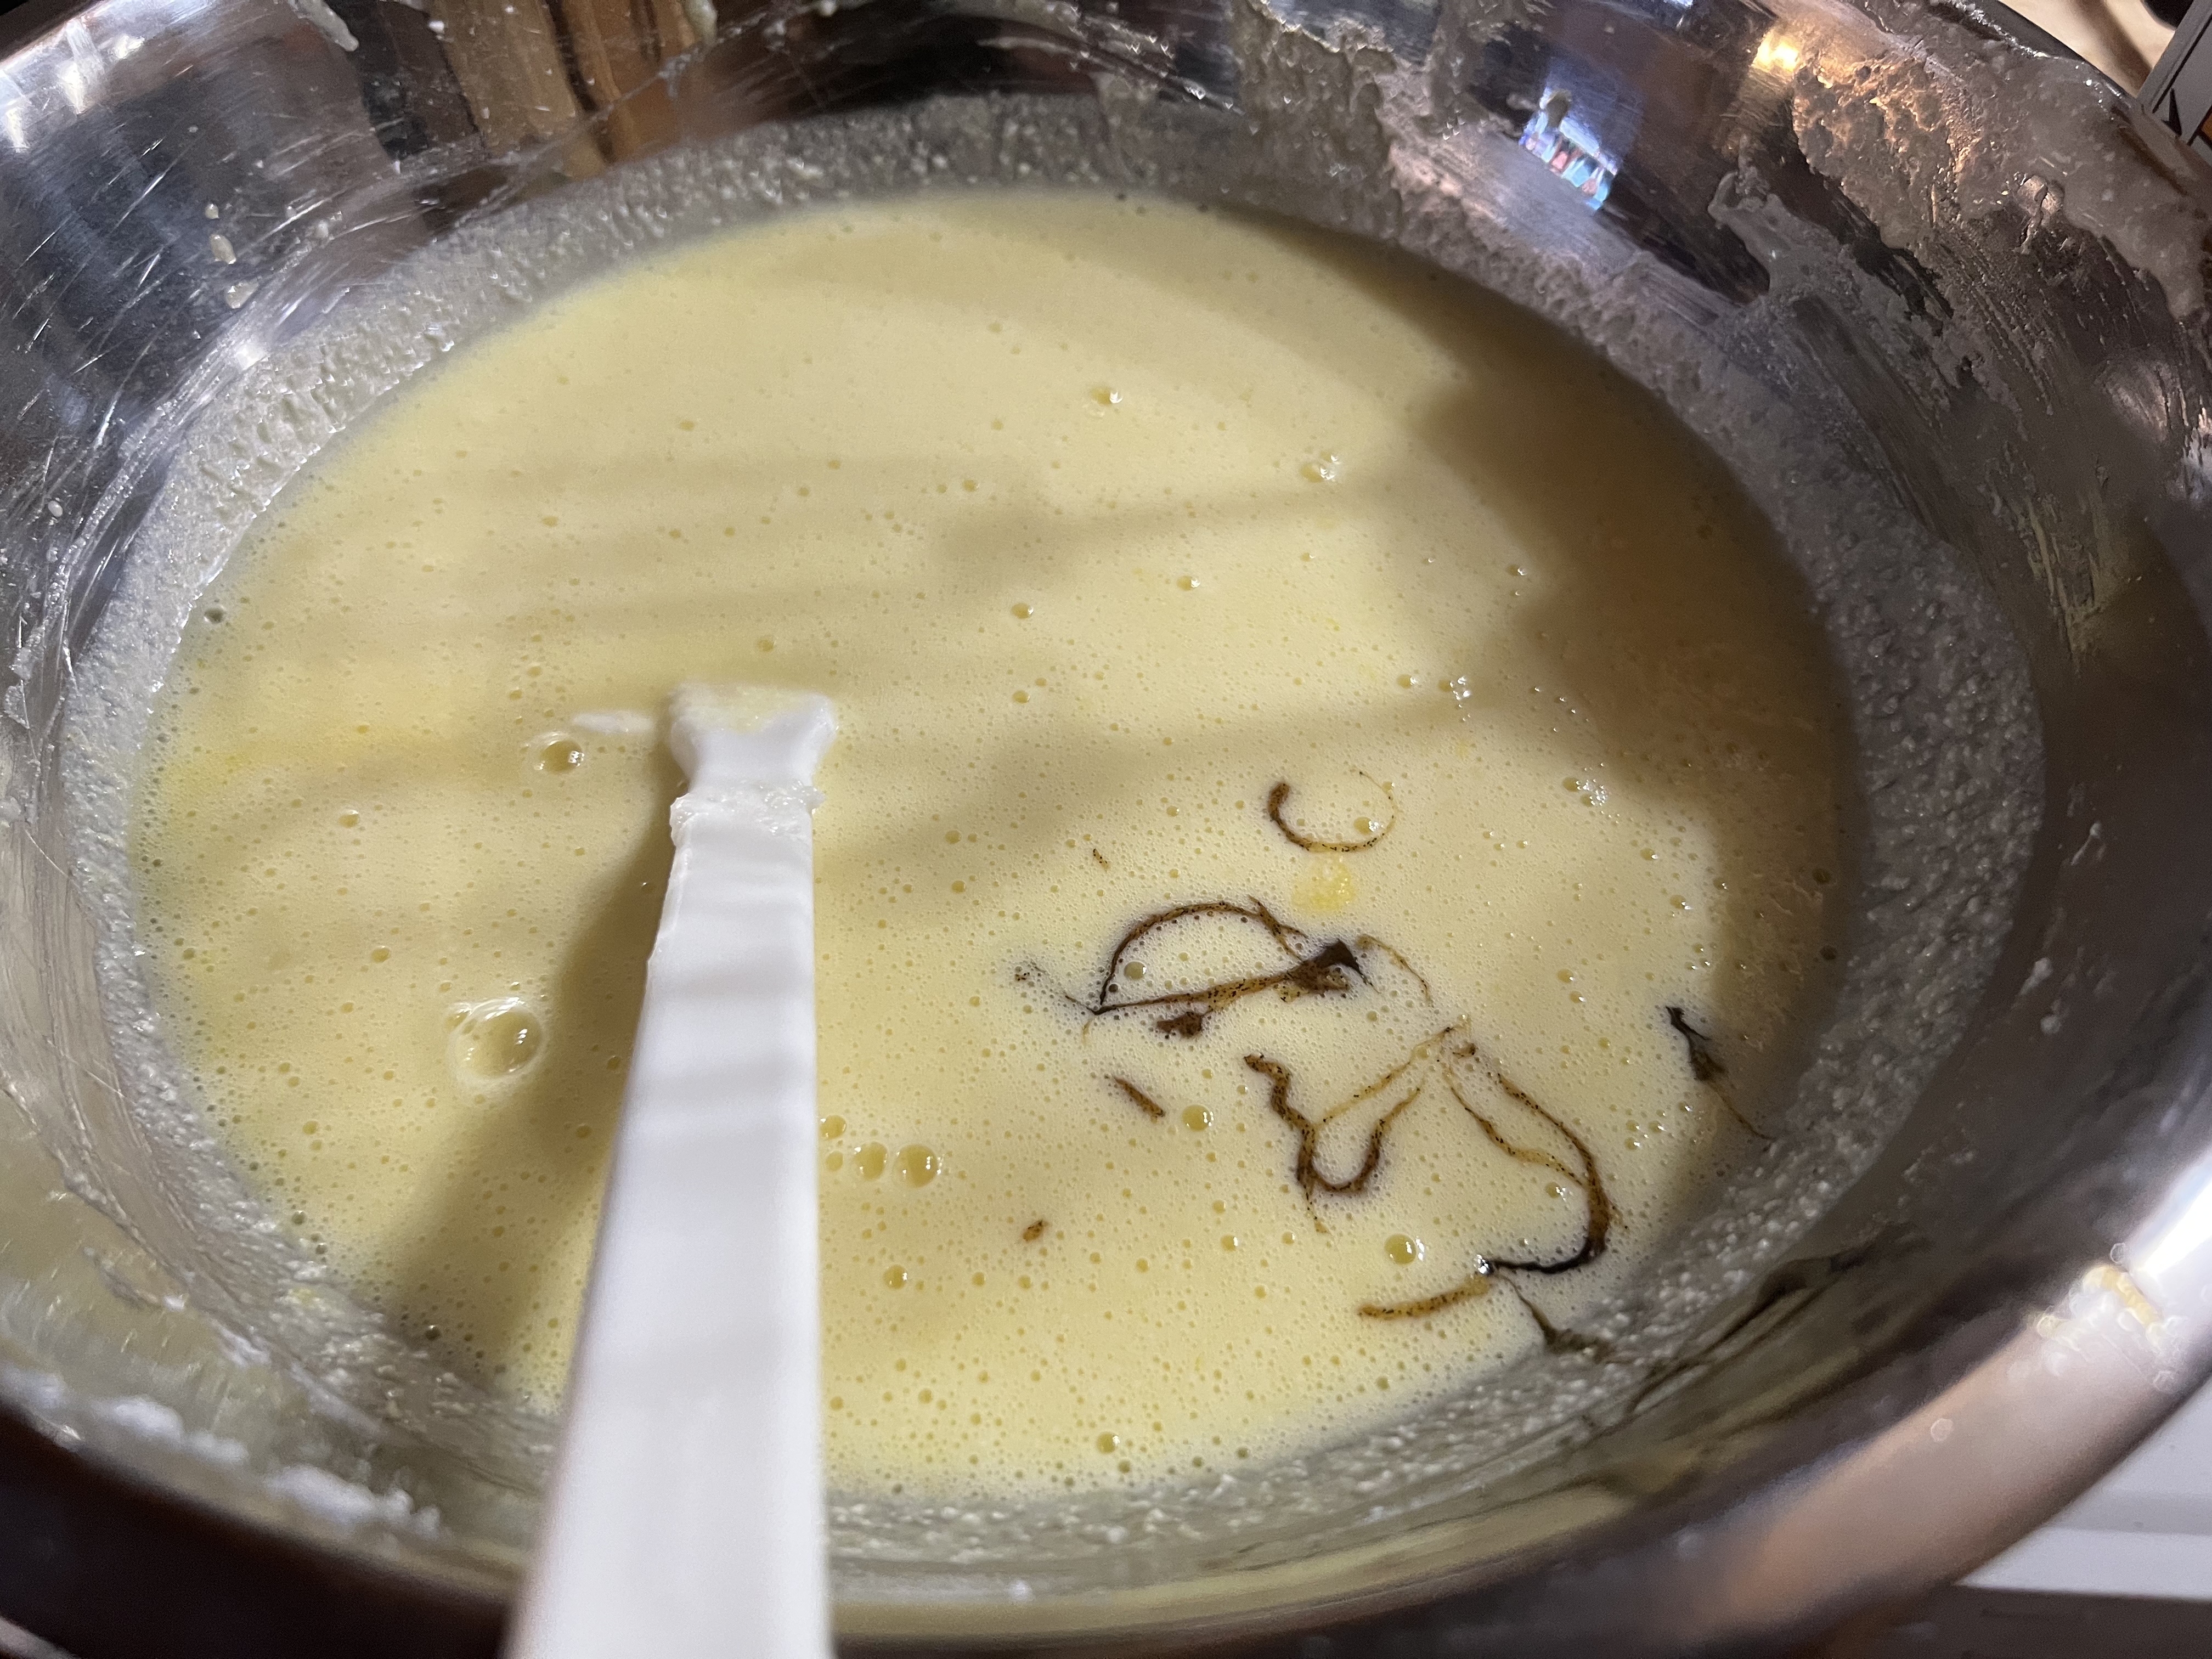
Using an electric mixer on low speed, mix the farmer’s cheese and powdered sugar until combined. Add the 5 eggs, one at a time, until they’re all combined. Add vanilla extract, Kosher salt, lemon zest, and heavy cream. Evenly distribute the pie filling into each pie. Place the pies on a rimmed baking sheet on the center rack and bake for approximately 35-40 minutes. The pies will be set on top to the touch, lightly golden brown with a slight jiggle in the center.
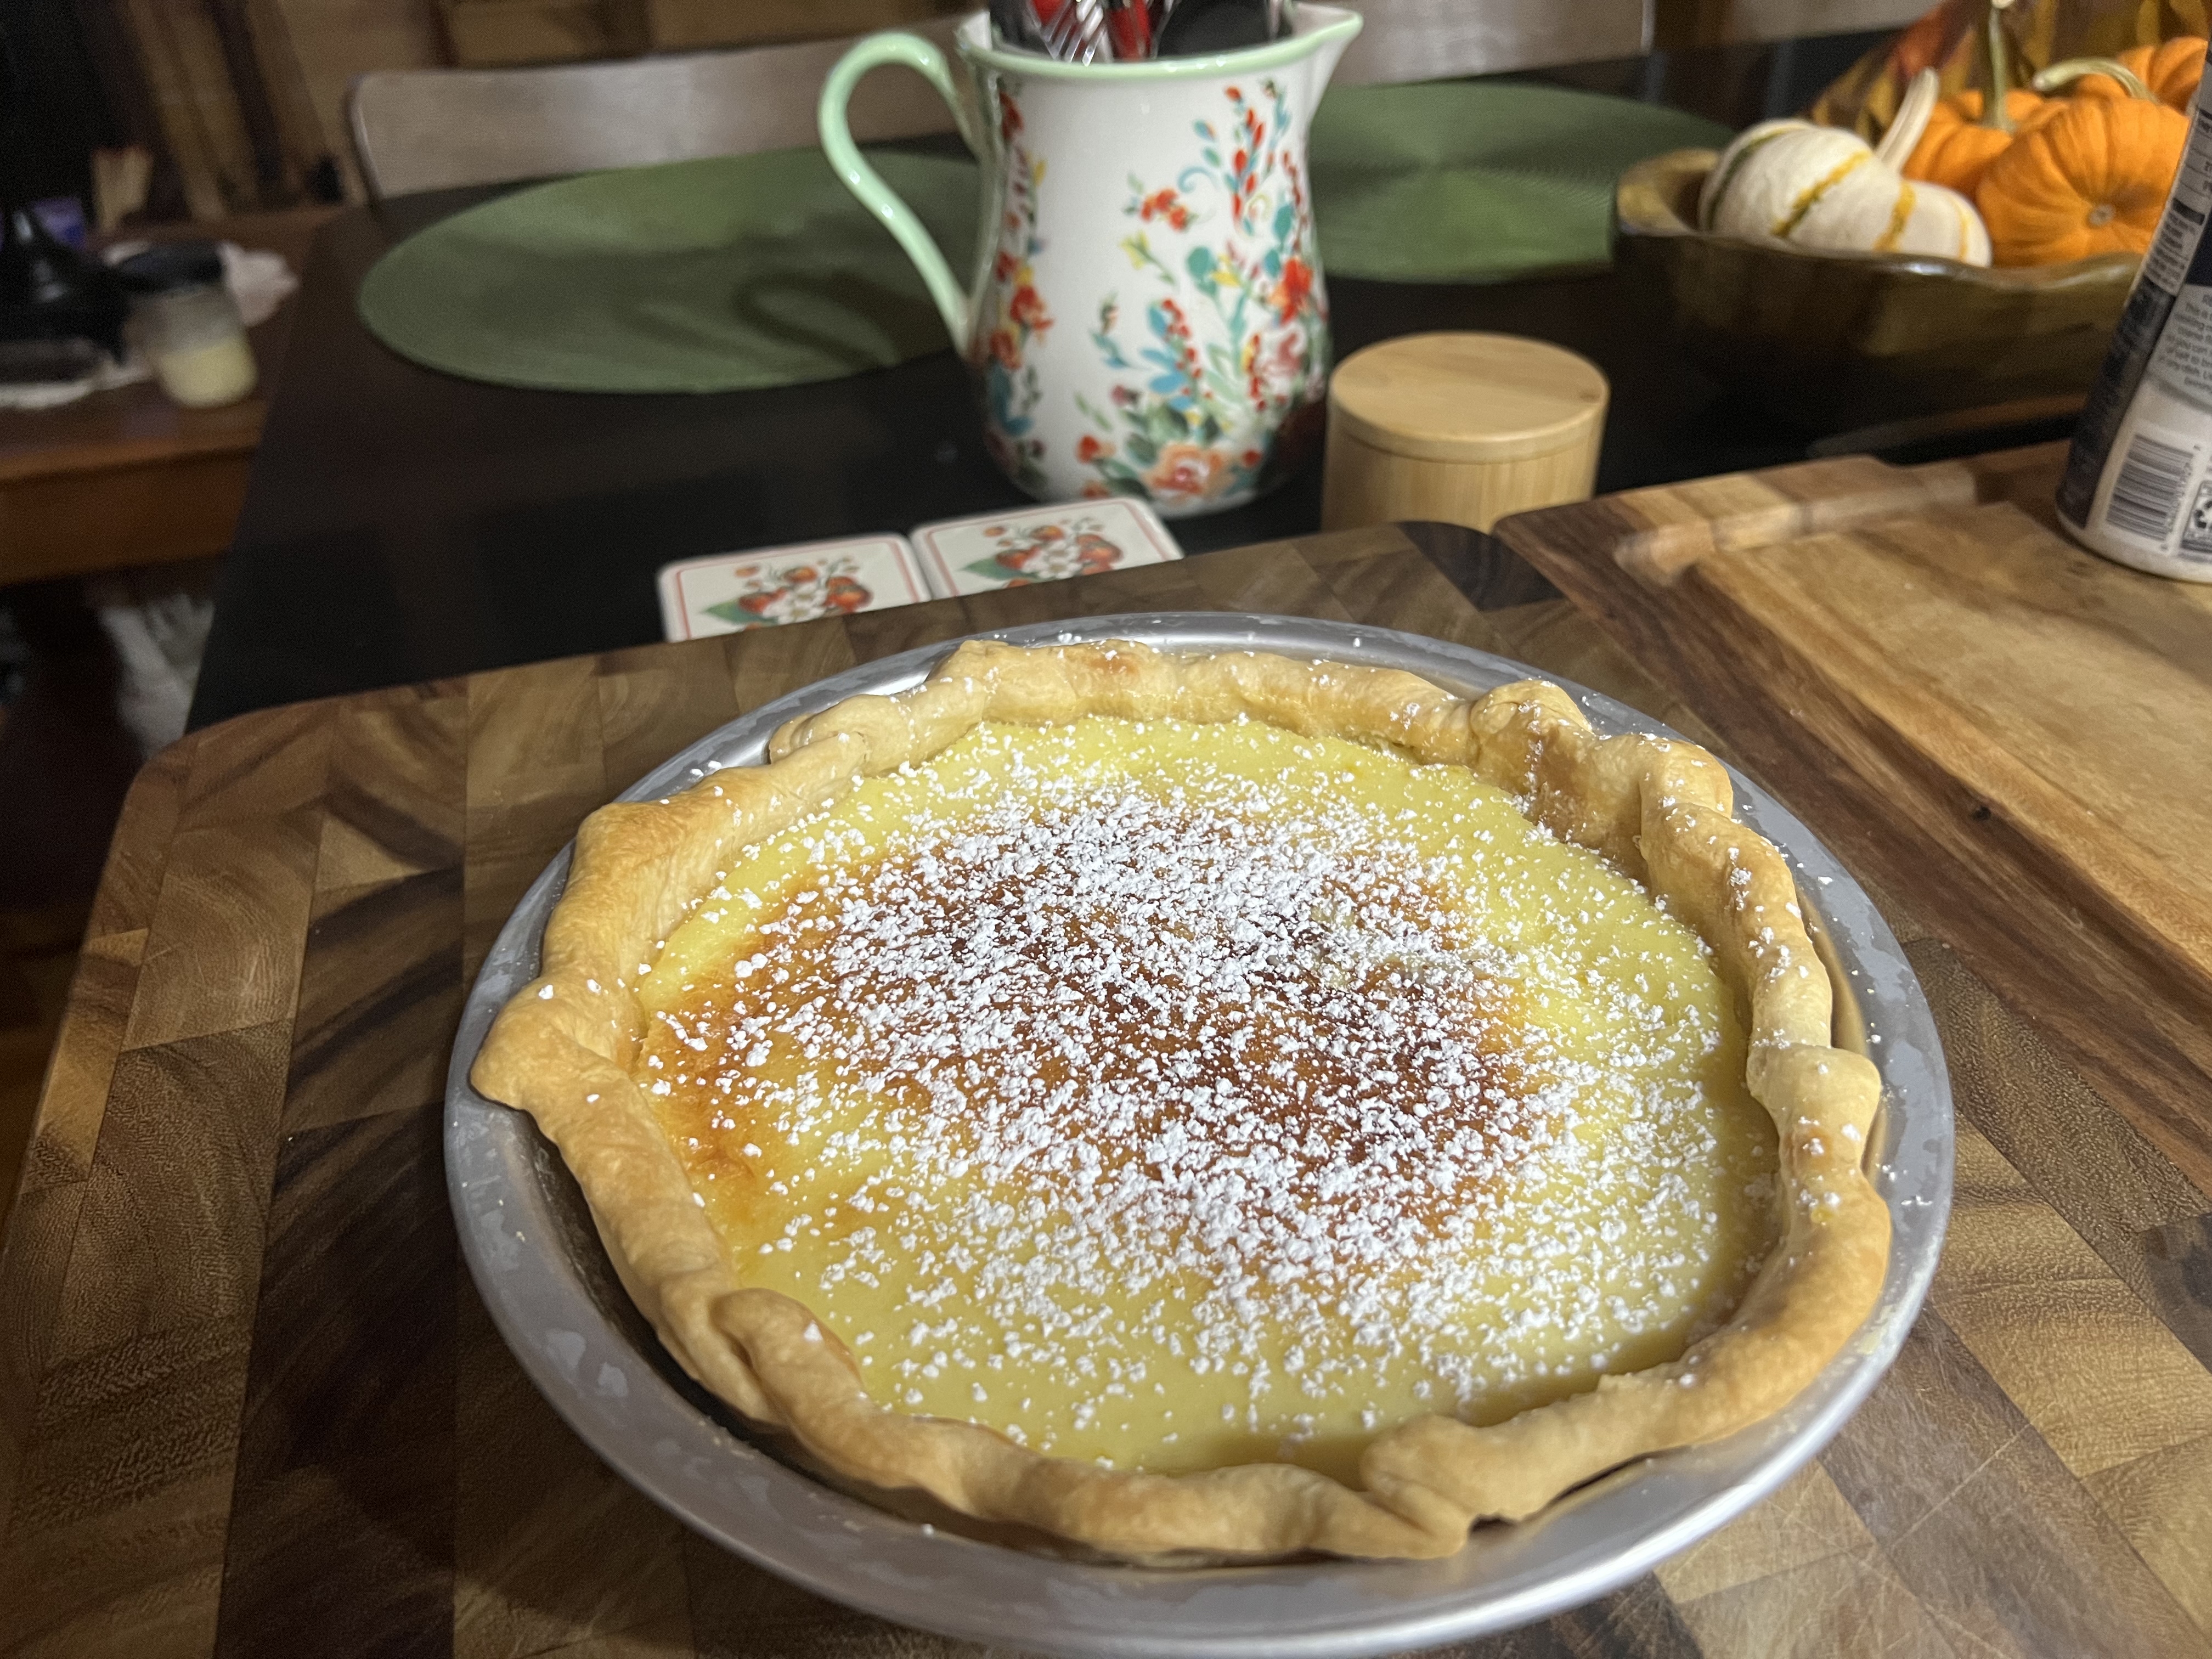
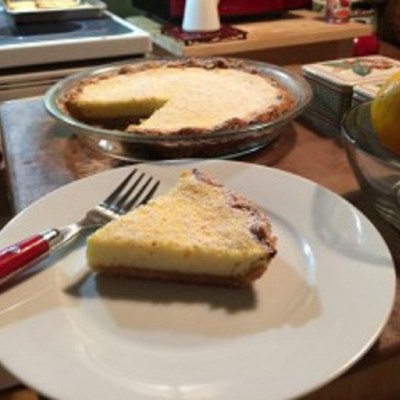
After the pie comes out of the oven, remove the silicone cover, and let it cool for 30 minutes on a cooling rack. Dust the pies with some powdered sugar. My Farmer Cheese Pie is delicious at room temperature or chilled. You should refrigerate the pies to store them.
There you have it, my Farmer Cheese Pie.
Notes:
1) For best results, use the frozen pie dough or frozen pie crusts within 3 months. You can also refrigerate unbaked pie dough or unbaked pie crust for up to 3 days. Keep tightly covered with aluminum foil or plastic wrap.
2) Ready-made store-bought pie crust is a very thin dough, unlike my homemade pie crust, which is slightly thicker. Refer to the pictures above.
3) Times may vary depending on whether you’re baking in a glass or metal pan. These vessels can affect the outcome of the pie.
4) *Dock: Pricking holes in the rolled-out pie dough allows the steam to escape while it’s baking. Without this, the steam would puff up in bubbles and pockets throughout the crust.
5) *Partial Blind Baking: Sometimes called pre-baking, this is the process of baking a pie crust or other pastry without the filling.
6) *Fully Blind Baking: A fully cooked pie crust is necessary when it’s to be filled with an unbaked filling (such as pudding or cream pies in which case the crust must be fully baked. Cool before filling.
7) Linda Lou Hamel is not a nutritionist or dietitian, and any nutritional information shared is an estimate. If calorie count and nutritional value are important to you, I recommend running the ingredients through the online nutritional calculator of your choice. Calories and values can vary depending on the brands you choose.
Farmer Cheese Pie
Equipment
- 1 electric mixer Hand-held
- 1 meta pie pan 8-inch
- 1 glass pie pan 9-inch for the homemade pie crust
- 1 Rolling Pin
- parchment paper
- 1 silicone pie crust cover Substitute aluminum foil
- 2 rimmed baking sheet pans
- pie weights or dried beans
Ingredients
- 1 10-inch homemade disk of pie dough rolled out to a circle, 10 inches in diameter, 1/8-inch in thickness
- 1 13.2-ounce Jus-Rol ready-made, store-bought pie crust
- 2 7.5-ounce bars Famer cheese Room temperature
- 3 1/2 cups powdered sugar
- 1 tsp kosher salt
- 5 large eggs Room temperature
- 2 tbsps pure vanilla extract
- 1 tsp lemon zest 1 lemon
- 1 1/2 cups heavy cream
- all-purpose flour
Instructions
- My Recipe for the Homemade Pie Crust:Click on the link at the bottom of the home page.Preheat oven to 375°F.Instructions for the Prepared Homemade Pie Dough:Dust your board with flour. Start rolling out the dough and turn it a quarter turn each time you roll. Roll the dough out until it's about 1/8-inch in thickness and 10 inches in diameter. Roll the dough back up over the rolling pin and lay it over the 9-inch glass pie pan. Allow the dough to fall into the pan. With your fingers, gently press the dough down around the bottom edges and sides of the pan. Next, take the dough that's hanging off the edge of the pan and fold it under all the way around the rim. Next, use your fingers to crimp the edges.Preheat oven to 425°F.Instructions for one of the store-bought, ready-made Pie Crusts:As for the store-bought pie crust, carefully lay the dough into the pie pan. With your fingers, gently press the dough around the bottom edges and sides. Next, take the dough that's hanging off the edge of the pan and fold it under all the way around the rim. Next, use your fingers to crimp the edges. At this point, you need to *dock (prick) with a fork all over the bottom of both the homemade and store-bought pie shells. Place both pie shells back into the fridge for 1 hour to rest.Instructions for *Fully Blind Baking:Preheat the oven to 425°F.If you are making a pie that doesn't require the filling to be baked, you'll want to ensure your crust is fully baked before adding the filling. This means you'll be looking for dark golden coloring all over so that it stays crispy and flaky.You'll start the same way with a well-chilled and crimped crust. Poke holes with a fork across the bottom and sides, then add your parchment paper and fill with pie weights. Place on a large baking sheet.Bake for an additional 15 minutes, looking for that pale golden color. You can afford to go up to 5 minutes more on this one for a slightly darker color on the edges. Remove the pie plate from the oven and carefully remove the parchment paper. Return the pie to the oven and bake for an additional 12 minutes or until edges are dark golden and the bottom crust is no longer shiny and baked through.Instructions for Partial Blind Baking:Preheat the oven to 425°F.After allowing the pie shells to rest in the refrigerator for 1 hour, you need to *dock (prick with a fork) all over the bottom. Place a piece of parchment paper on the bottom of the pie crust, making sure the parchment is flush with the crust. Add dried beans (or pie weights) to both pie shells. Push the beans towards the edges of both pies. Place on a rimmed baking sheet and bake for 20-25 minutes, or until the crimped edges are set but not browned.Remove the pie shells from the oven. Next, carefully remove the parchment paper with the dried beans. DO NOT remove the silicone cover and or aluminum foil covering the edges while the pies are cooling.Reduce oven temperature to 350°F.Instructions for the Farmer Cheese Filling:Using an electric mixer on low speed, mix the farmer's cheese and powdered sugar until combined. Add the 5 eggs, one at a time, until they're all combined. Add vanilla extract, Kosher salt, lemon zest, and heavy cream. Evenly distribute the pie filling into each pie.Place the pies on a rimmed baking sheet on the center rack and bake for approximately 35-40 minutes. The pies will be set on top to the touch, lightly golden brown with a slight jiggle in the center.After the pie comes out of the oven, remove the silicone cover, and let it cool for 30 minutes on a cooling rack. Dust the pies with some powdered sugar. My Farmer Cheese Pie is delicious at room temperature or chilled. You should refrigerate the pies to store them.There you have it, my Farmer Cheese Pie.
Notes
 1) For best results, use the frozen pie dough or frozen pie crusts within 3 months. You can also refrigerate unbaked pie dough or unbaked pie crust for up to 3 days. Keep tightly covered with aluminum foil or plastic wrap.
2) Ready-made store-bought pie crust is a very thin dough, unlike my homemade pie crust, which is slightly thicker. Refer to the pictures above.
3) Times may vary depending on whether you're baking in a glass or metal pan. These vessels can affect the outcome of the pie.
4) *Dock: Pricking holes in the rolled-out pie dough allows the steam to escape while it's baking. Without this, the steam would puff up in bubbles and pockets throughout the crust.
5) *Partial Blind Baking: Sometimes called pre-baking, this is the process of baking a pie crust or other pastry without the filling.
6) *Fully Blind Baking: A fully cooked pie crust is necessary when it's to be filled with an unbaked filling (such as pudding or cream pies in which case the crust must be fully baked. Cool before filling.
7) Linda Lou Hamel is not a nutritionist or dietitian, and any nutritional information shared is an estimate. If calorie count and nutritional value are important to you, I recommend running the ingredients through the online nutritional calculator of your choice. Calories and values can vary depending on the brands you choose.
1) For best results, use the frozen pie dough or frozen pie crusts within 3 months. You can also refrigerate unbaked pie dough or unbaked pie crust for up to 3 days. Keep tightly covered with aluminum foil or plastic wrap.
2) Ready-made store-bought pie crust is a very thin dough, unlike my homemade pie crust, which is slightly thicker. Refer to the pictures above.
3) Times may vary depending on whether you're baking in a glass or metal pan. These vessels can affect the outcome of the pie.
4) *Dock: Pricking holes in the rolled-out pie dough allows the steam to escape while it's baking. Without this, the steam would puff up in bubbles and pockets throughout the crust.
5) *Partial Blind Baking: Sometimes called pre-baking, this is the process of baking a pie crust or other pastry without the filling.
6) *Fully Blind Baking: A fully cooked pie crust is necessary when it's to be filled with an unbaked filling (such as pudding or cream pies in which case the crust must be fully baked. Cool before filling.
7) Linda Lou Hamel is not a nutritionist or dietitian, and any nutritional information shared is an estimate. If calorie count and nutritional value are important to you, I recommend running the ingredients through the online nutritional calculator of your choice. Calories and values can vary depending on the brands you choose.https://lindalouhamel.com/2014/09/04/conquering-the-crust/